Guide: Making Workbench prettier using Rebel's palette and skins

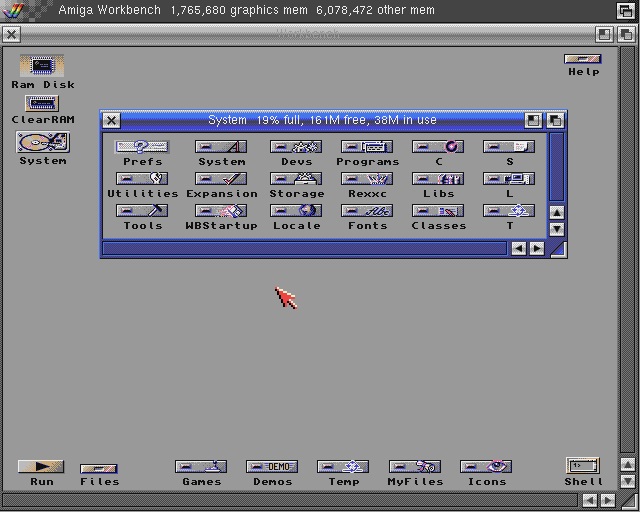
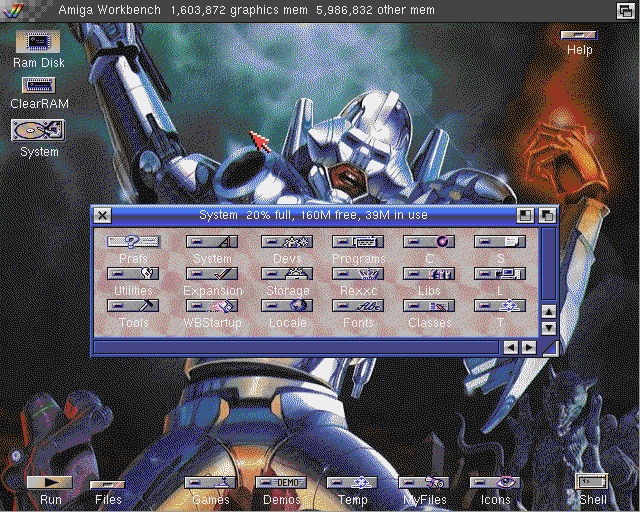
Many people that use Workbench 3.1 most of times want to be able to make their environment prettier being able to use more than the default 4 colors and also use colorful backdrops.
Don't get me wrong... Workbench was way ahead of it's time and it's really nice by default. Why not make it better though? :)

Many fellow amigans are already aware about Rebel and his 16 color optimized palette.
Just for means of history and information, Rebel spent years optimizing it and coming up with the most commonly requested colors from the largest range of Workbench applications and games. His palette is designed:

  • to be OCS compatible,
  • to use ONLY 16 colors,
  • to avoid DBLPal/NTSC flashing,
  • to work with MagicTV,
  • to not interfere with mouse pointer colours (you can use any color cursor you want),
  • to remap well to all popular iconsets (MagicWB, NewIcons, Iconographics and GlowIcons), music players, games and other Workbench stuff. 

Ok after this info... it's time to get down to business :)

First of all we need to download some applications and also some extra files. The download links along with a brief description per application, are presented bellow:

·        

Birdie:  http://aminet.net/package/util/wb/birdie2000

Patch to configure windows borders using pictures.

·        

FullPalette.prefs:  http://home.exetel.com.au/amiga/FullPalette.prefs

Rebel’s optimized 16 colors palette for FullPalette.

·        

FullPalette:  http://aminet.net/package/util/wb/FullPalette22

Application with which you can lock the palette colors.

·        

SilverSkin:  http://home.exetel.com.au/amiga/Skins.lha

2 beautiful Skins made by Rebel (Green-Blue) for Windows, Titlebar etc (for use with VisualPrefs).

·        

VisualPrefs:  http://aminet.net/package/util/wb/VisualPrefs

Application for configuring lots of GUI settings (Titlebar, frames, gadgets etc).

In this guide, I will be using a bare and simple ClassicWB 68k installation but you can use any Workbench of your choice from a stock Workbench 3.0 till a fully buffed version of AmigaOS 3.9.

The initial step is for us changing our screenmode settings to 16 colors. You can do that from going to Prefs --> ScreenMode.
I’d strongly suggest to setup at least a PAL High-Res Laced (640x512) resolution as it’s a nice and spacey resolution where we can work easily and enjoy colorful and awesome backdrops :)
In my own example I have configured an 640x512 with 16 colors. After hitting Save you will see that the coloring of MagicWB colors was altered… but we don’t care much as soon we will fix that.
In the following screenshot you can see that I have transferred everything that is needed,  in a folder.
We're gonna proceed in installing VisualPrefs and FullPalette. I'm not gonna analyze further the steps of the setup as they both are very easy and straightforward and the only thing needed is to setup the patch that they are going to be installed. Just give a bit of attention though cause both installations DON'T create folders for these apps so it should be better of creating these folders before the installation or during the installation using the appropriate button.
For example for this guide, I installed these programs to my System partition  and in folders System/VisualPrefsand System/FullPalette as you can see from the following screenshot.
After the installation, we should make a reboot in order for VisualPrefs and FullPalette to initialize since both installations have modified our Startup-Sequence adding the appropriate declarations.
The next step is to copy the file FullPalette.prefs and also the folder Skins (which we already transfered into a temporary folder) to the folder Prefs/Presets. I personally used DOpus but you can use which ever file manager suits you or even Workbench itself :)


Next, we're gonna run the FullPalette application which by default exists on Prefs folder under the name FullPalette.


By Right cliking, were gonna choose from the Pull-Down Menu Project --> Open. In the window that will appear we're gonna choose the file FullPalette.prefs which we copied earlier under the folder Prefs/Presets.


You're gonna see that the color palette has changed! This is Rebel's palette and the only thing that you need to do is just hit Save to save the settings.


In case your system freezes upon saving (it's a known incident due to Intuition refresh) you only need to give a reboot with using Ctrl-LAmiga-RAmiga. When Workbench loads, the color should have changed.


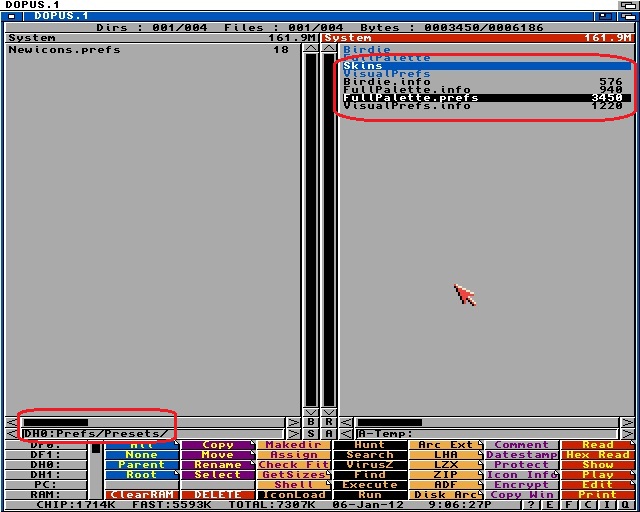
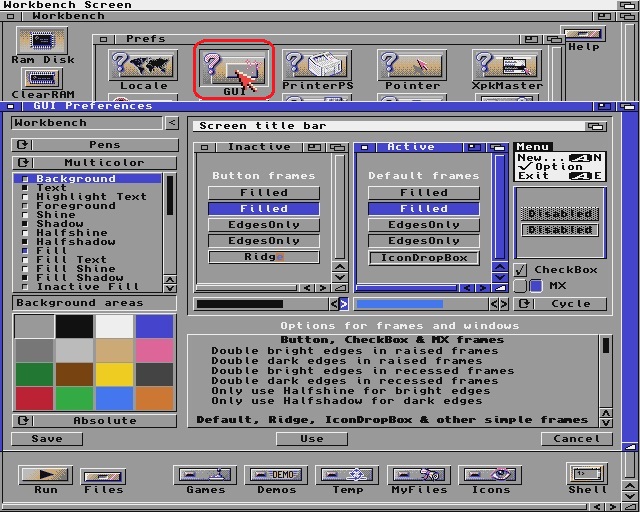
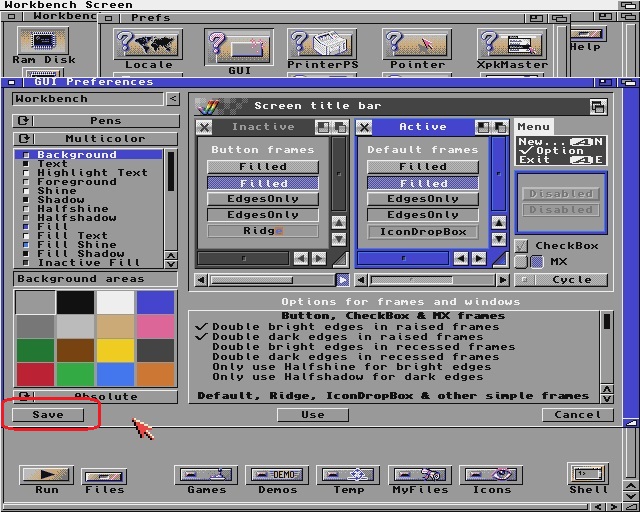
So, the next step is to run VisualPrefs which exists also in Prefs folder under the name GUI.


By Right clicking we're gonna choose from the Pull-Down Menu the option Project --> OpenIn the window that will appear we're gonna choose the file  SilverBlue.pre (for Blue skin) or SilverGreen.pre (for Green skin) that we copied earlier under the folder Prefs/Presets/Skins.


Once you hit  the OK button a window will appear with a message in which you will click the choice Replace.


You'll notice that VisualPrefs is showing the skin that we chose (either Blue or Green) and the only thing left to do is to hit Save in order to save our settings.


By making a reboot you'll notice how much your Workbench has changed since the skin is already in use!


Of course there are still some things we need to do. Next step is to copy the application Birdie under the system folder C: (we have already copied it to a temporary folder).


Thenwe need to edit our Startup-Sequence with our favorite editor, adding the following declaration after VisualPrefs and FullPalette but before  ConClip.
Run <>NIL: C:Birdie SYS:Prefs/Presets/Skins/SilverBlue/Active SYS:Prefs/Presets/Skins/SilverBlue/InActive ACTIVEPATTERN REDRAWBITMAPS PUBSCREENS NOICONBORDER FLOODMASKMWB EXCLUDE=DOPUS.1

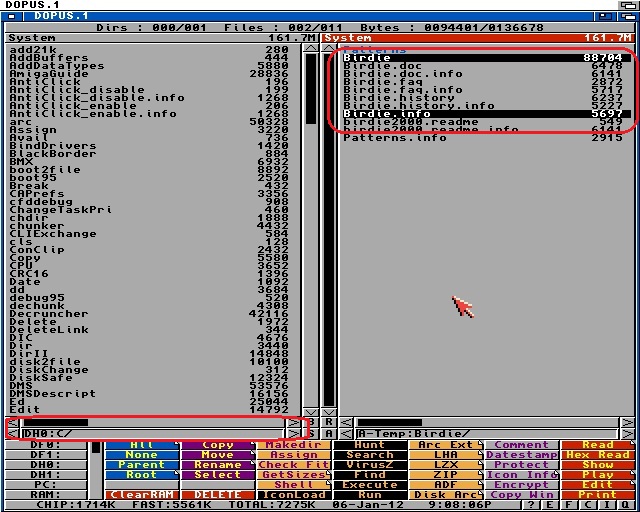
(If we chose the Green instead of the Blue sking then we need to replace the above declaration putting wherever you see SilverBlue with SilverGreen. Just for info...the reason we exclude DOpus is because it has a bad habit of not working rather well with Birdie, corrupting it's colorful configuration). 


After we finish editing our Startup-Sequence, we hit save and we're making a new reboot in order for Birdie to run with the new decarations.

If we wrote the command correctly as soon as Workbench starts you will see the gradient effect on windows frames


It's certainly more pretty than before but still... it isn't just right because the default Topaz font with a size of 8 it's not enough for the specific theme and skin, so it's advised to change the font size with a size of 13.

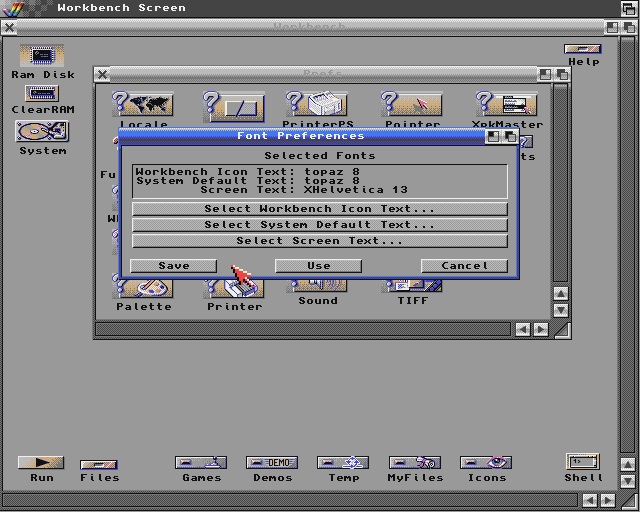
So we're gonna head to Prefs under the icon with the name Fonts and in the window that will appear, we're gonna choose for Screen Font a font with a size of 13. One good choice is the font XHelvetica or Helvetica.


Clearly now the whole environment is a lot nicer!


You can also change the Workbench Icon font with XHelvetica or Helvetica for better results.
The only thing left now is to choose a backdrop of our choice.
As a test of if you'd like, you can download my personal collection of 640x512@16 color backdrops that I uploaded on my Dropbox for you here:
It would be best to remove the Workbench Window by Right clicking the Workbench menu and choosing Workbench --> Backdrop… since it has no use for us now that we're using a backdrop.
Results would be exciting :)


Not bad at all for a computer this old :)
Certainly you can use this guide in any Amiga chipset (even OCS) although it would be really nice if an accelerator exists as Workbench under 16 colors on OCS or ECS chipsets isn't so much fun and responsive on a stock 68000 CPU.
Have fun and enjoy :)