Catweasel MK2 on X1000
Ever since I read about the upcoming availability of X1000 support for the Catweasel Mk2 I was very excited to try it out with the many Amiga floppy disks I have - and today is the day!

For the last week or so I have been very sick with terrible food poisoning and unable to do anything at all. I feel a little bit better today and decided to tackle this project to try to take my mind off it!
So what is a Catweasel mk2? Well, it is a hardware device made by Individual computers and now available through Amigakit.com. It has the ability to present floppy drives of different formats (PC, Amiga, MAC, etc) to the AmigaOS4 (and Classic Amiga) to enable different formatted disks to be read.
With the X1000 there is no floppy drive or floppy drive port, so it is necessary to have a Catweasel installed in order to use a floppy disk drive under AmigaOS4. Until recently the only way to do this was by getting a Catweasel 4 PCI card, which is very hard to find anywhere nowadays - I certainly couldn't find it!
So recently AmigaKit.com released a package of CatWeasel Mk2 (still available to buy) with X1000 adaptor kit, which essentially is a special twisted IDE cable, and a CD containing updated drivers (not available elsewhere) to work with the X1000 IDE hardware to enable AmigaOS4 to see the Catweasel Mk2 when attached to the IDE port. I quickly ordered mine and got it this week.
The big positive for me is the ability to easily read my 25 year old plus floppy disks into ADF format using the X1000, and then use them via RunInUAE on the X1000!
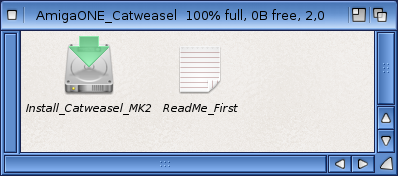
So when I opened the package I got the floppy drive, a lot of floppy cables, power converters and a manual/floppy for Classic Amigas, and an unlabelled CD containing the X1000 drivers:

To read up how to wire this all up, you need to turn to the Classic Amiga manual included in the box, and specifically just one page which shows where to connect the various cables in:
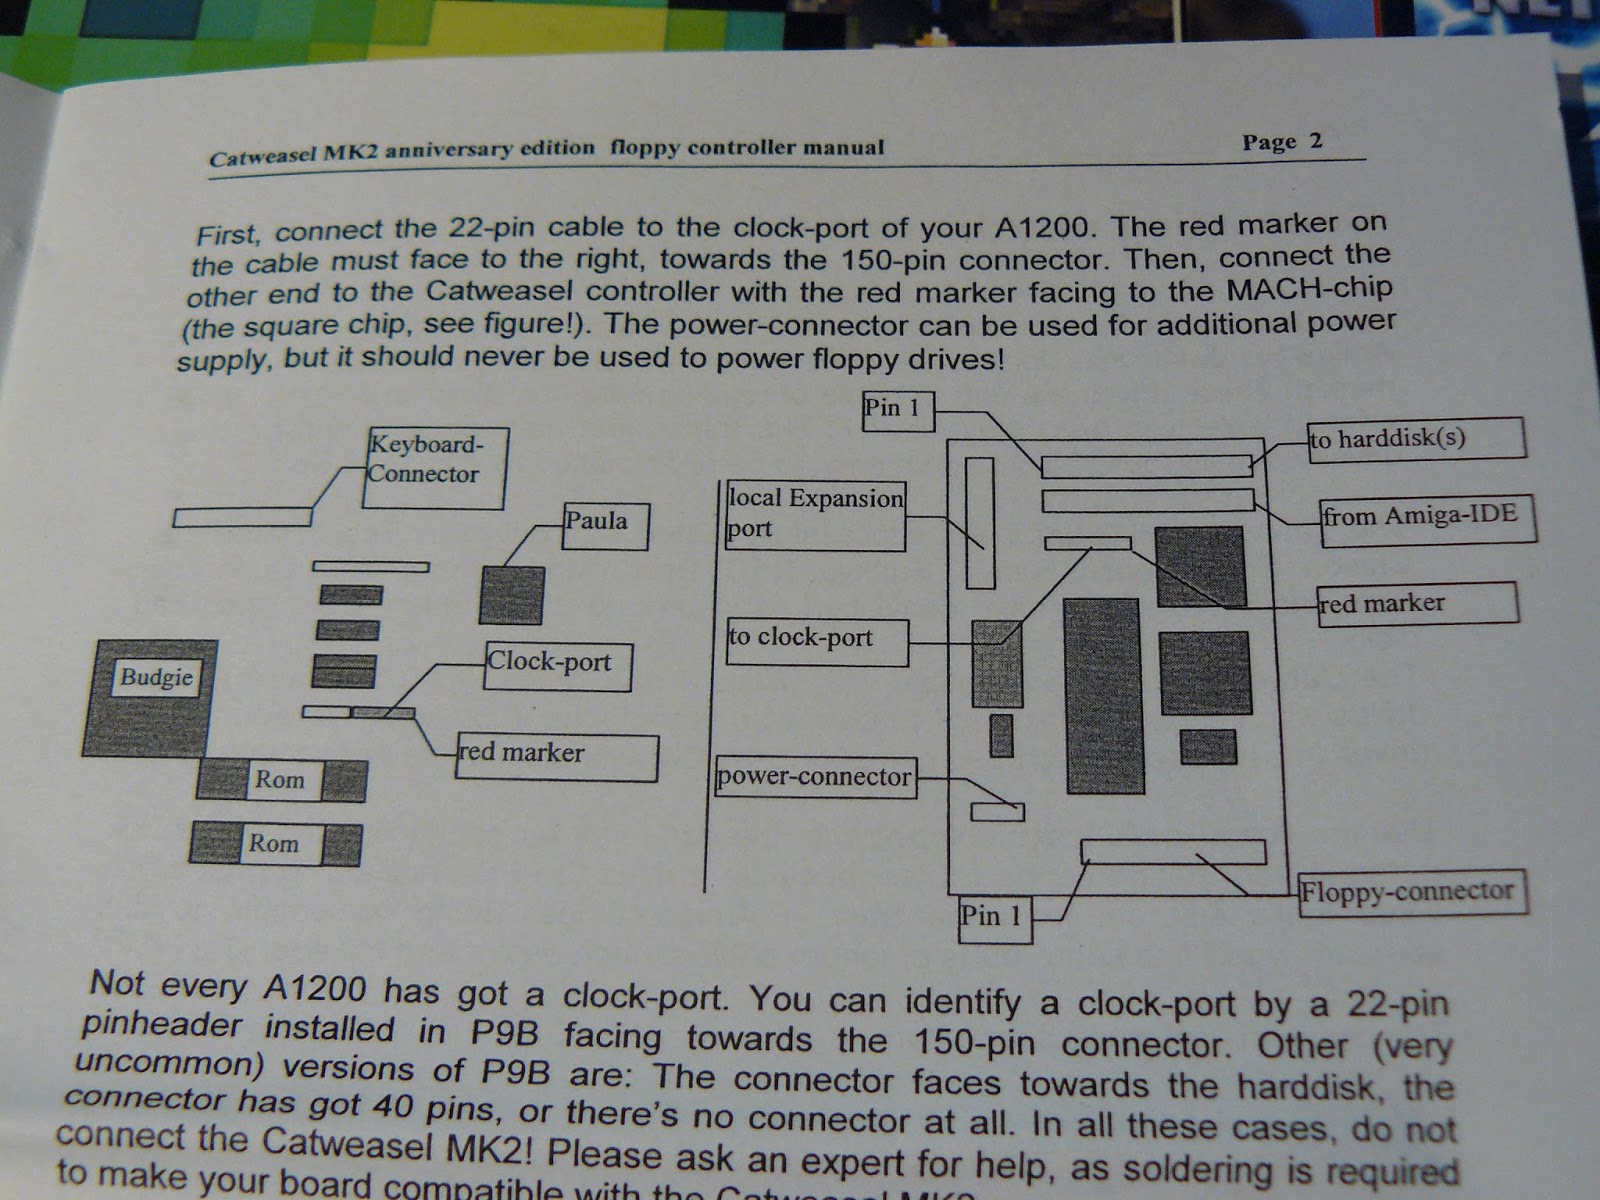
For the X1000 just plug in the twisted IDE cable included to the Amiga-IDE port on the Catweasel, and the twisted end of the cable plugs into the X1000 IDE port.
I used a High Density PC floppy drive for this, and so you need to ensure the floppy drive is connected to the twisted floppy drive cable connector which tells it that the drive is drive 0.
Next, before installing in the X1000, I then inserted the CD to install the required drivers:
I read the readme_first file which contains important configuration information to make the Catweasel mk2 work with the X1000 (Click to expand):

Having taken note of what I have to do above, I got started with the installation:


The installation proceeds until the next screen without prompting for any more information:
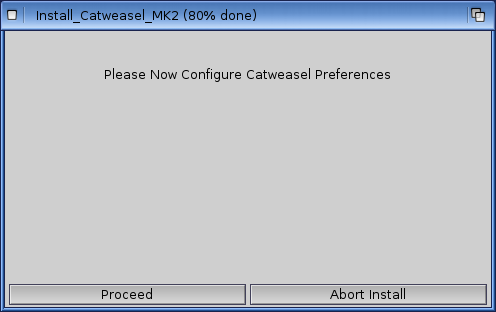
Once I clicked Proceed above, I get the CatWeasel Prefs screen below, which needs to be modified (click to expand):

I modified it as per the Readme_first file, which ends up looking like this (click to expand):

Now it tells me the installation is completed and ready for reboot:

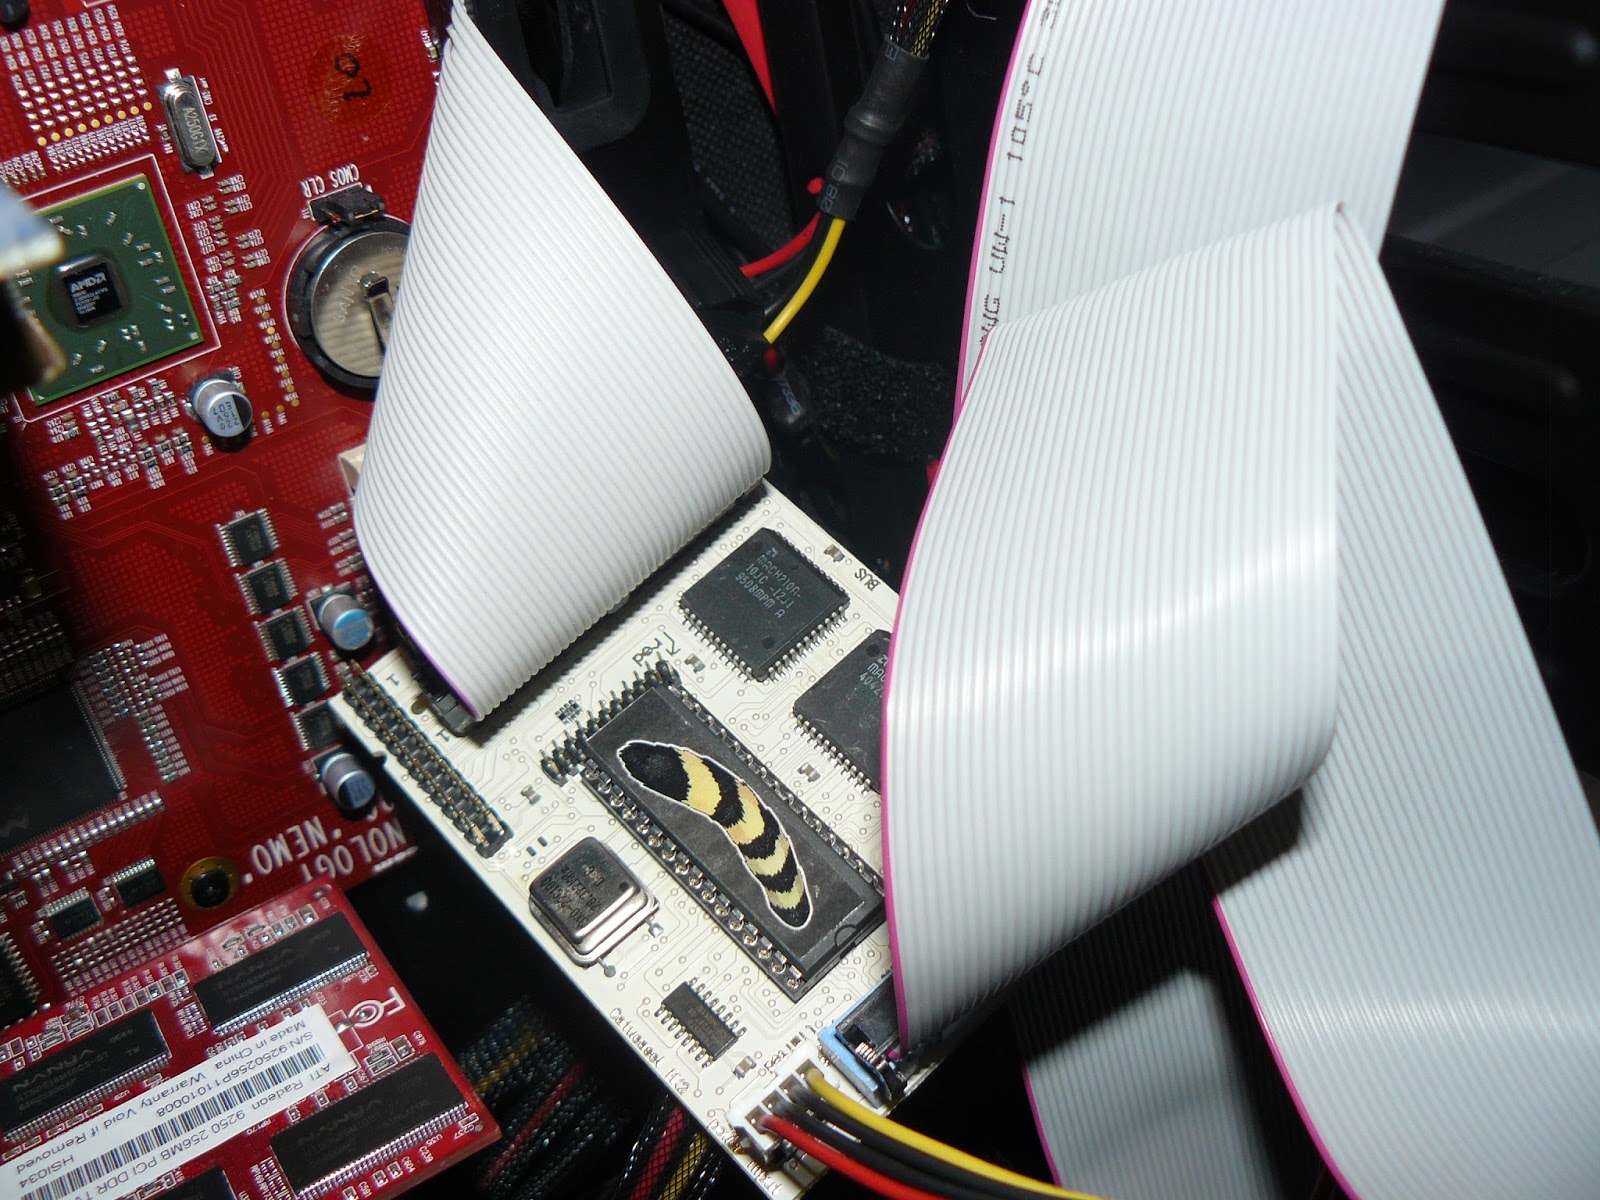
I powered off the X1000, and install the CatWeasel Mk2 and floppy drive. I will eventually mount it correctly against the hard disk bay wall, but for now it looks like this for testing:
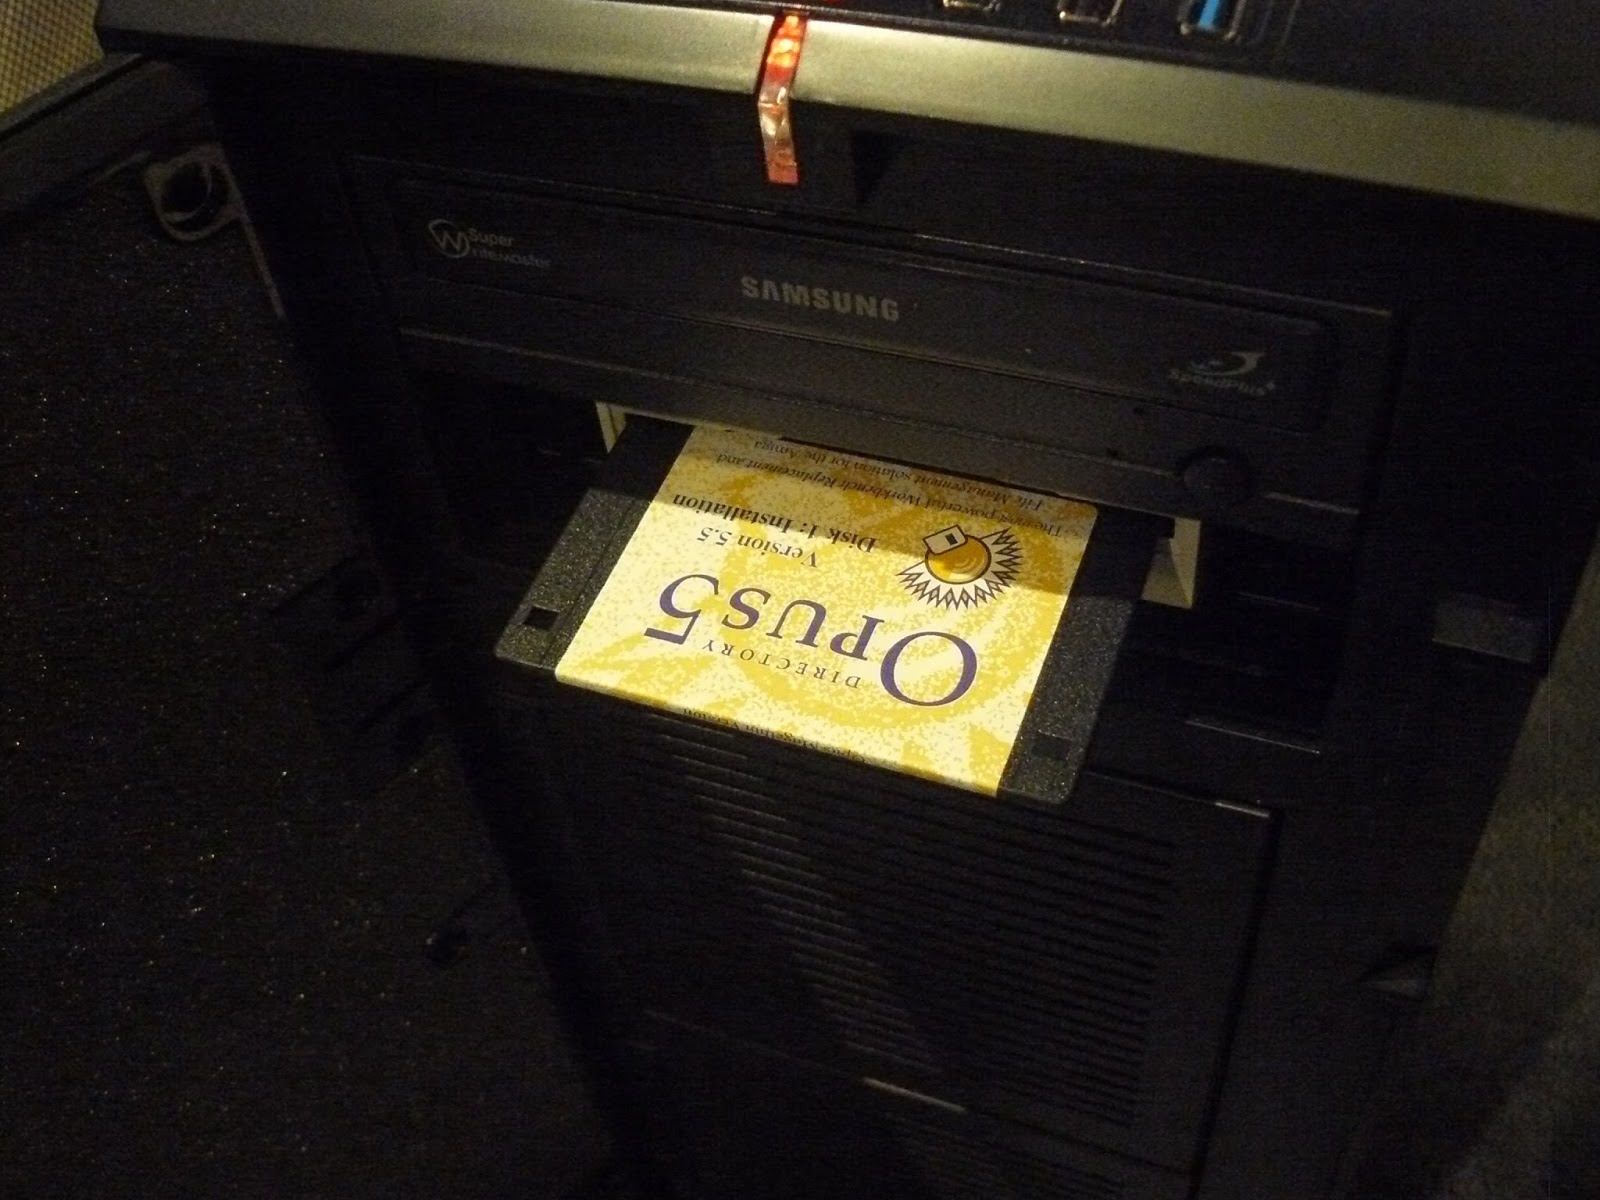
I then powered on the X1000 and when the Workbench has loaded I now have a clicking floppy drive, ready for action! So first I try a Directory Opus 5.5 floppy disk:
And it comes up on the Workbench no problem. I open the Readme directly from the floppy disk no problems as below:

Next I had a look in the Shell to see the disk device, which is set to DF0:

Next I fired up DOpus4 and copied the files from the floppy disk to a temporary hard disk folder as a test and it worked well and fast for a floppy:


Excellent stuff, it works well!
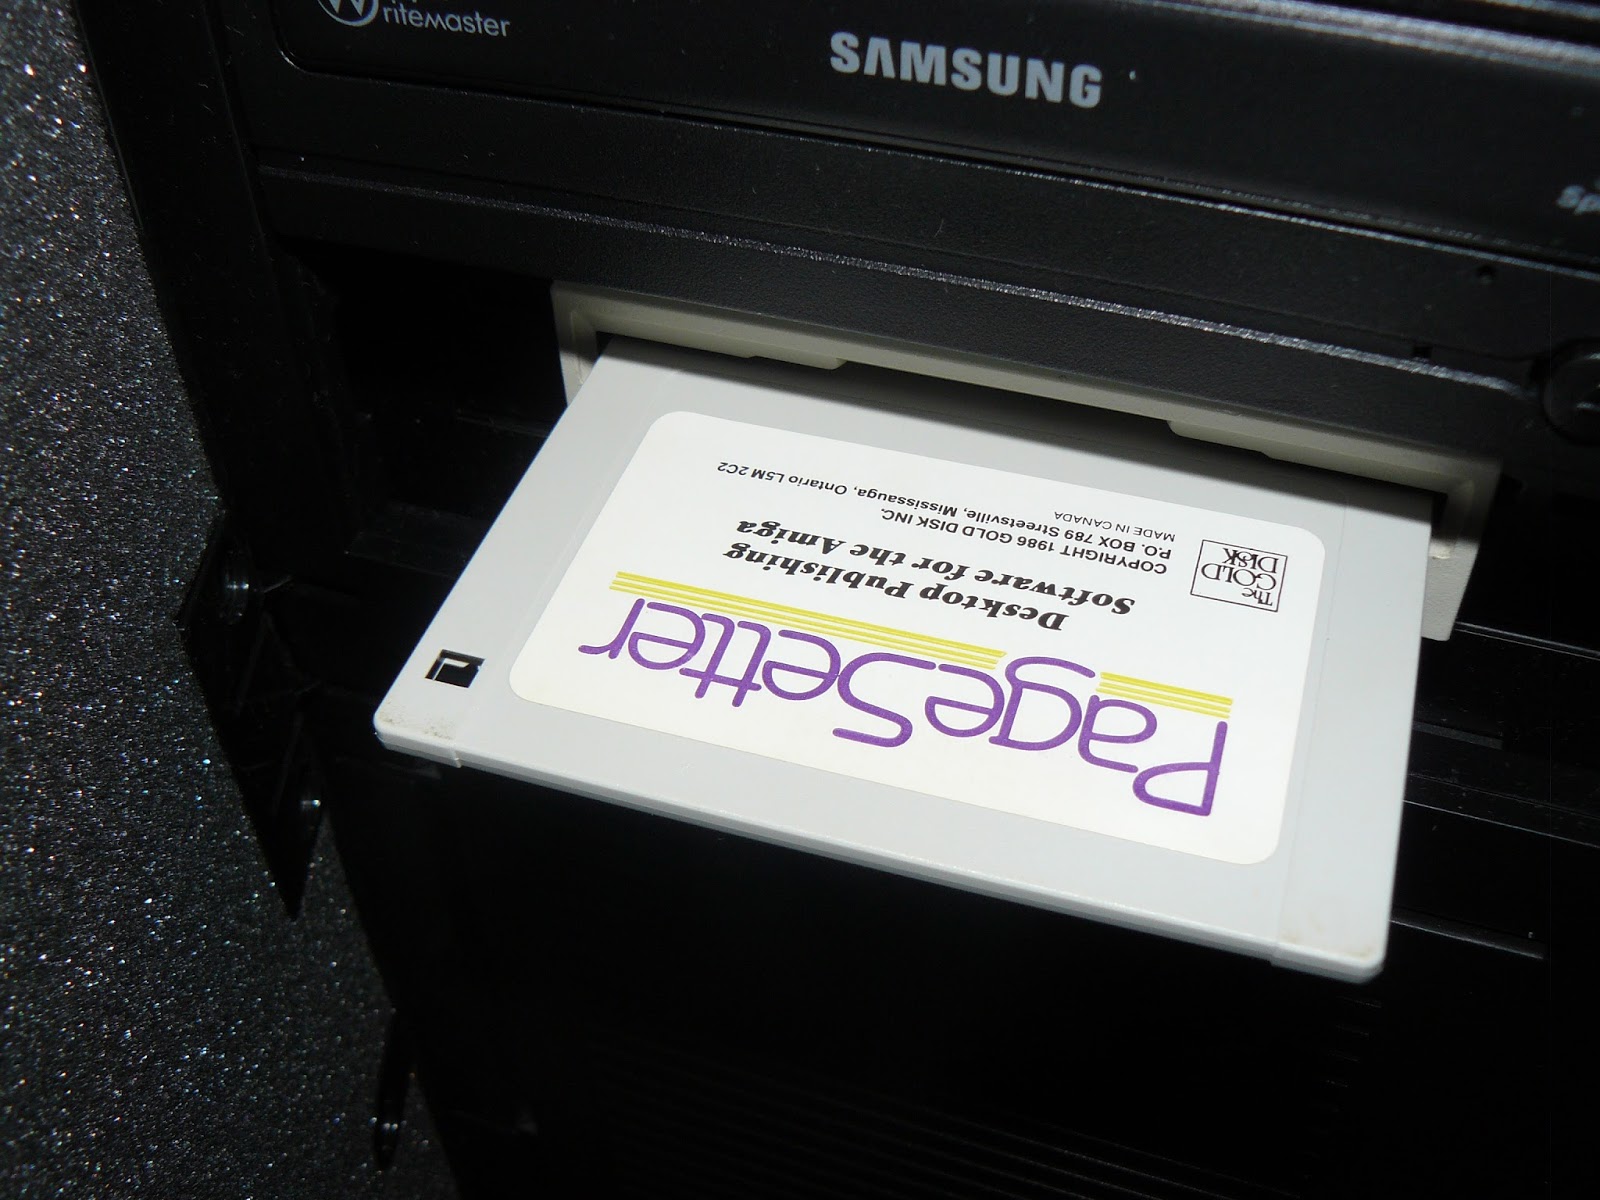
Included with the software on the CD also is a program called SuperDisk - which is installed into the Utilities folder as part of the installation. This software allows you to read Amiga floppy disks to/from ADF format. Keen to try this out, I put in an old floppy disk application called PageSetter, from way back in 1986!
I ran SuperDisk (written by Ian Gledhill), and then typed in the image path name I wanted to be created, in this case "work:adf/PageSetter.adf". I then clicked on Read Disk the floppy drive got to work:

The floppy disk read was quite fast, and finished quickly:
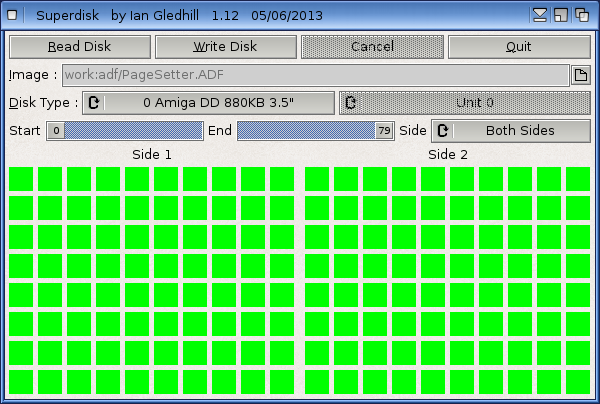
The programs needs a "bing" sound or "Finished" dialog notice box in my opinion, but the visual green shows it is done I guess.
Next, I checked the destination folder, and sure enough the PageSetter.ADF is there:

When I double click on it, it launches via RunInUAE automatically and soon I am looking the PageSetter Workbench 1.2 screen:

I then ran the PageSetter program and it works well (well, as well as a Desktop Publishing Program from 1986 works!):


So now I have my first converted Amiga floppy disk to ADF format on the X1000 thanks to the Catweasel Mk2 and new drivers from AmigaKit.com.
If you want to read more on how to use SuperDisk there is a great guide here.
If you need to do this kind of conversion of old floppy disks to ADF, or just want to be able to copy Amiga files from your floppy disks to/from your X1000 this is perfect and works very well.
I will of course play around with it some more yet (I haven't tested writing ADF to disk or other formatted disks like PC disks), but hopefully this gives you a feeling for how the CatWeasel Mk2 works on the X1000.