Upgrading the Blizzard PPC from 040 to 060
This time I will show how to upgrade the Blizzard PPC from 68040 to 68060. (I have NO equipment for BGA soldering so no PPC upgrade)
So, We take this BPPC Card:

This card is equipped with a SCSI controller aswell. But you do the same thing on both cards.
First you need to unsolder the 68040 CPU. This is not an easy task. forget solderwick, soldersucker. you need to use something like a desolderingtool:
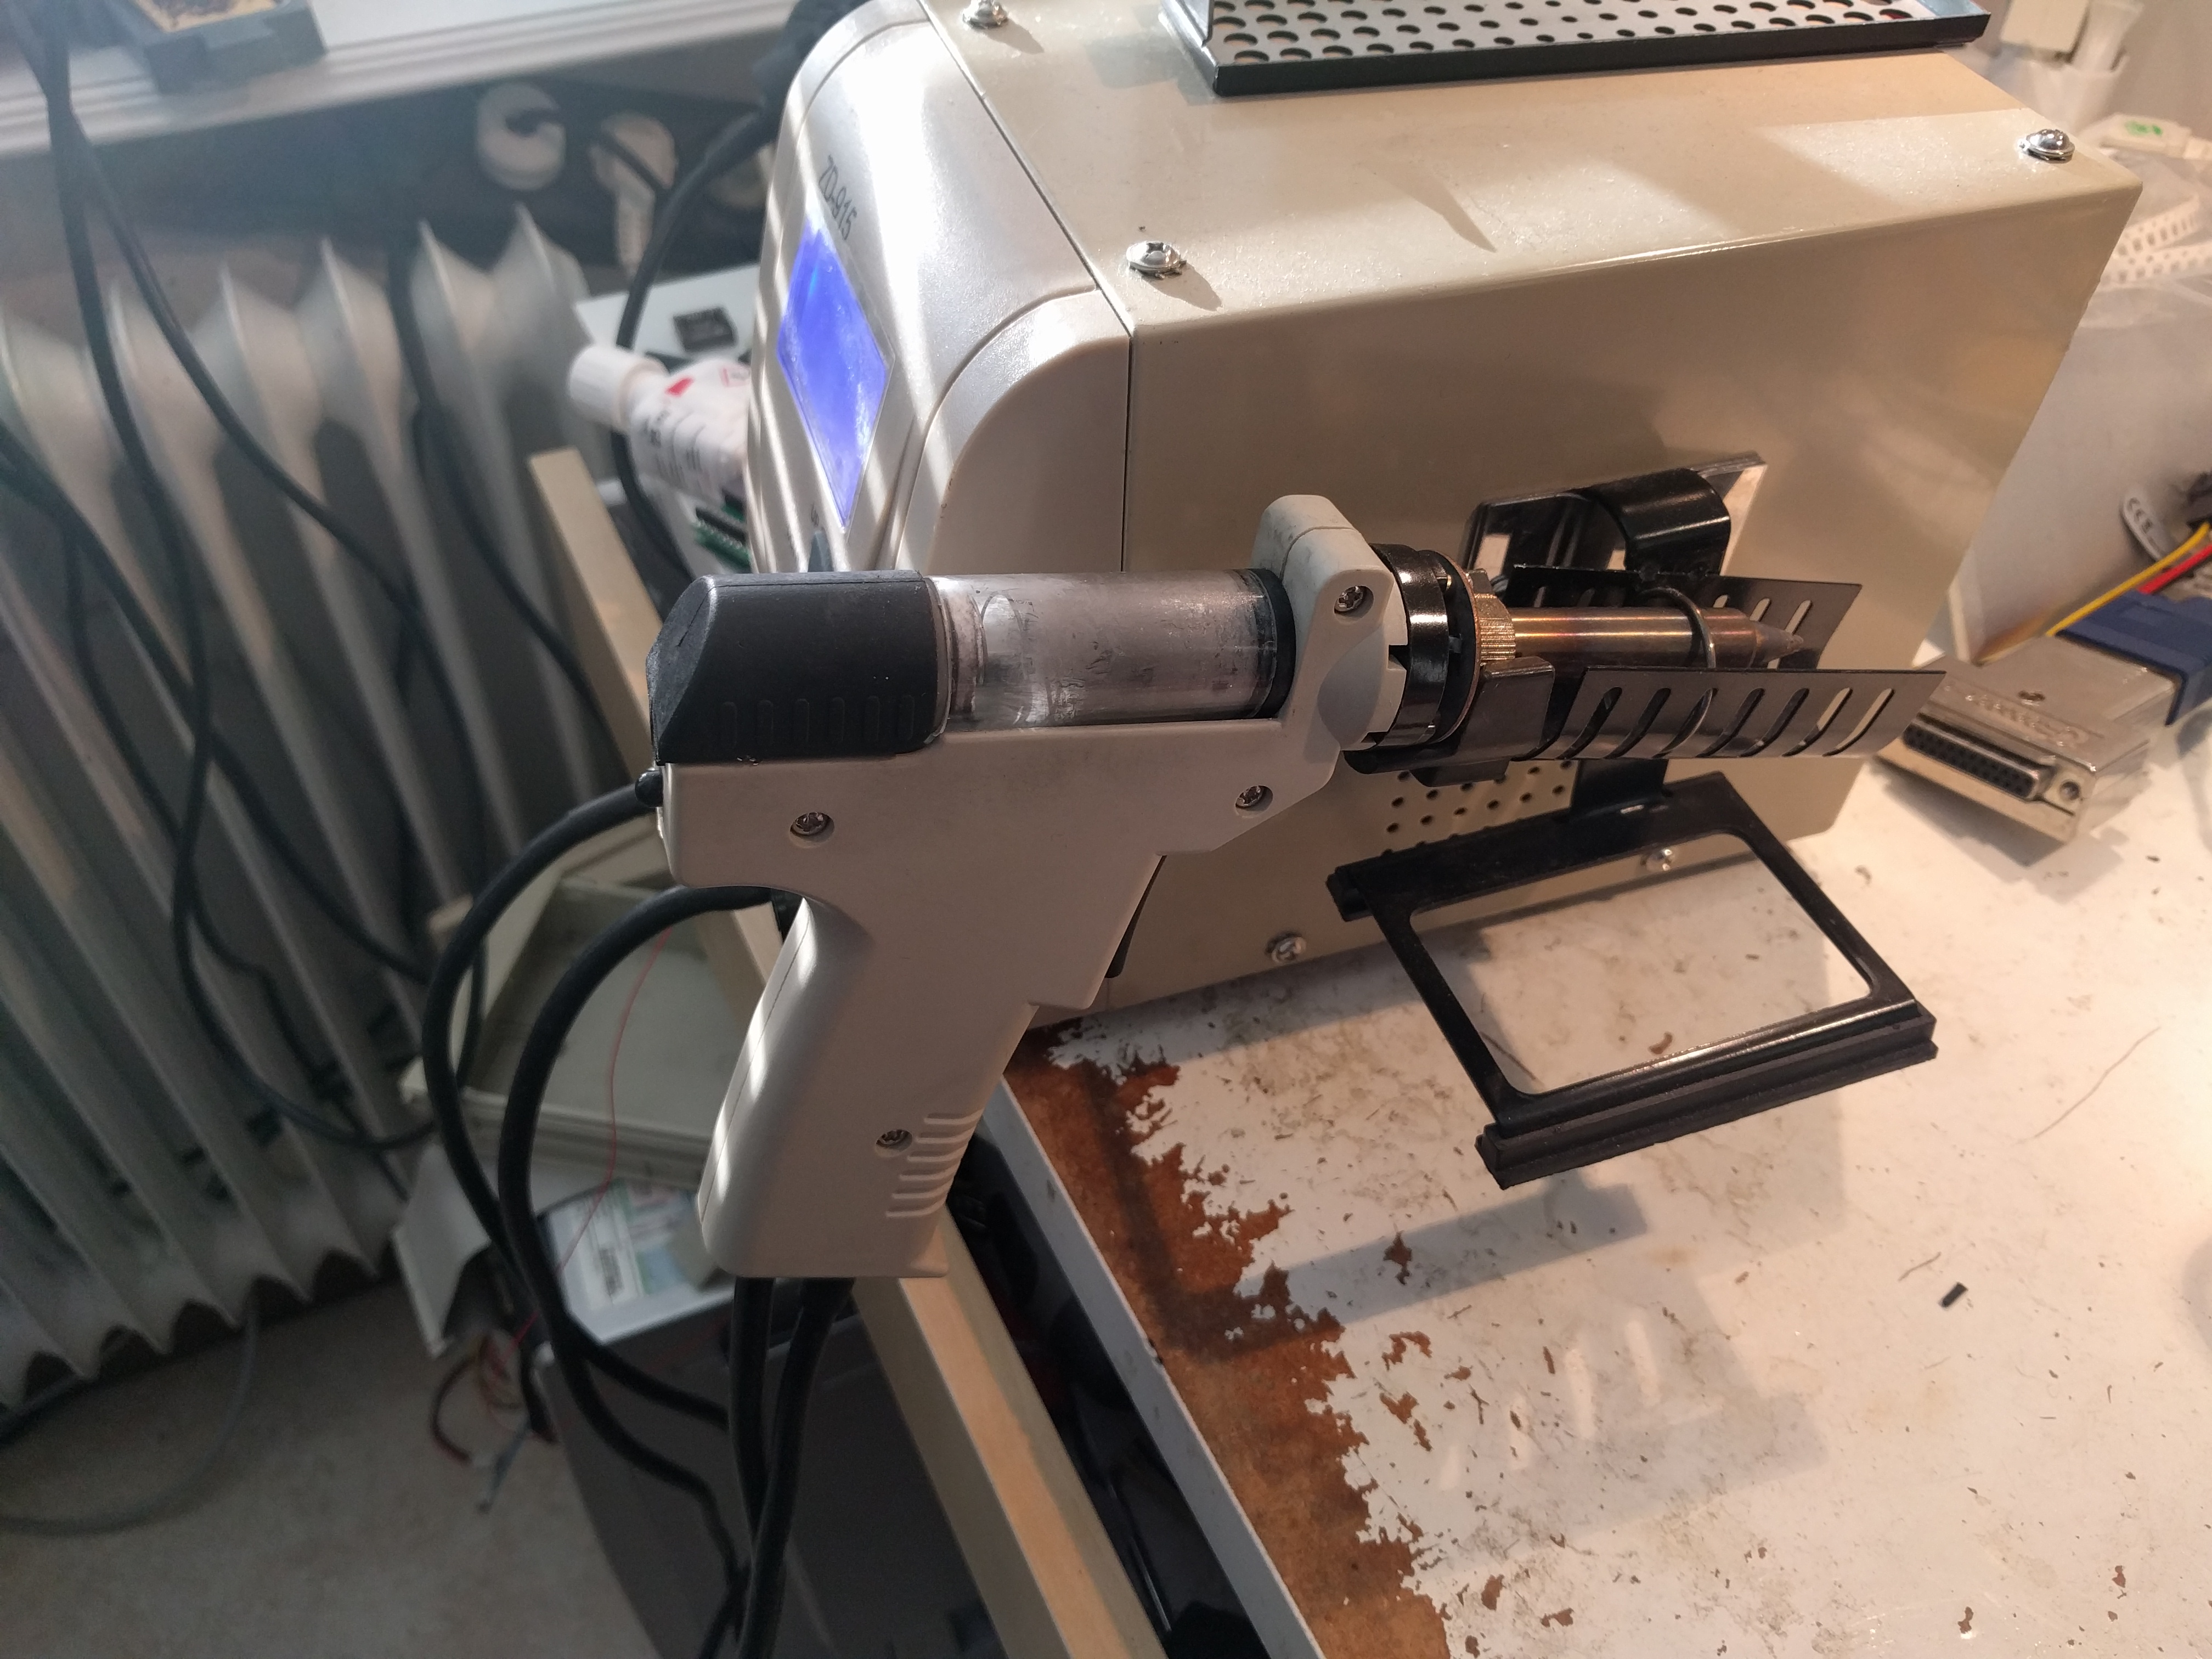
and AVOID trying to use hot air. you will just kill your board then.
When you have removed the CPU it will look like:
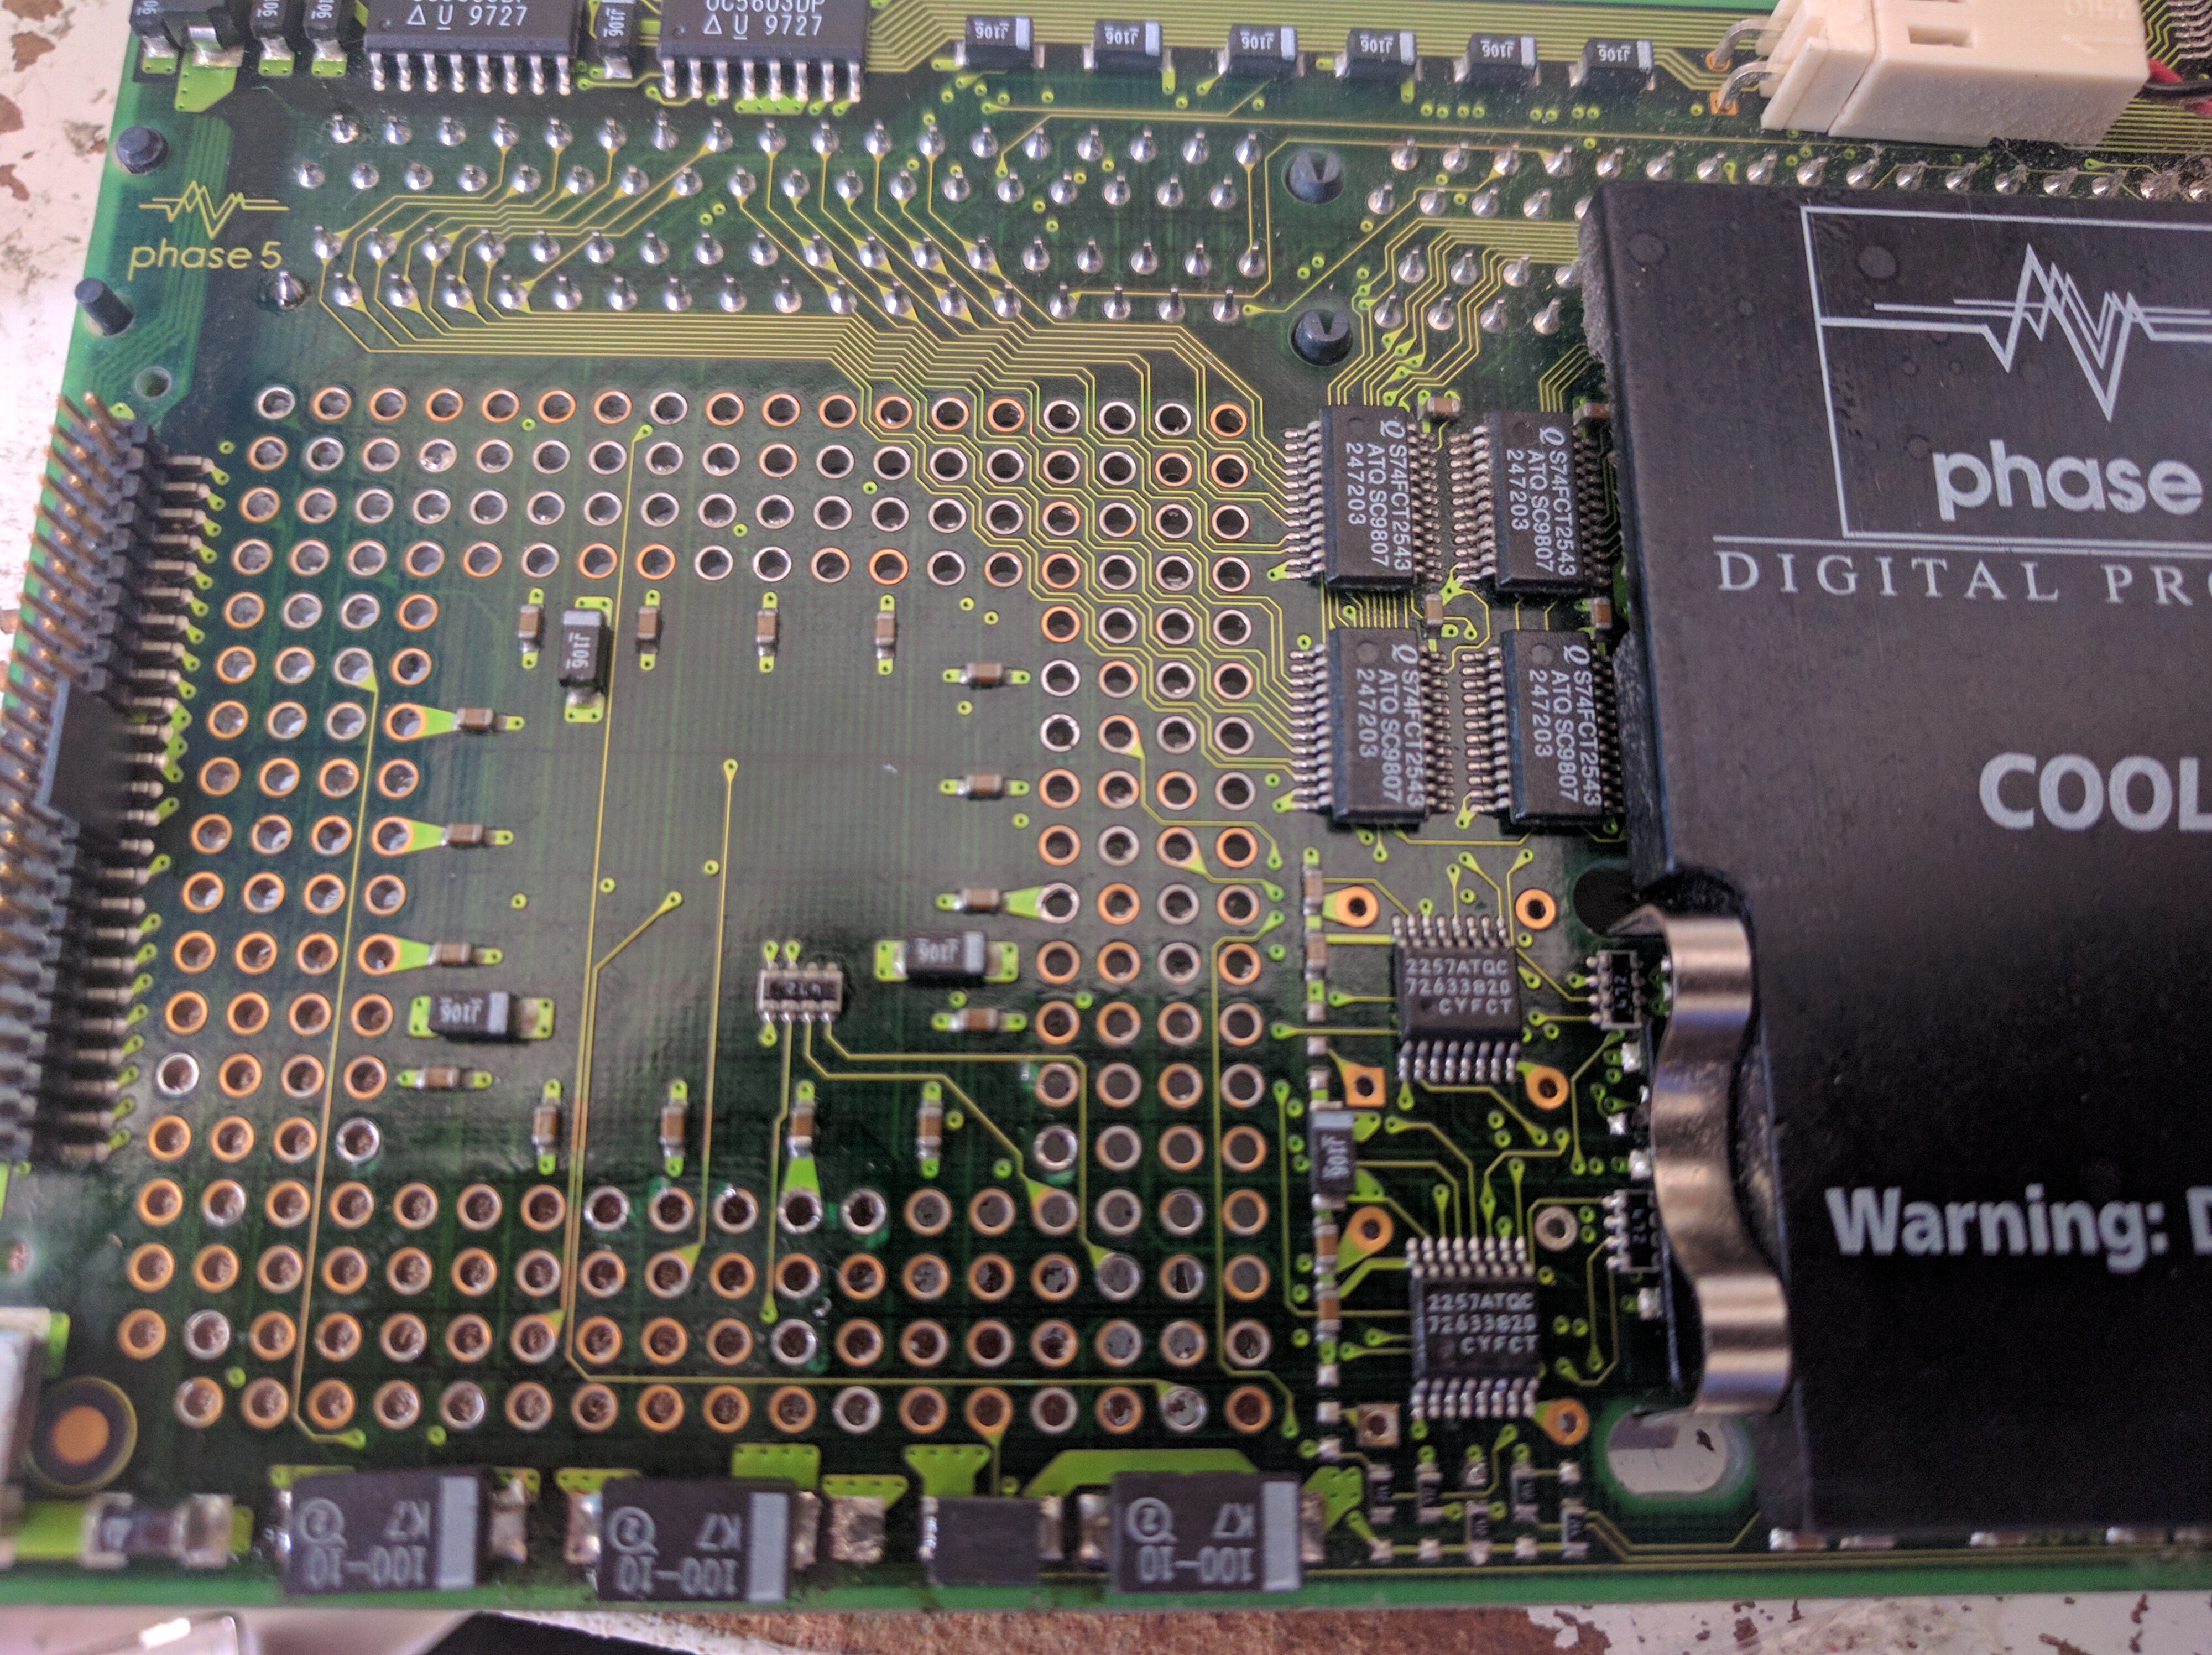

Also remove the oscillators.
Remember to remove solder on the unused pins aswell, as the 060 have more pins then the 040.
When soldering in the 060, I put in a doublesided simm in the simmsocket that have the simm close to the cpu pins. I do this so I know that I will fit a doublesided simm later. Then I lay the board on the table with some kind of support of the CPU so it will get straight onto the board. I used a 060 socket. (oh.. socket yes. you CAN add a socket to the bppc but might have issues having it in a desktop 1200 after that)
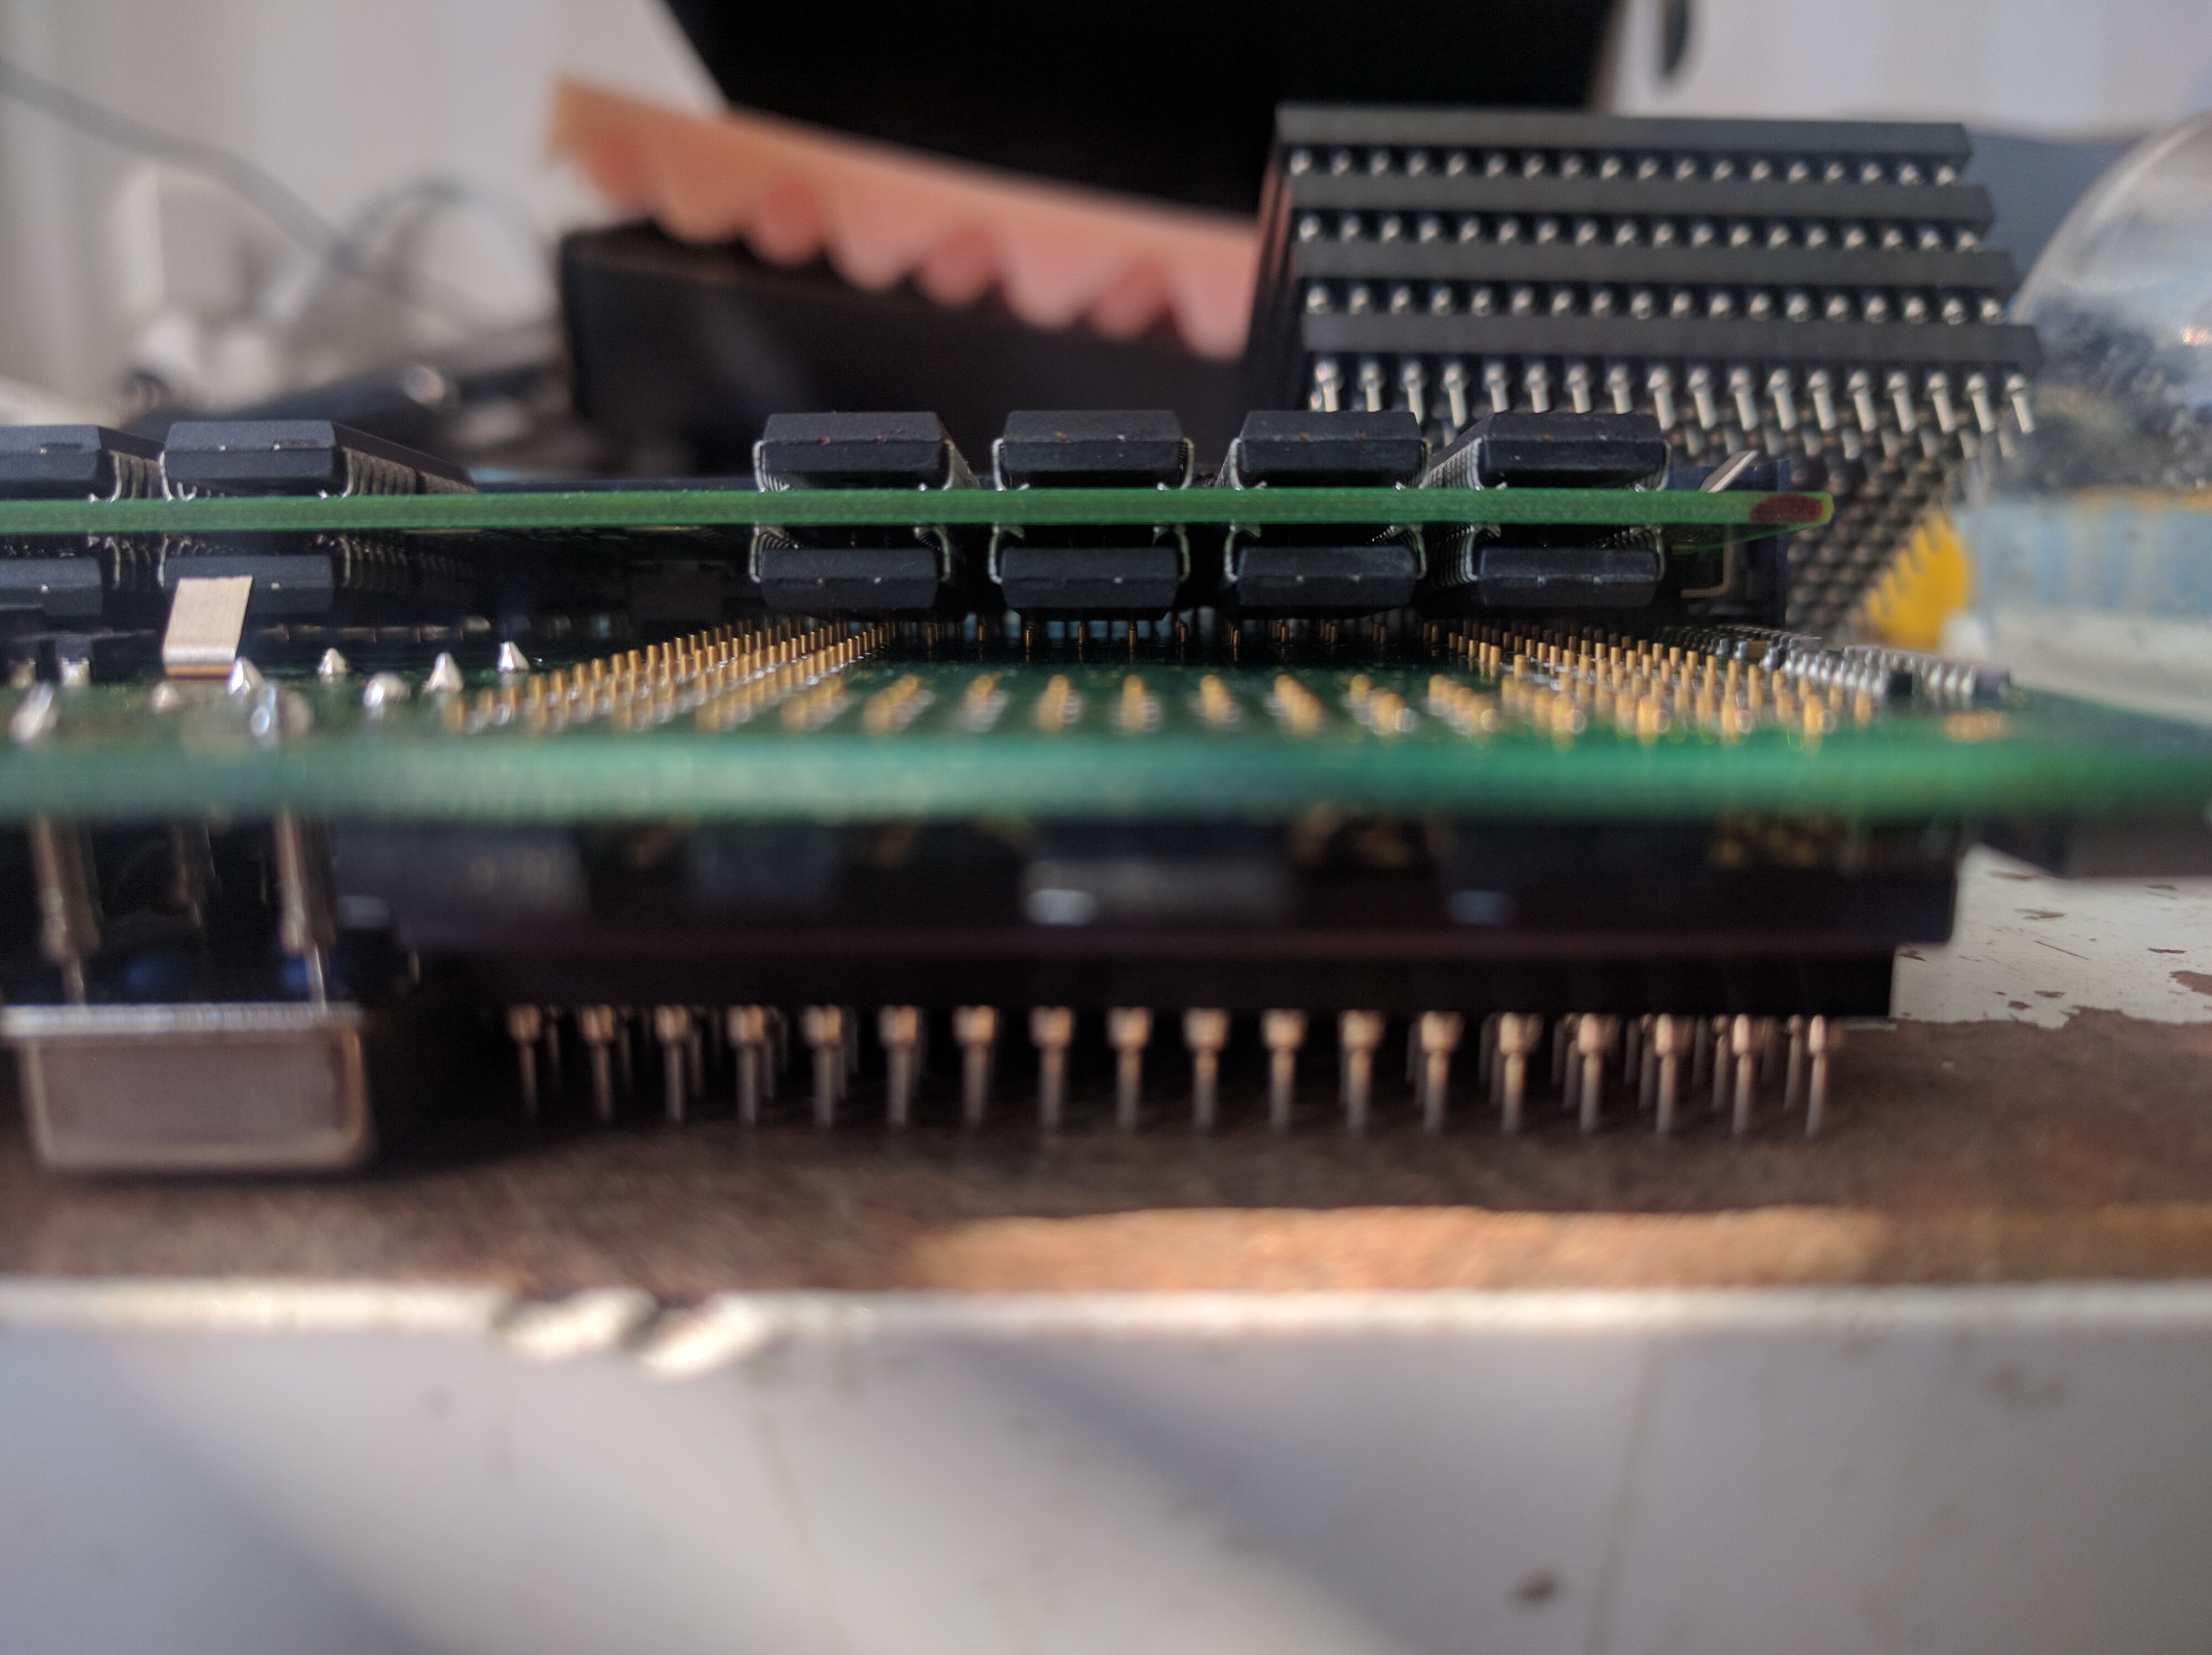
Here you can see how the board rests on a socket so cpu is straight. and you can slo see the doublesided simm there.
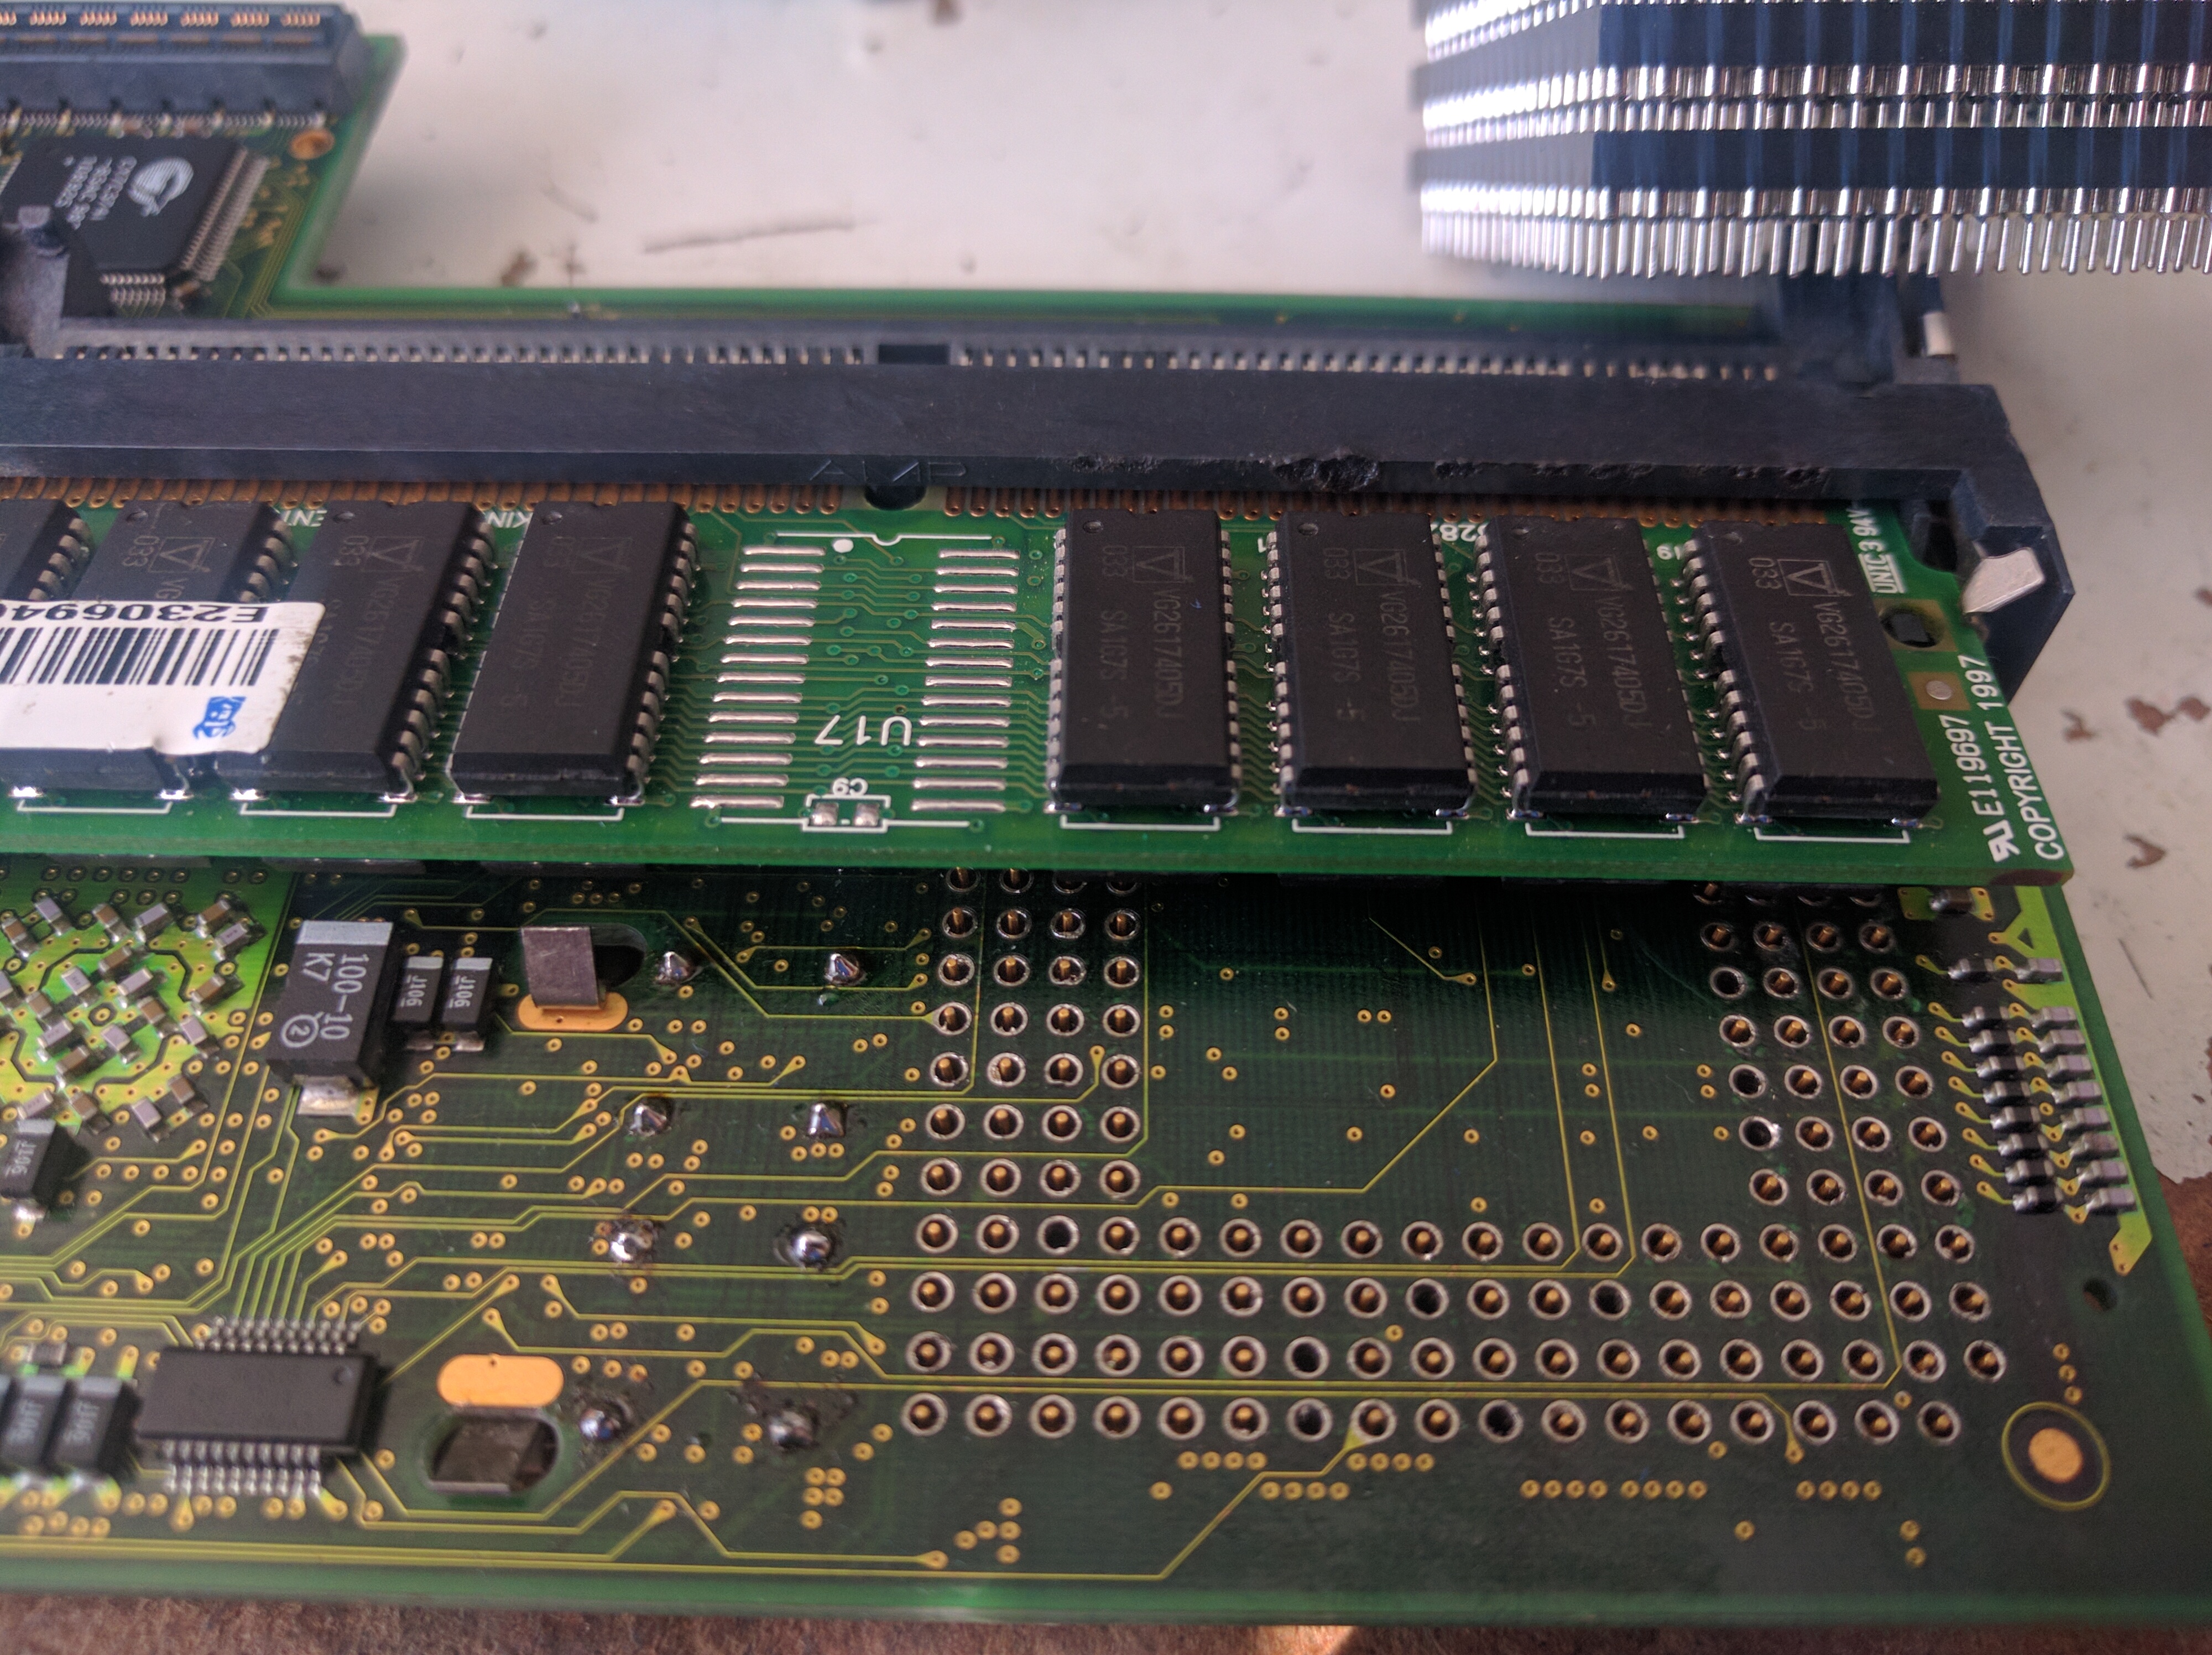
Another angle. now just start to solder the CPU into place.
Then we need to change some SMD Jumpers.
so first the “jumpers” that controls the 040-060:

This is a picture of the settings in 060 mode. you can see that the ferrite marked with red is moved to the right. This makes the 060 gets 3.3V instead of 5V (forget this and your 060 will die) and at the wite marking, you can see that the resistor is moved to the down postition (060 postition).
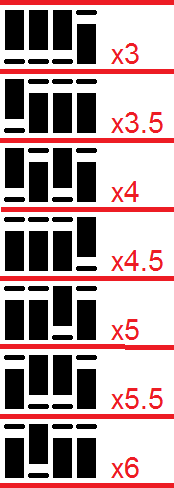
When it comes to clocking we have more jumpers:

The RED oscillator is for the 680×0 CPU, the Green oscillator is for the PPC CPU. and the resistors in the White part is for PPC multiplier:
Anyway, after soldering in the 060, moved the voltagejumper (I call it “jumper” when it is actually not…) and 040/060 setting to correct position. We can put it into the machine and boot.
We need to flash the board now with proper 060 support. IF you have issues booting, remove ALL fastmem, and also at poweron hold down the S key if you have a SCSI controller to disable the SCSI. (you might need to boot from floppy for the flash)
Now download the flash from http://phase5.a1k.org/index.php?driverslibraries or download it from me: FlashUpdates-26042002 (Converted to ZIP here)
when booting without startup-sequence or so go to the dir where the files above is located and enter:
blizzppc060update IF you have a scsi and still get errors even if you disabled the scsi write: blizzppc060update force
And you should get the board updated, this can take from 1 minute up to half an hour apparently:

When it is finished. put in all fastmem if you needed to remove it. poweron and boot.
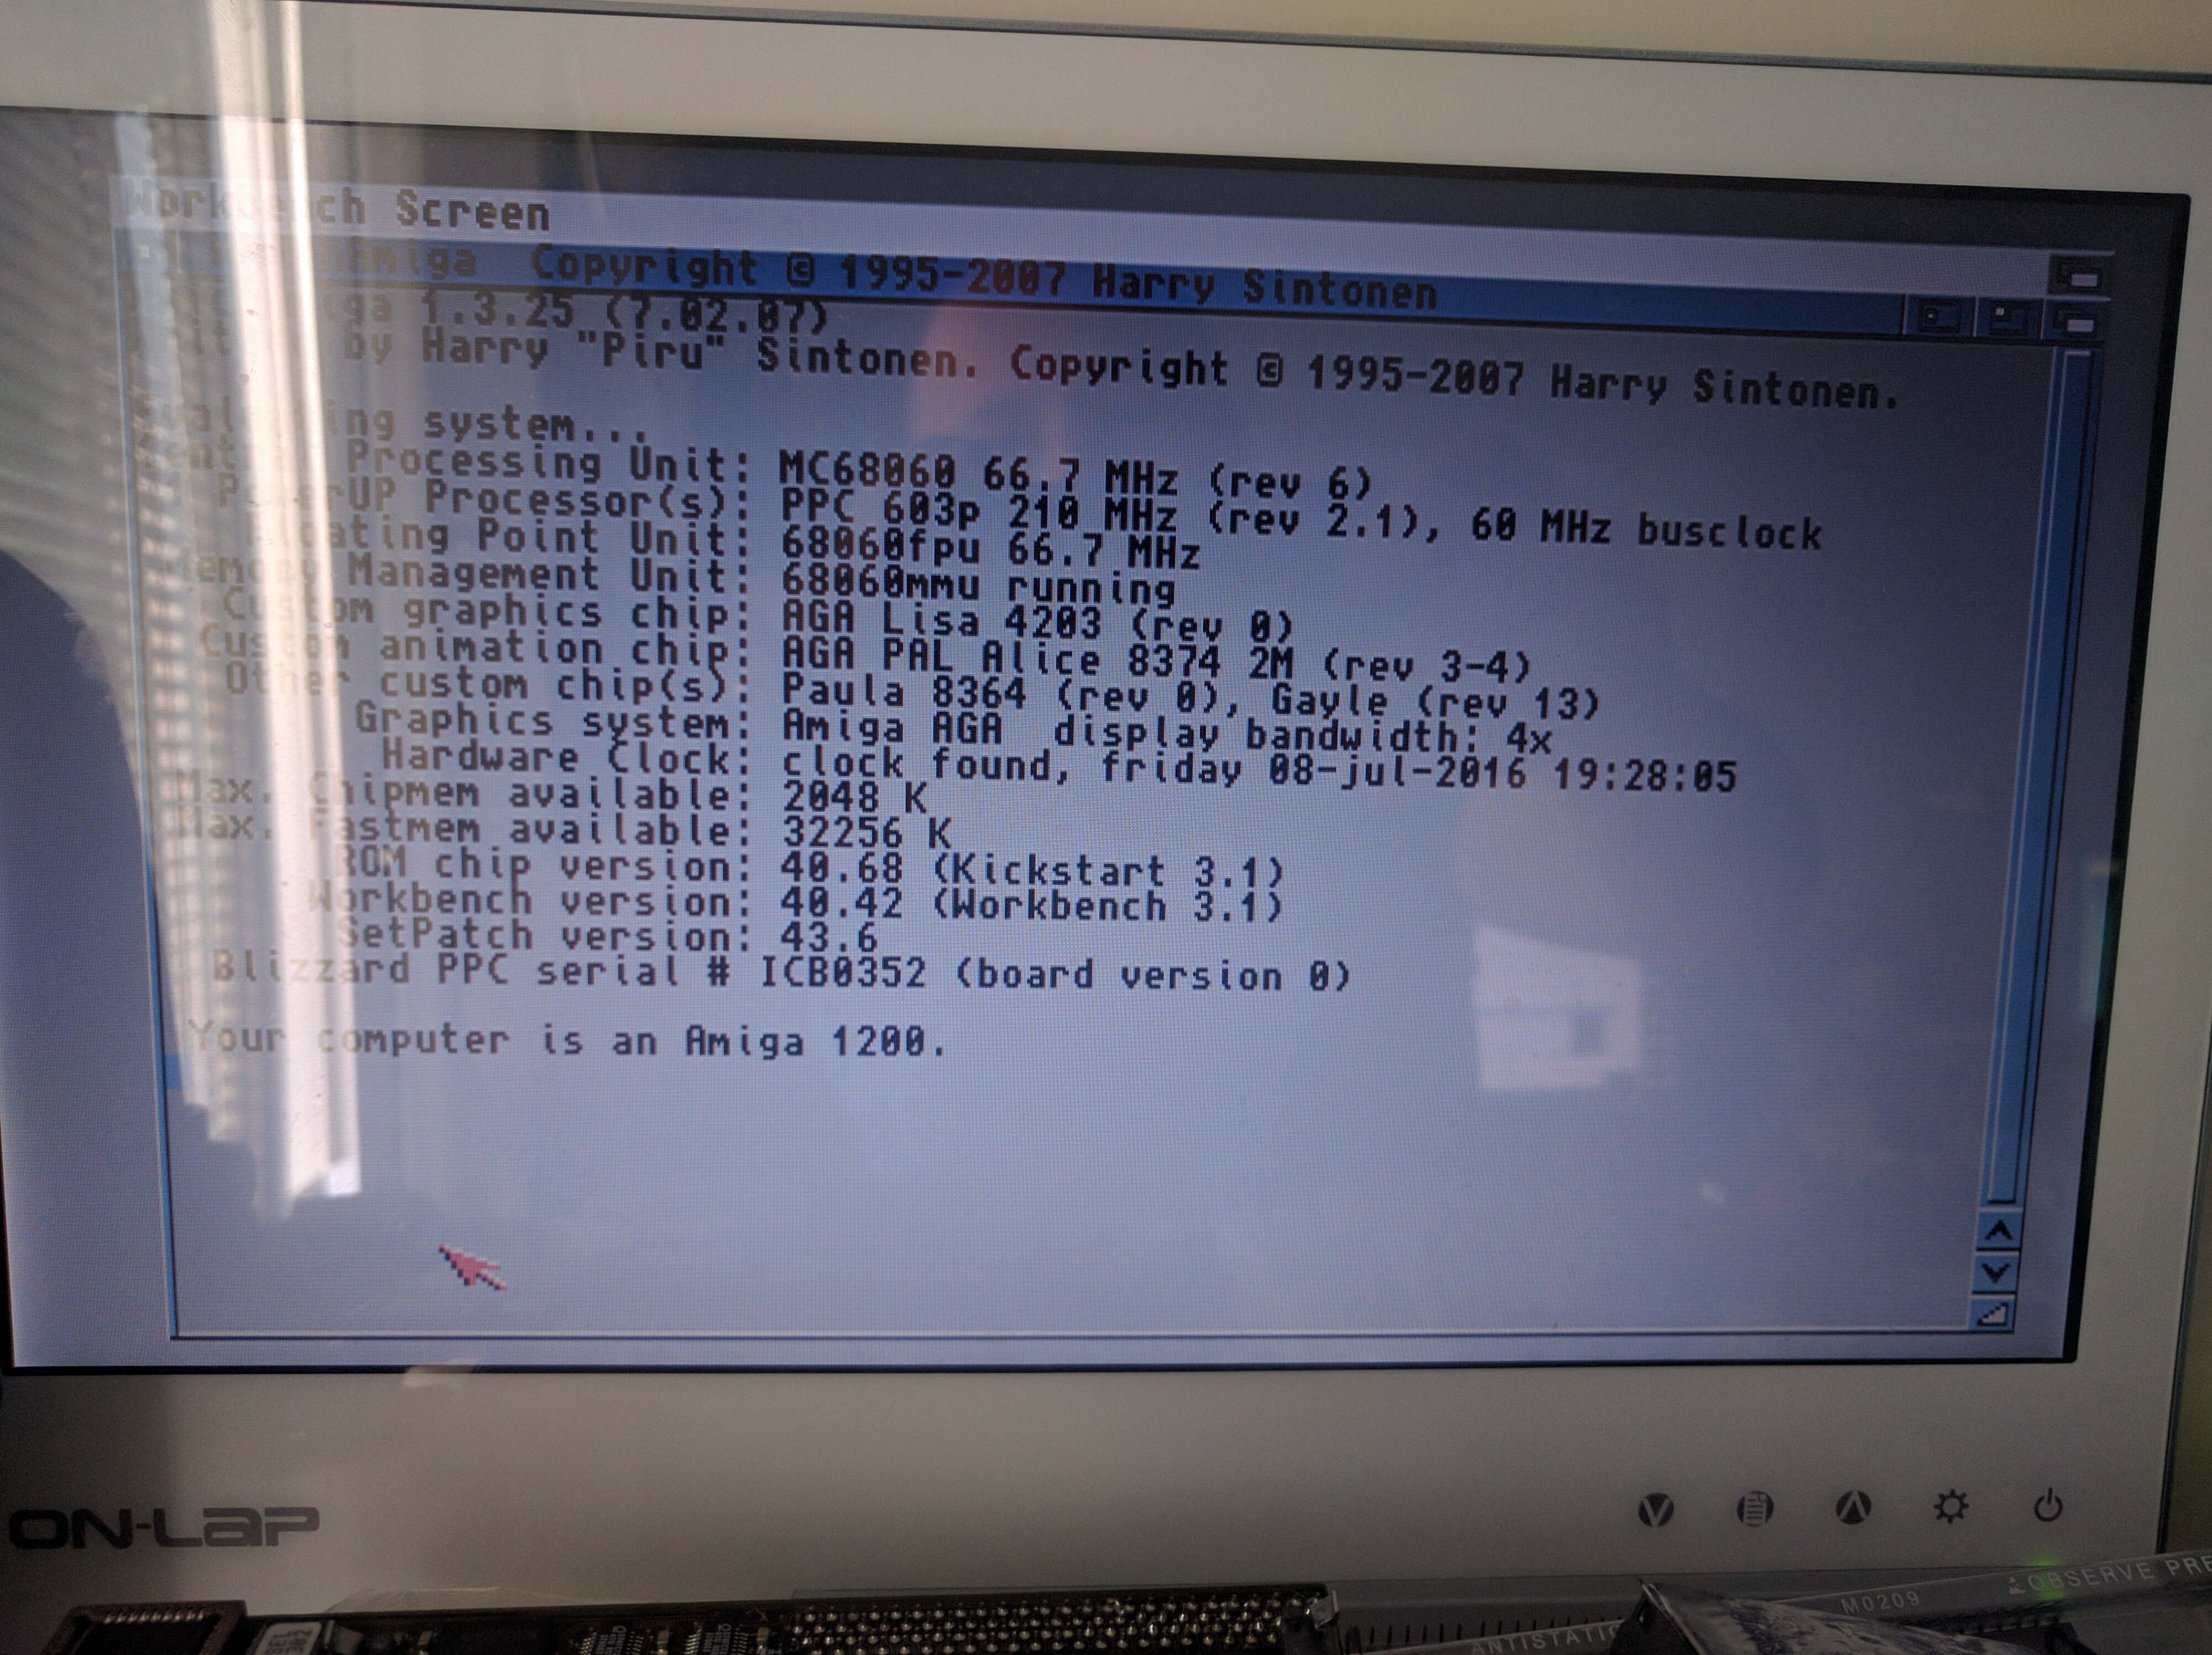
Voila.. 060.
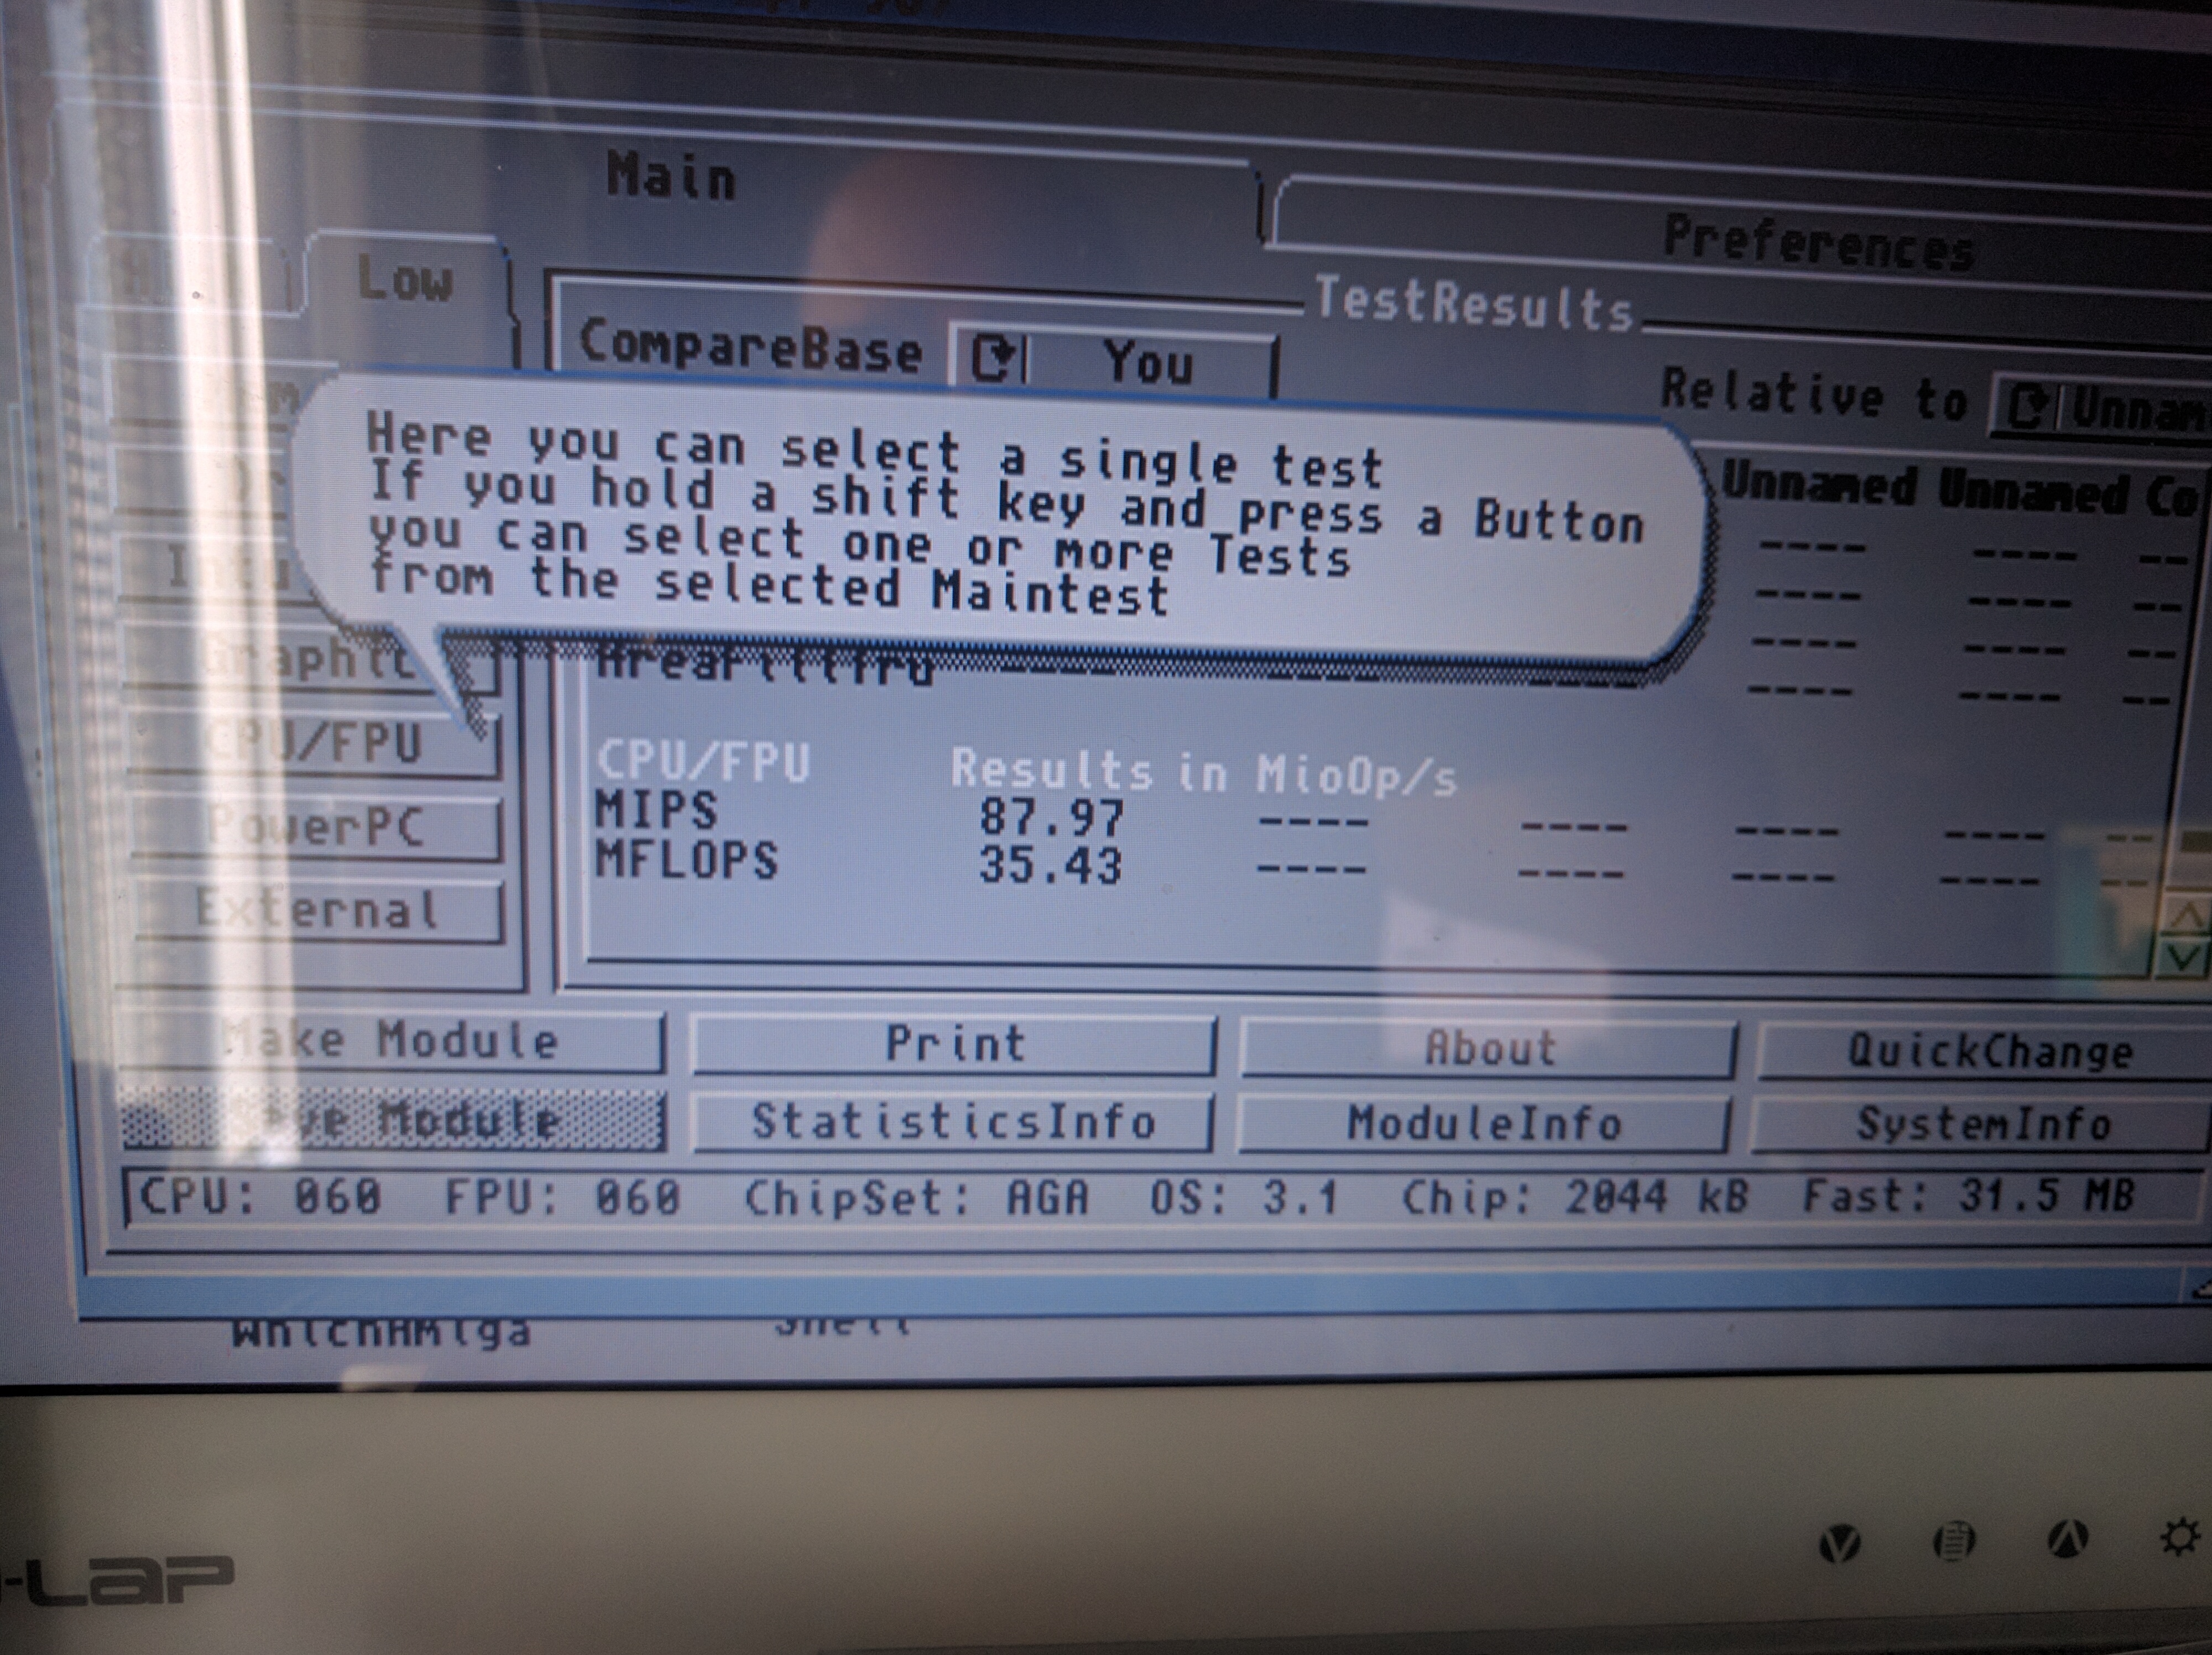
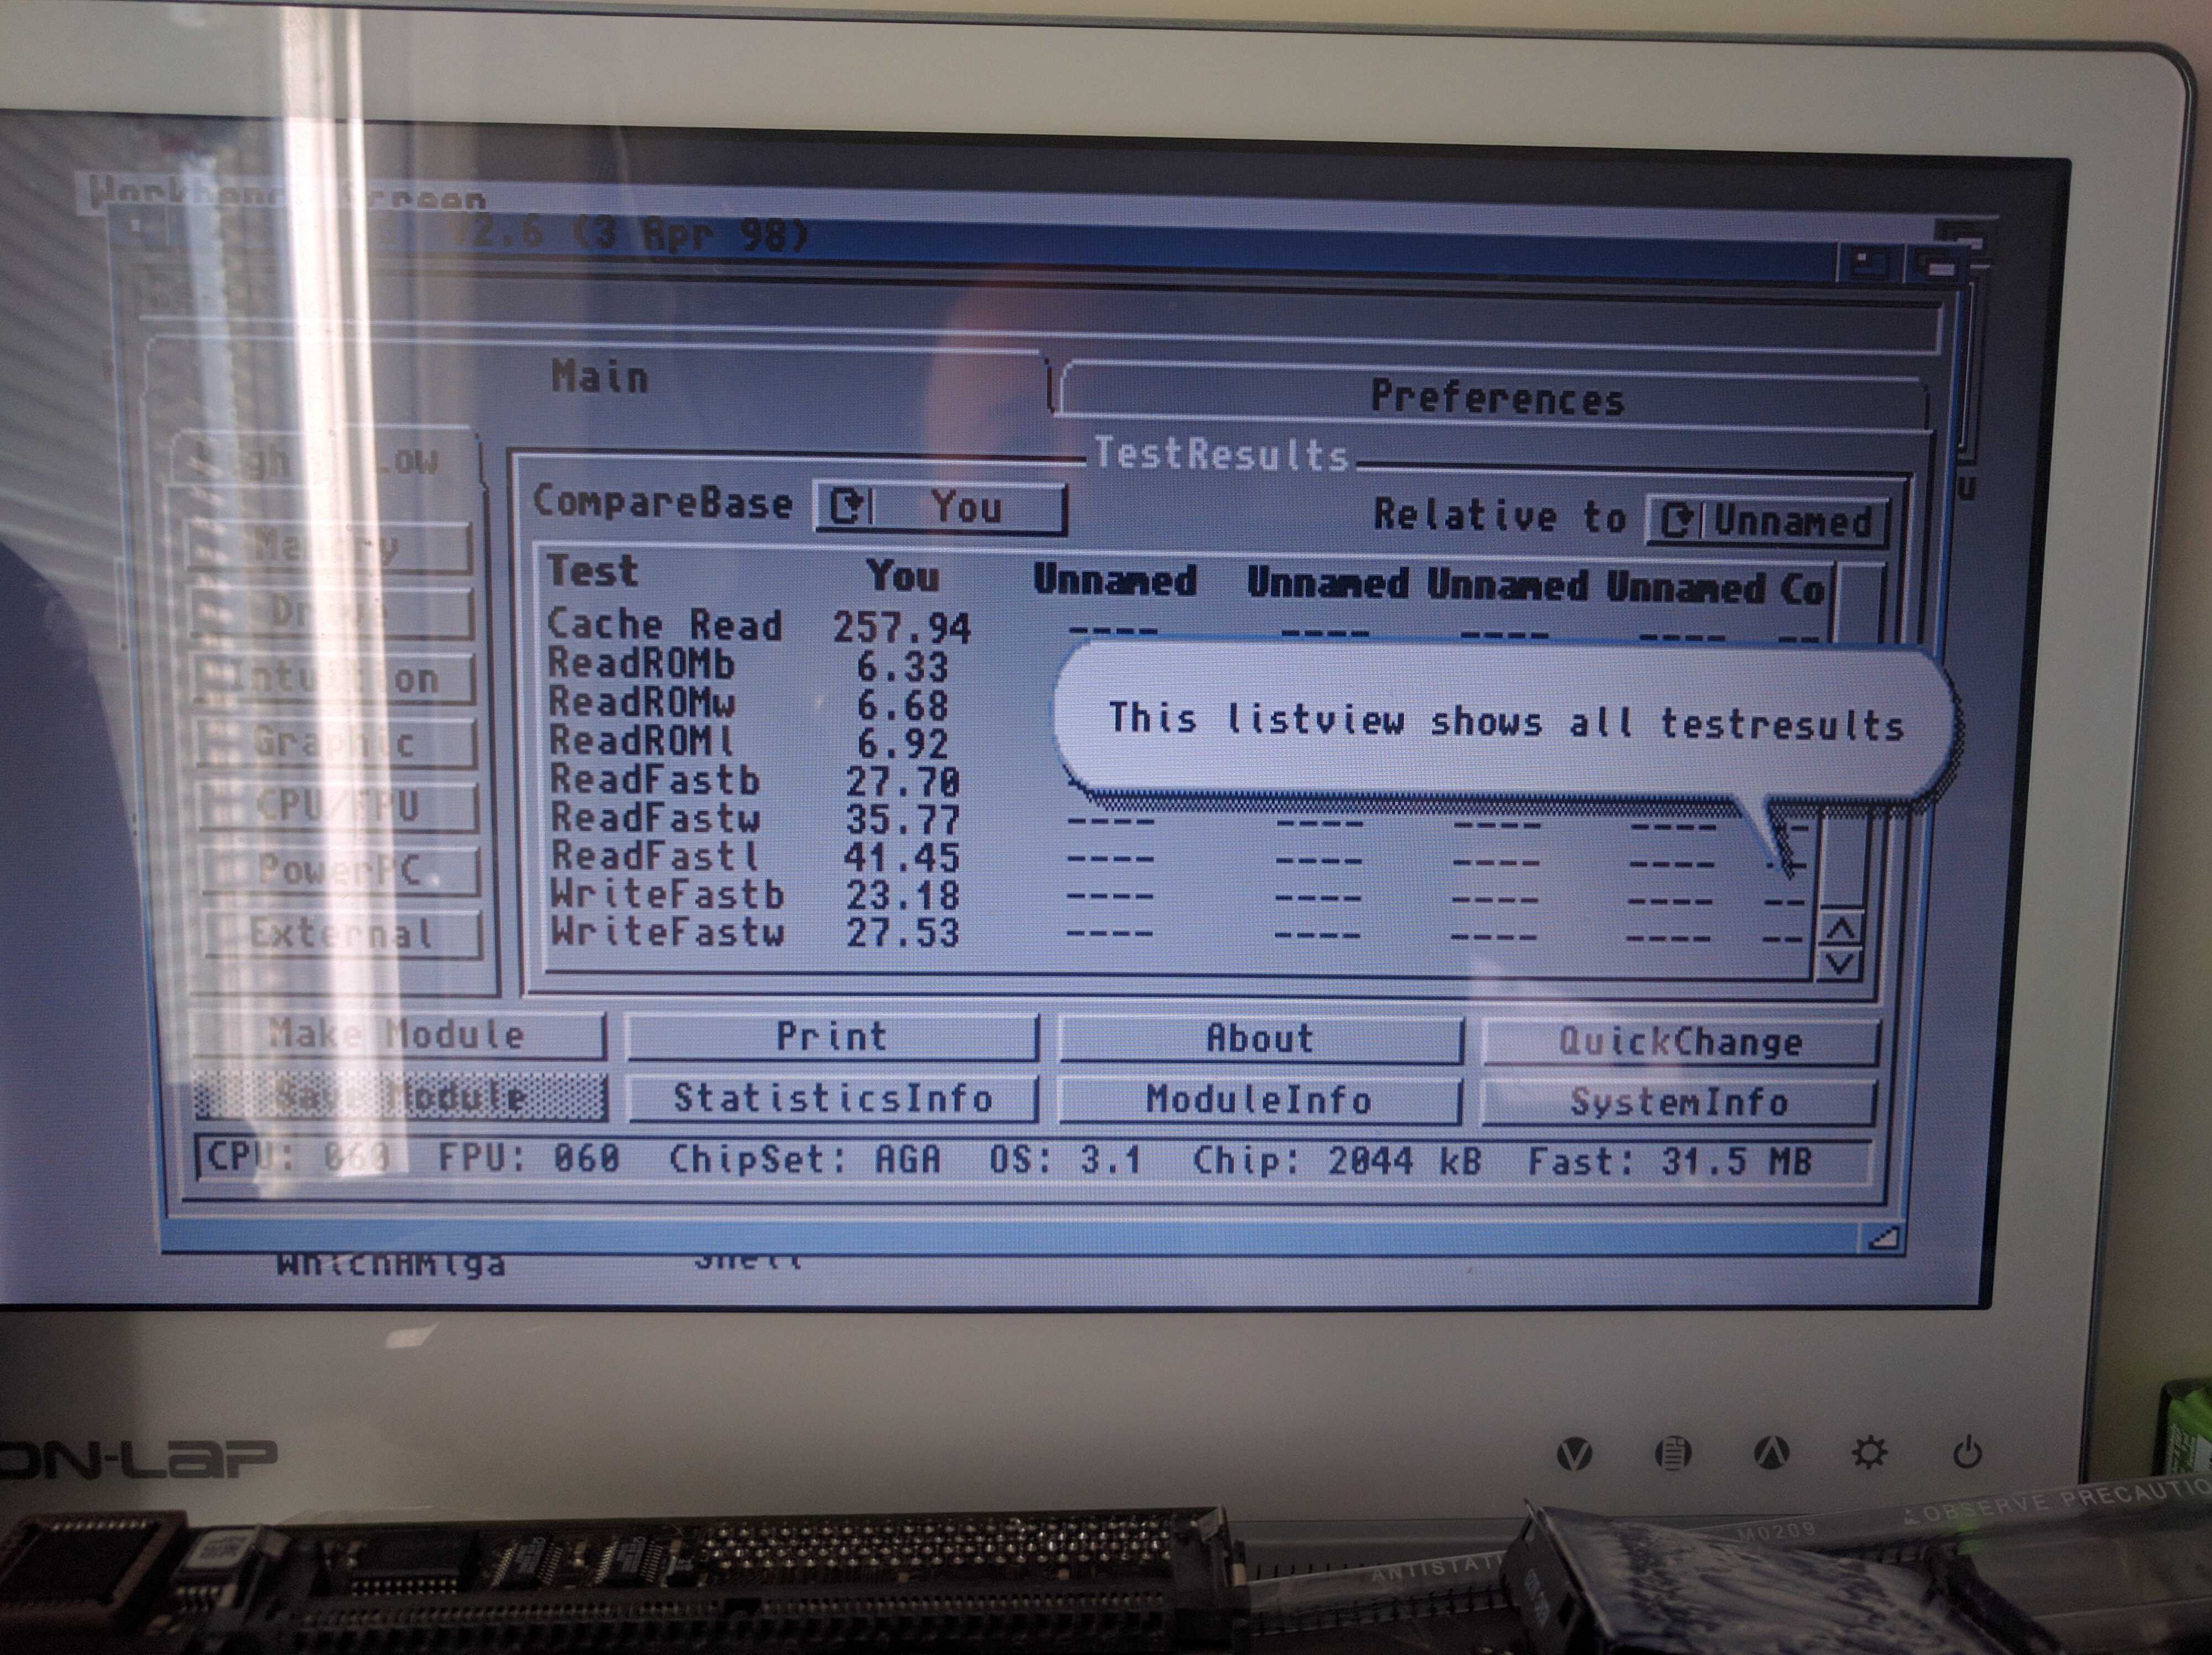
you CAN overclock, but blizzardvision and scsi will not work above 64 to 66MHz.
but you CAN clock it as I succeeded today:

Enjoy!
AND. do NOT use a 68EC060 or crappy thing like that. use a 68RC060 and try to get hold of the 71E41J mask of CPU (Rev6) as it runs a lot cooler then the others and can be clocked HIGH!.