Amiga 600 CF AmigaOS Setup Part 1
Sorry for the delay between entries, but work has been very busy of late. Today I am starting a multi-part blog post following the installation of a CF Card with AmigaOS on the Amiga 600.
For those following along my blog previously you would know that I already put a IDE HD running AmigaOS3.9 on my Amiga 600. However, I did cheat a bit - I had already prepped that hard disk on an Amiga 1200 previously, and then adapted it to work on the Amiga 600.
This was so I could quickly check everything with my expansions worked as I wanted it to.
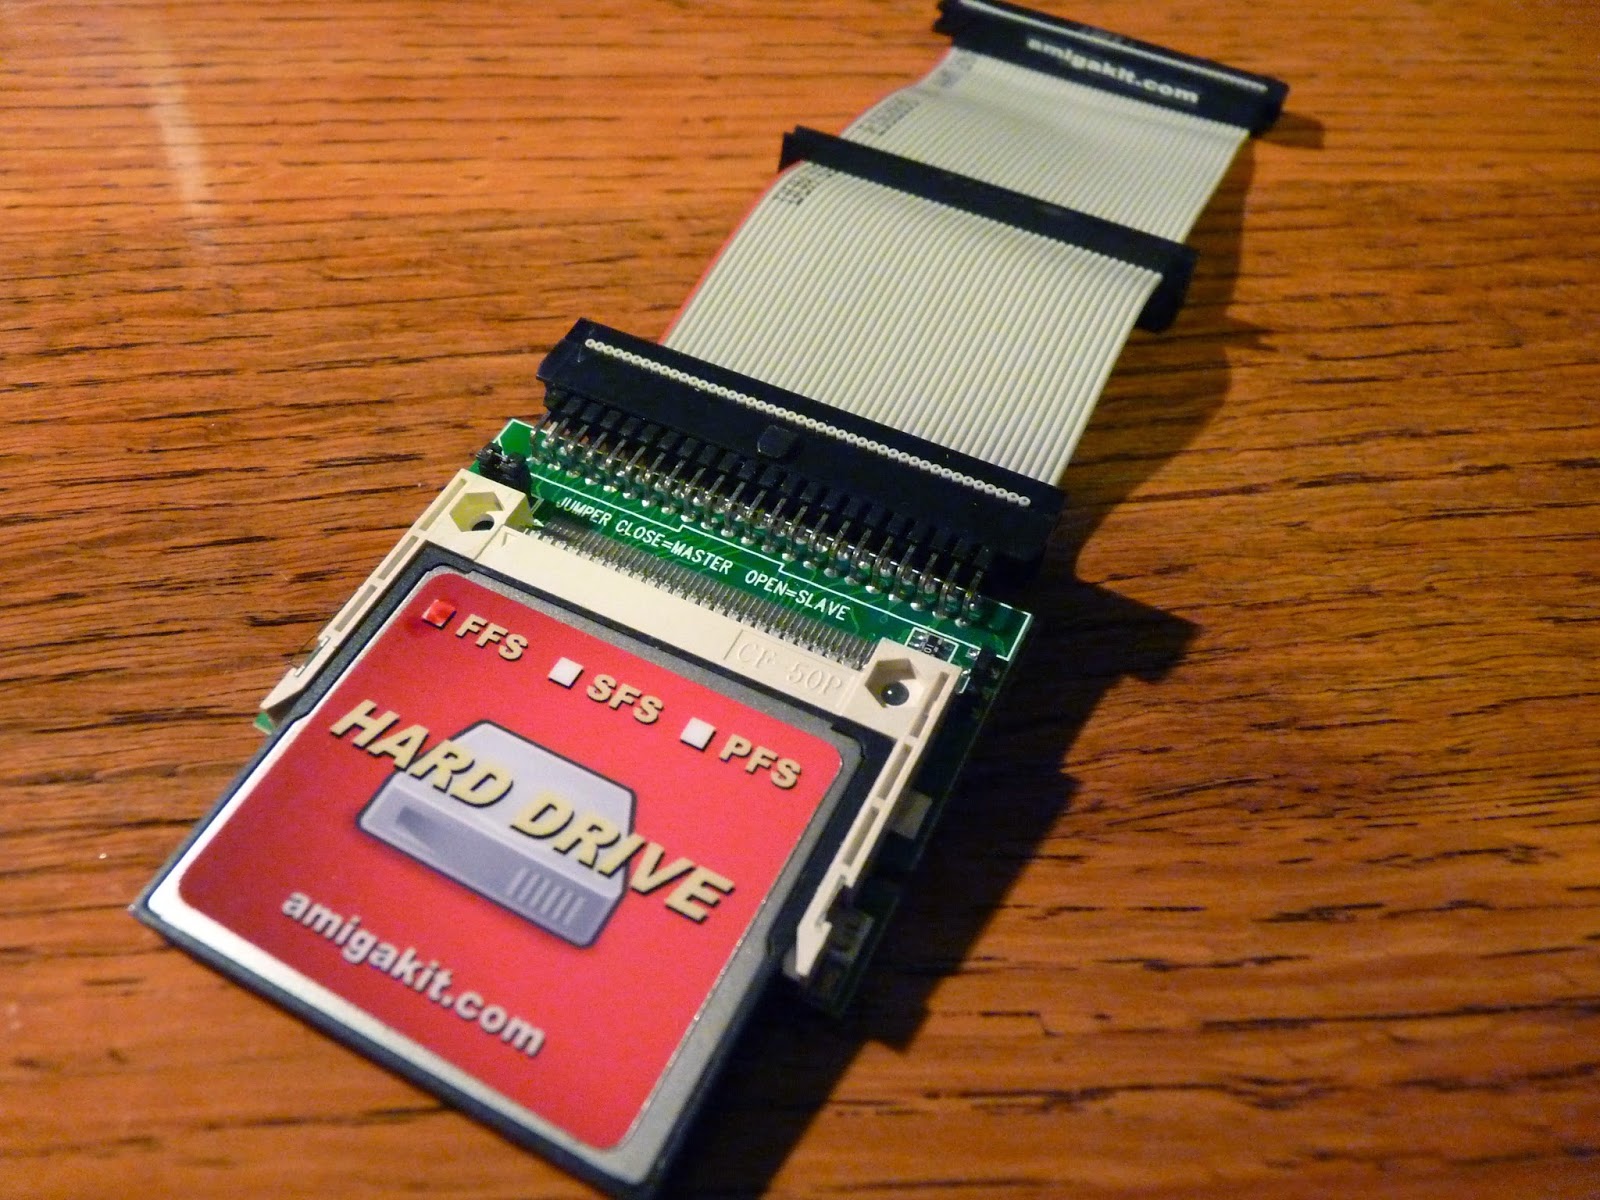
But now, I need to do it properly from scratch, using a CF Card to to IDE converted Hard Disk, purchased from AmigaKit. You can buy it from here.
It is a 4GB CF card, already prepped for Amiga use, running Fast File System (FFS). Here is some photos of the CF to IDE converter card and cable. I opted for the longer two connector version of the IDE cable, which allows me to add another IDE device later.
Here is the back view - it shows the CF card is 4GB:

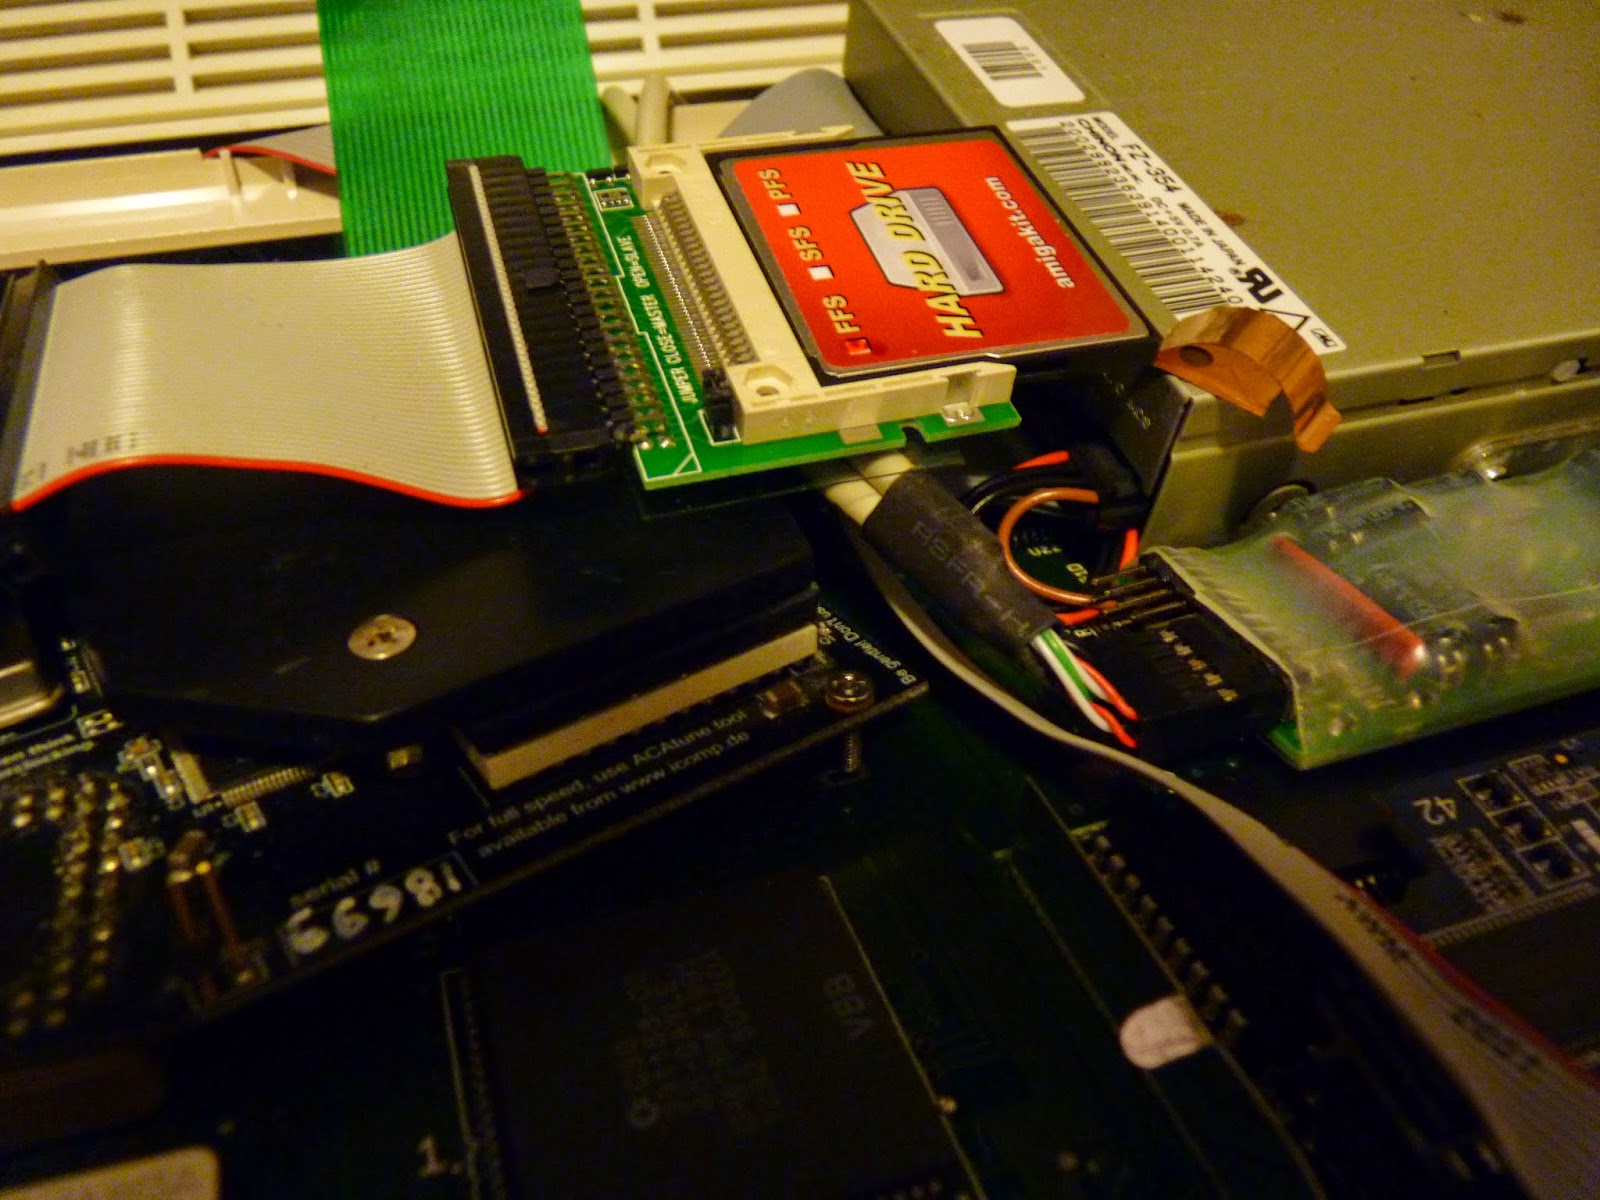
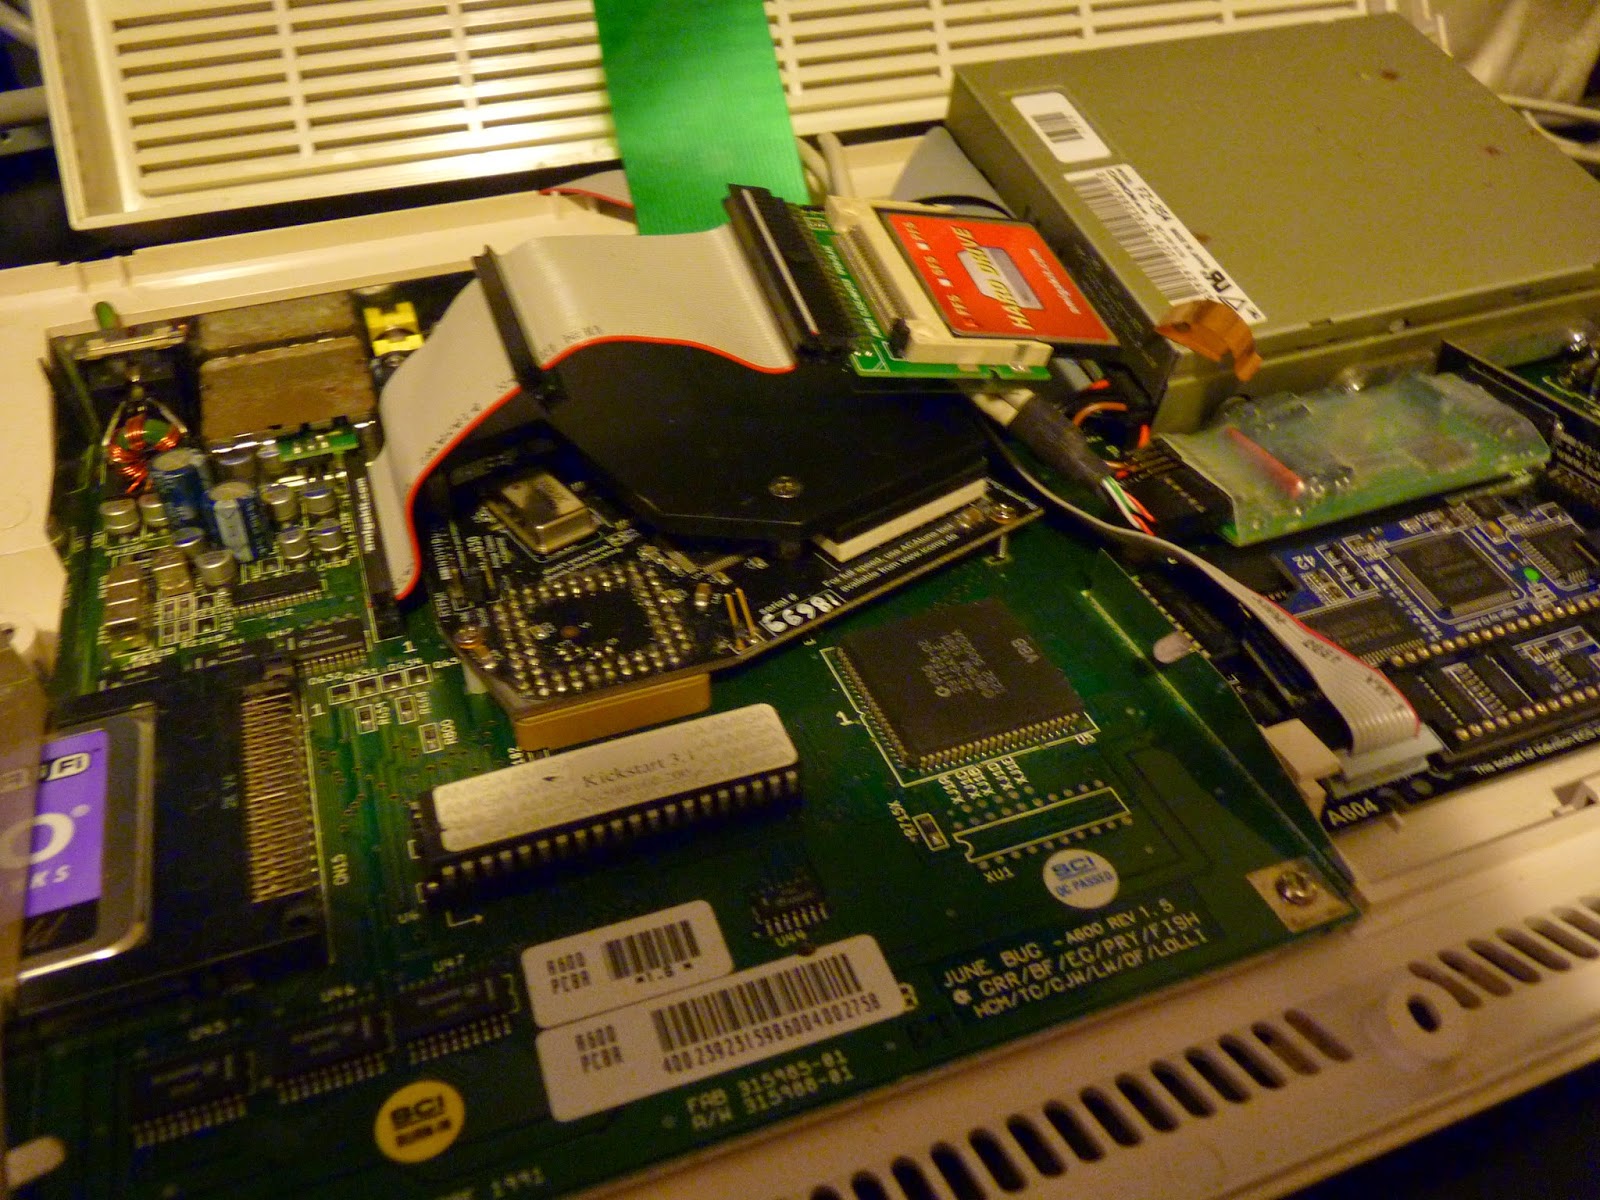
Here is the card installed in the Amiga 600, ready for power on:
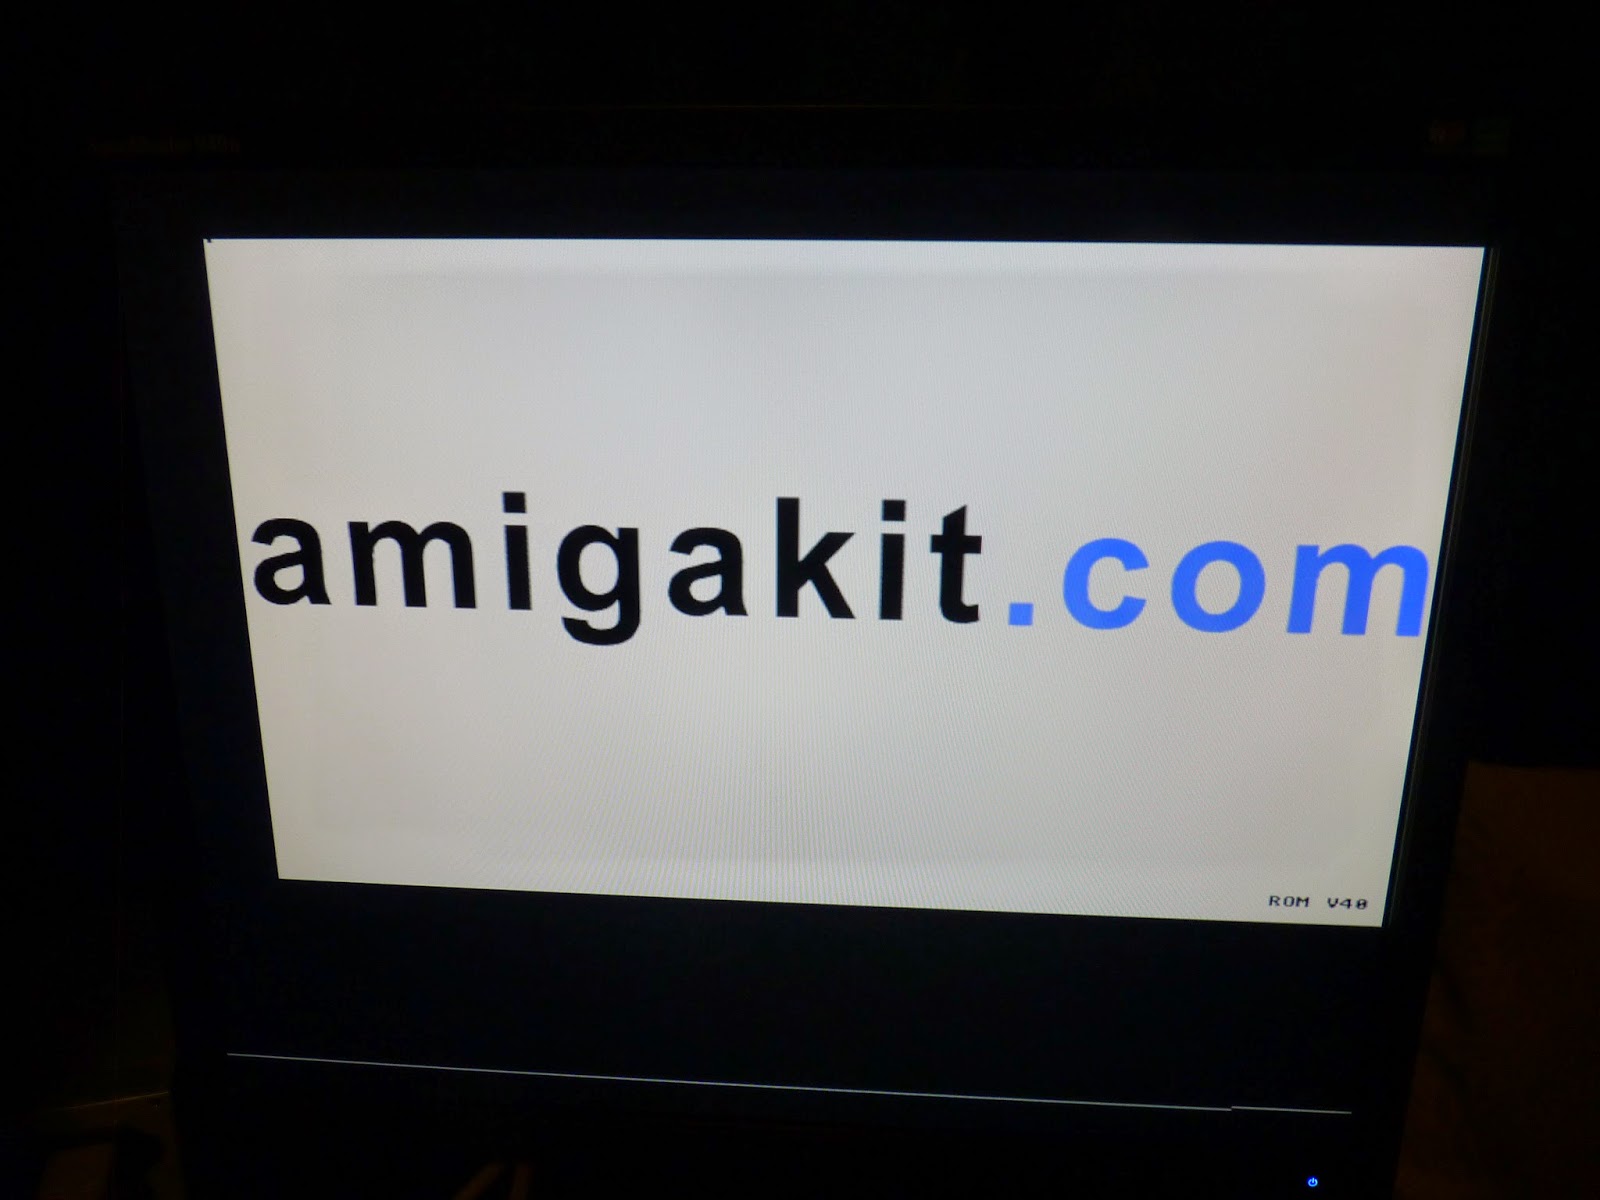
After power on, the CF Card boots (although it is not lit on the Hard disk light on the the Amiga 600 for some reason) and the AmigaKit logo is shown:
AmigaKit has put a bootable assisted Workbench installation program already on it, ready for installation into the Amiga 600. The initial screen is here:
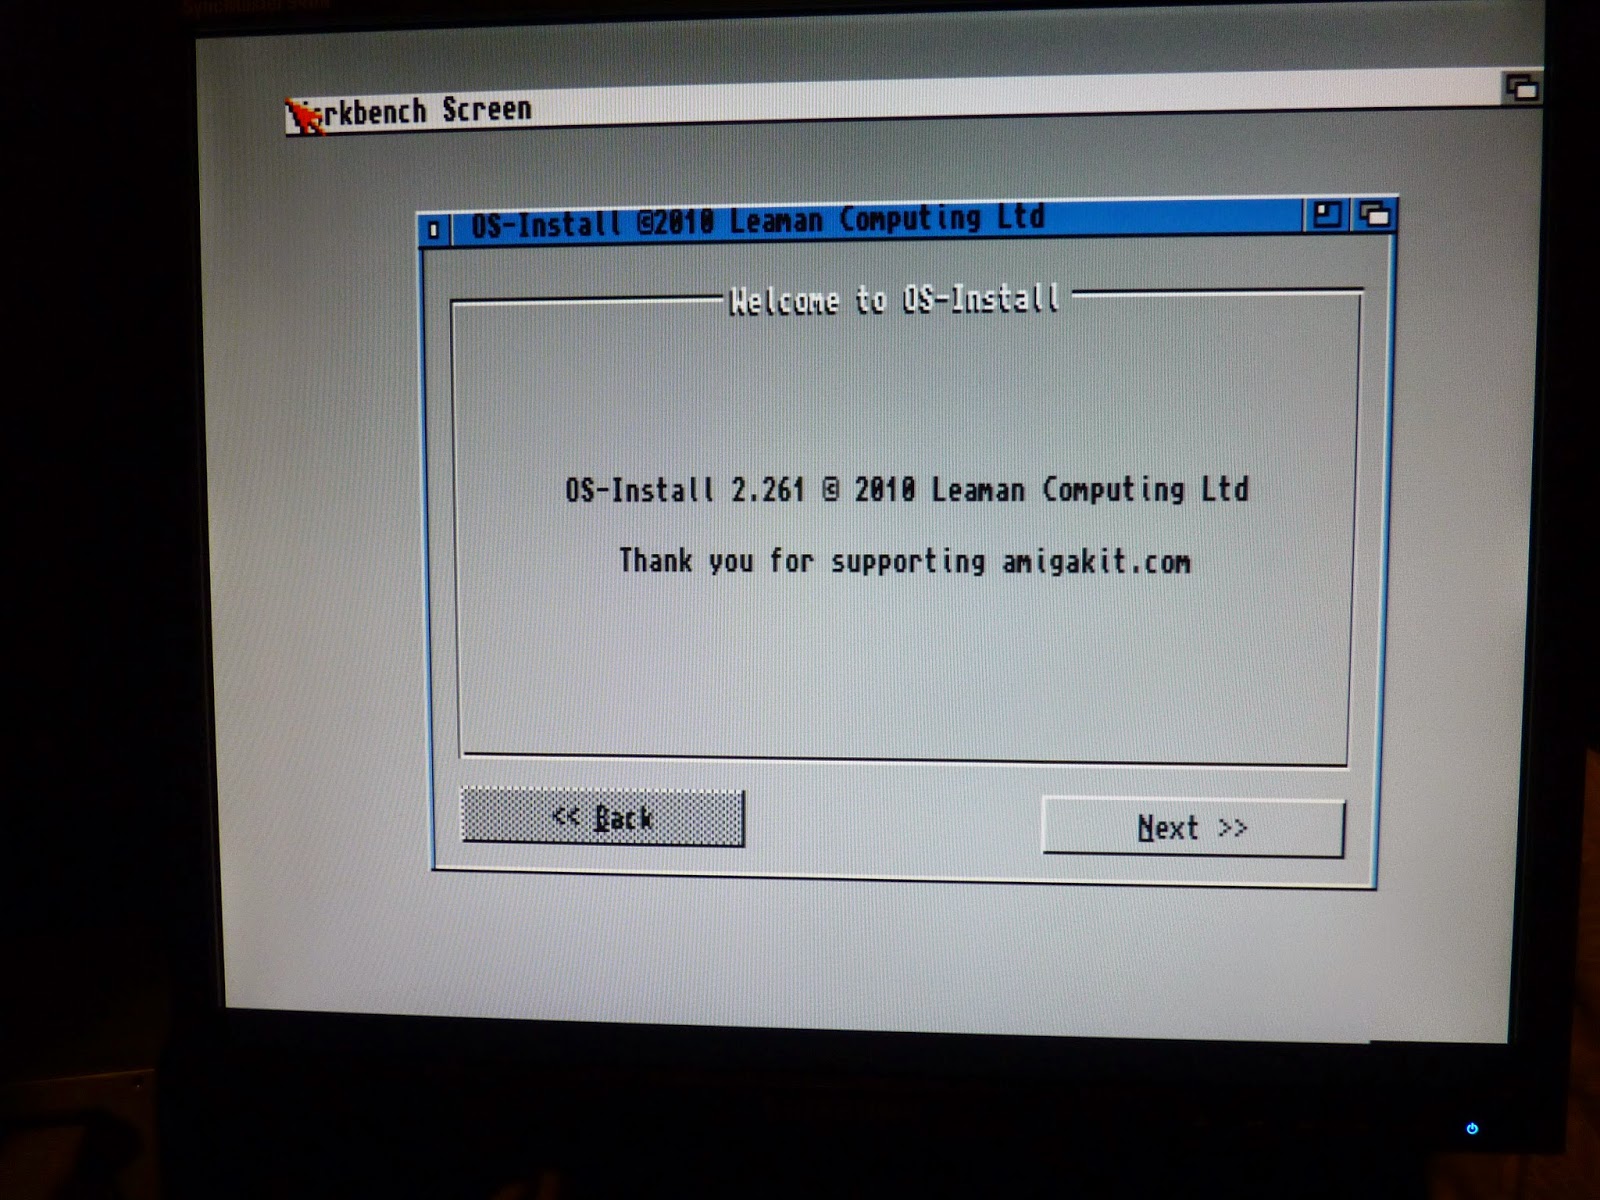
After clicking Next, the installer needs a version of AmigaOS to be installed, and asks you to tell it which version you have:
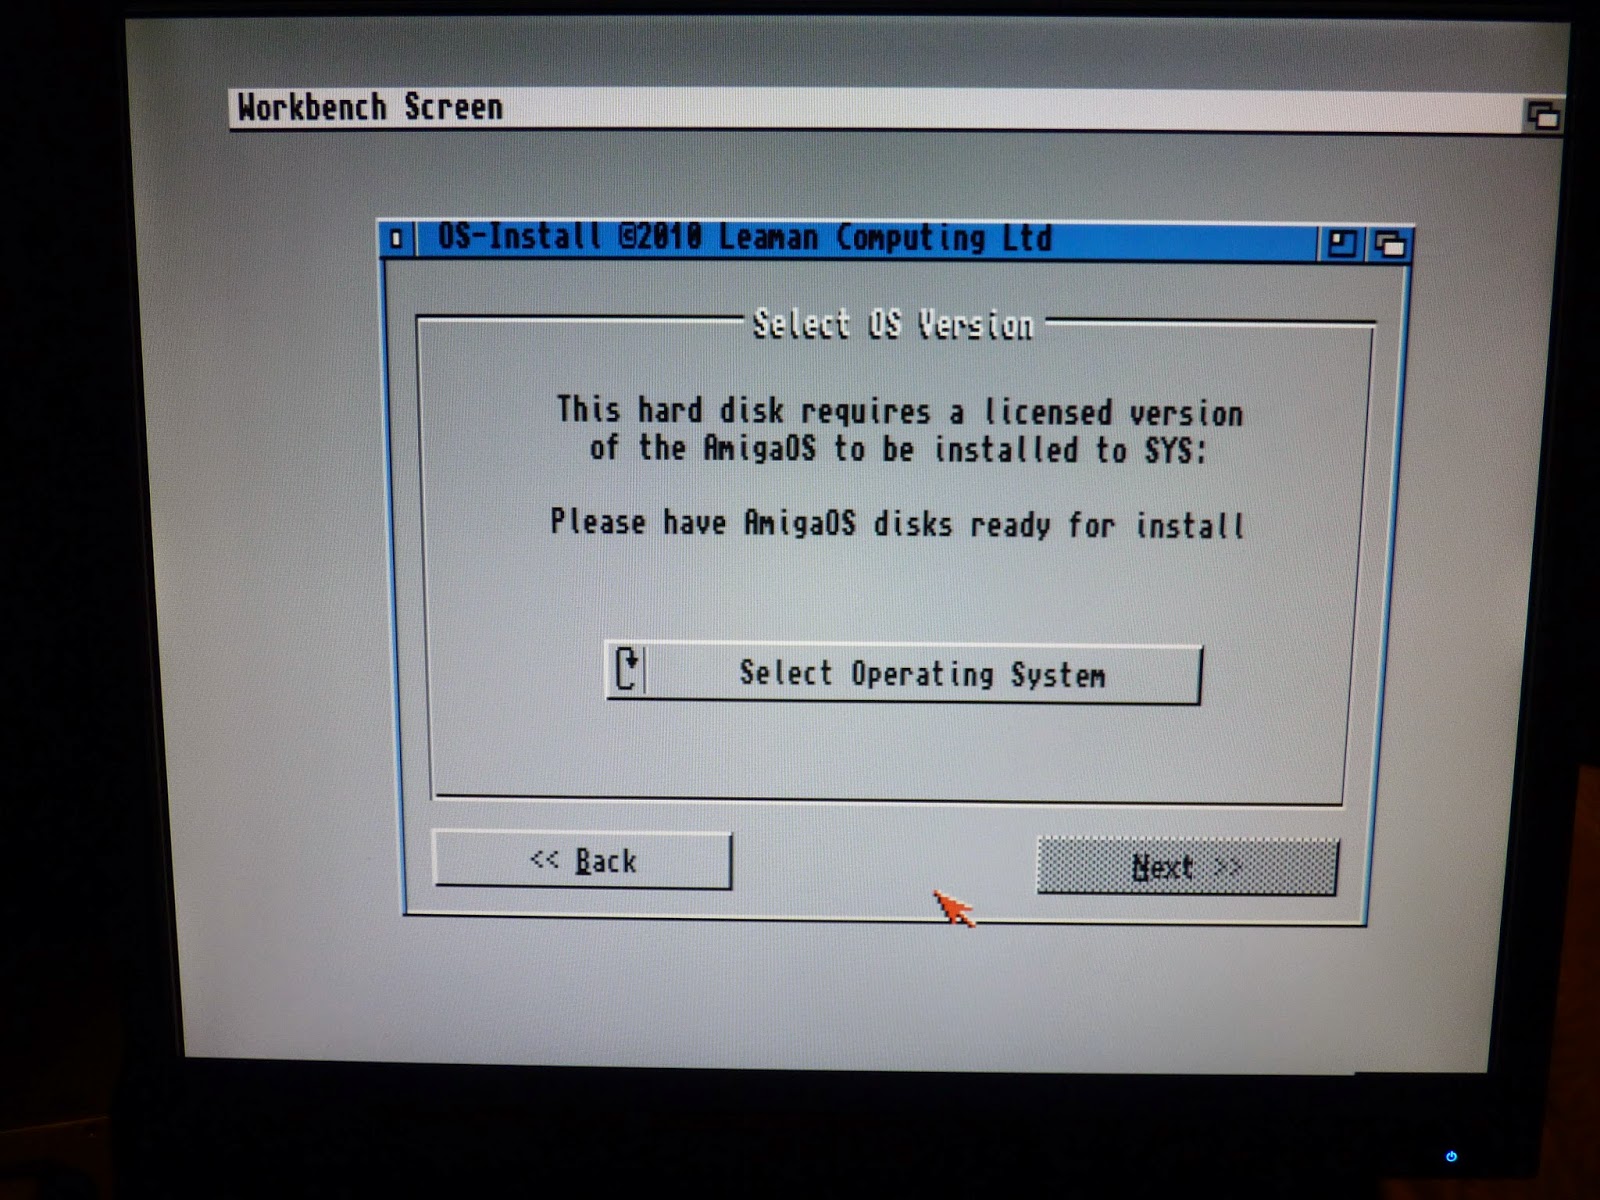
In my case, I have the original disks for AmigaOS3.1 as below:

So I selected AmigaOS 3.0/3.1 and clicked Next:

It will then work through the installation, copying files from disks and prompting to insert disks as needed. Copying the Fonts disk contents:

Moving on to the Locale Disk:

Finally, we move onto the Storage disk:

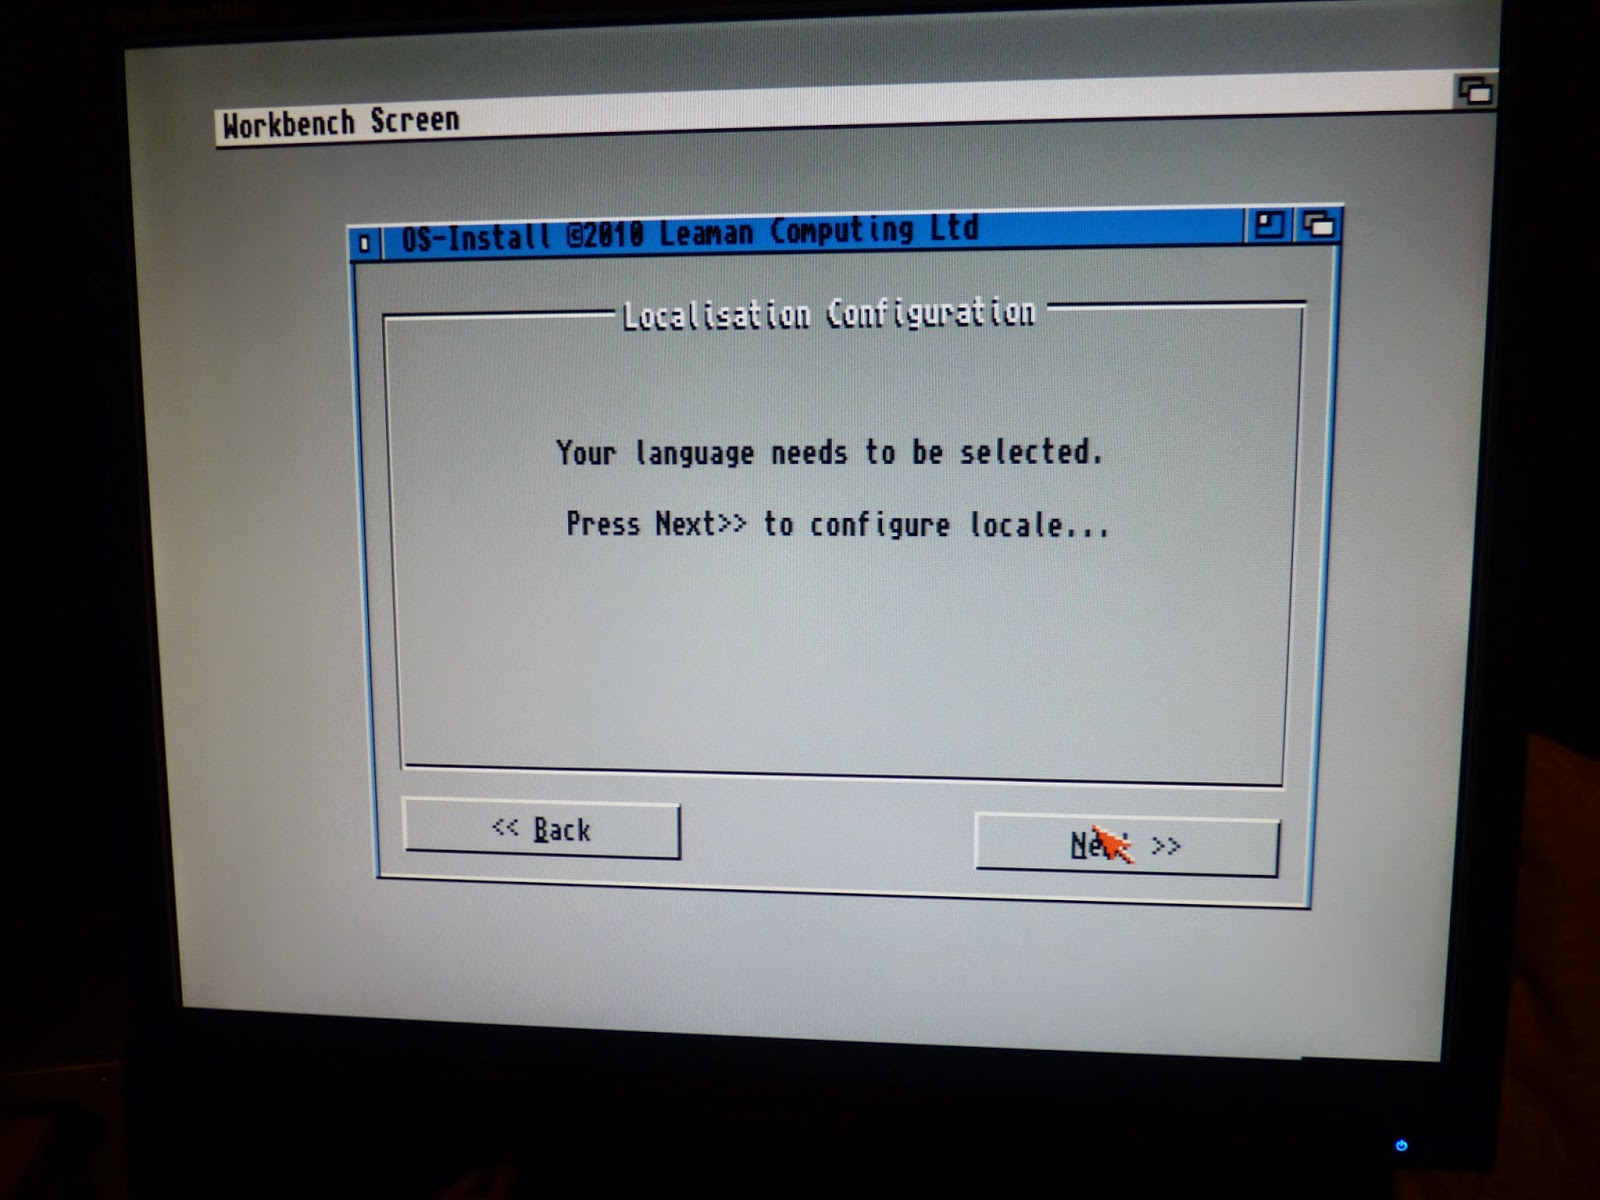
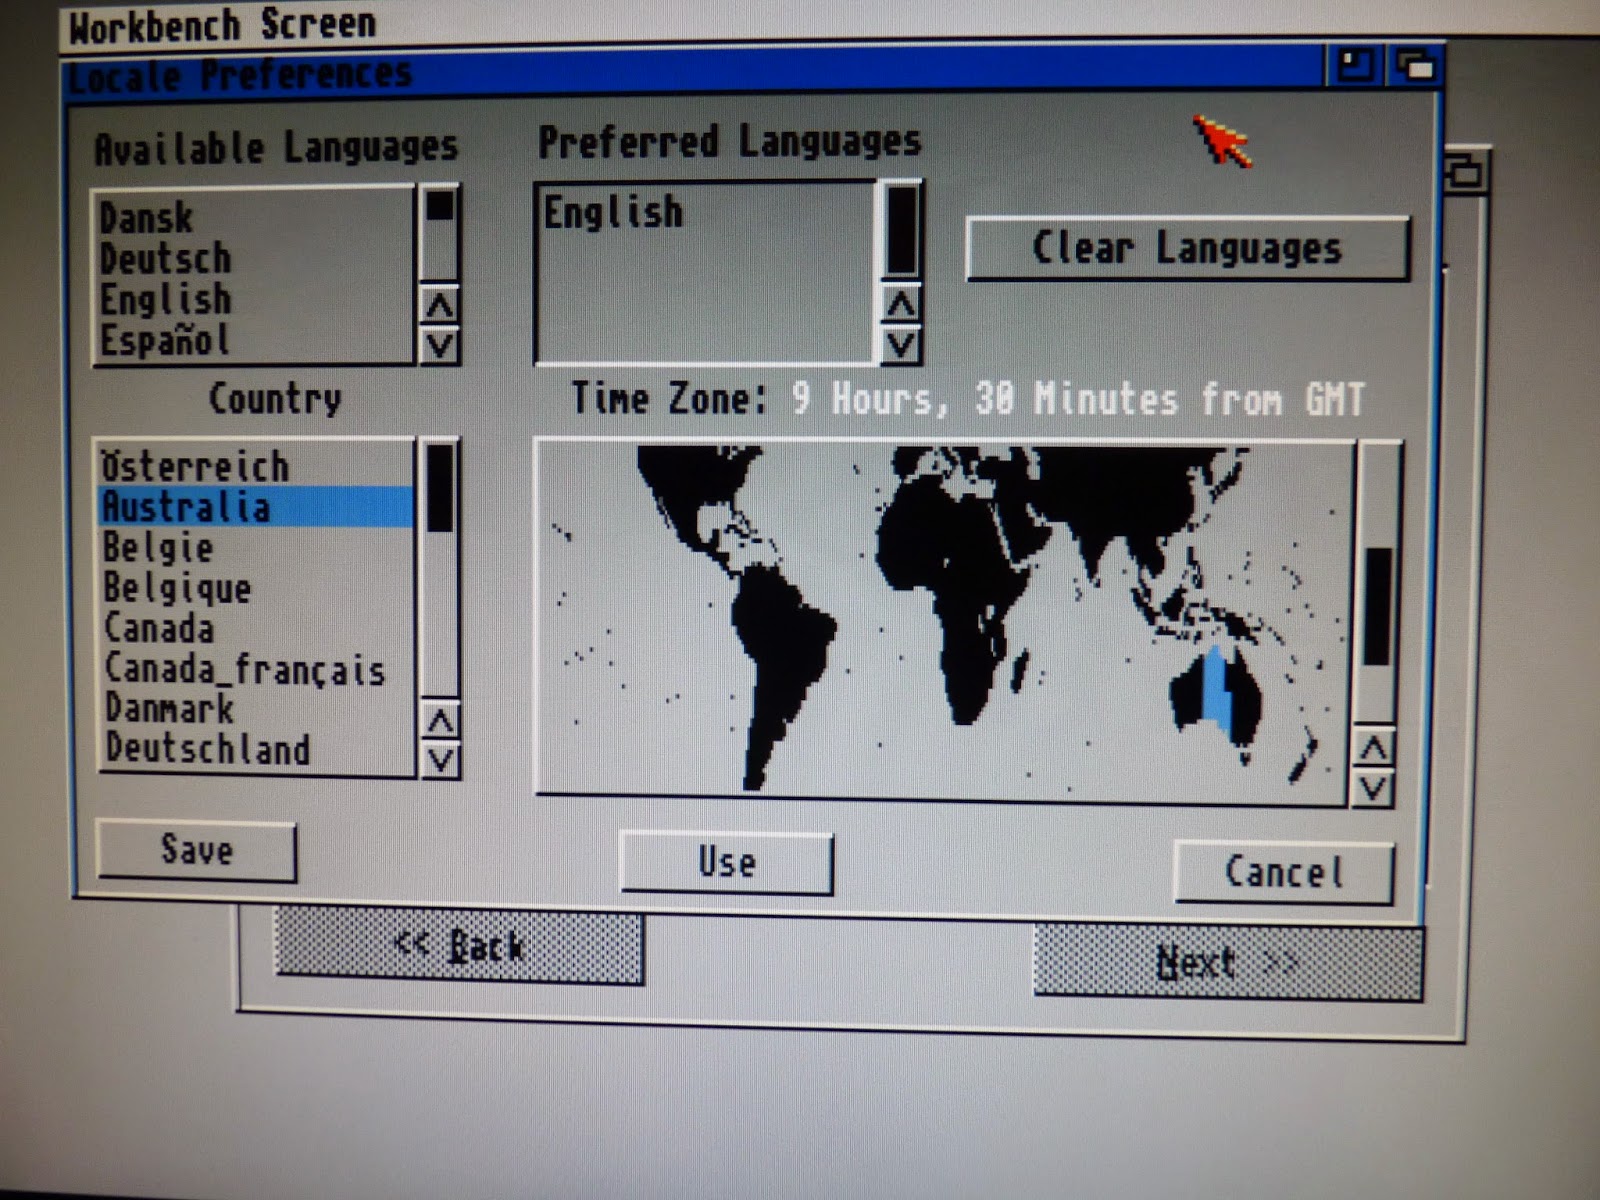
Now, we have to choose our language and locale:
Now we need to configure the keyboard:

Now, since I swapped the original US keyboard (damaged) with the replacement British Keyboard, I need to make sure I select the British keyboard here. I also turn on Acceleration for the mouse to improve the mouse movement speed:

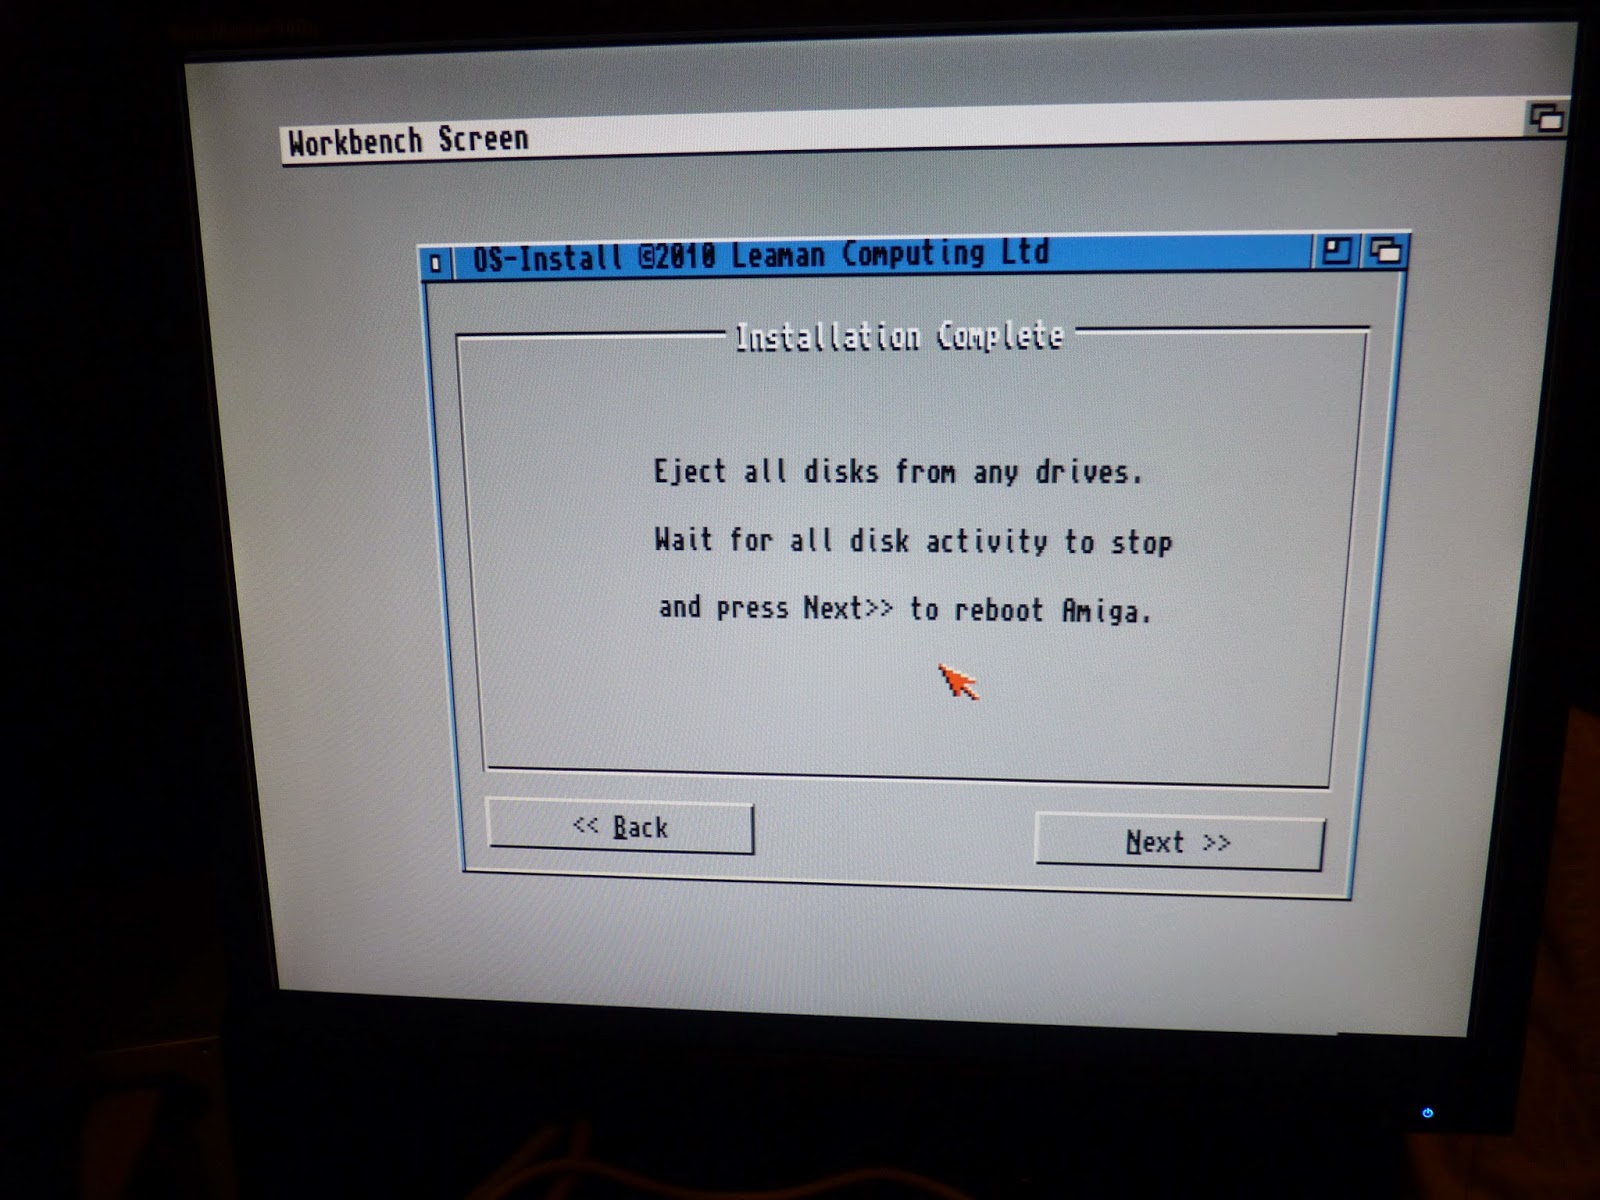
And we are done, ready for reboot:
On reboot we now have a basic AmigaOS3.1 standard Workbench. I note that AmigaKit sets up 3 partitions on the CF Card - a 500MB System partition (ADH0), and two data partitions HDD and HDD2 (ADH1: and ADH2:) making up the 4GB available space:
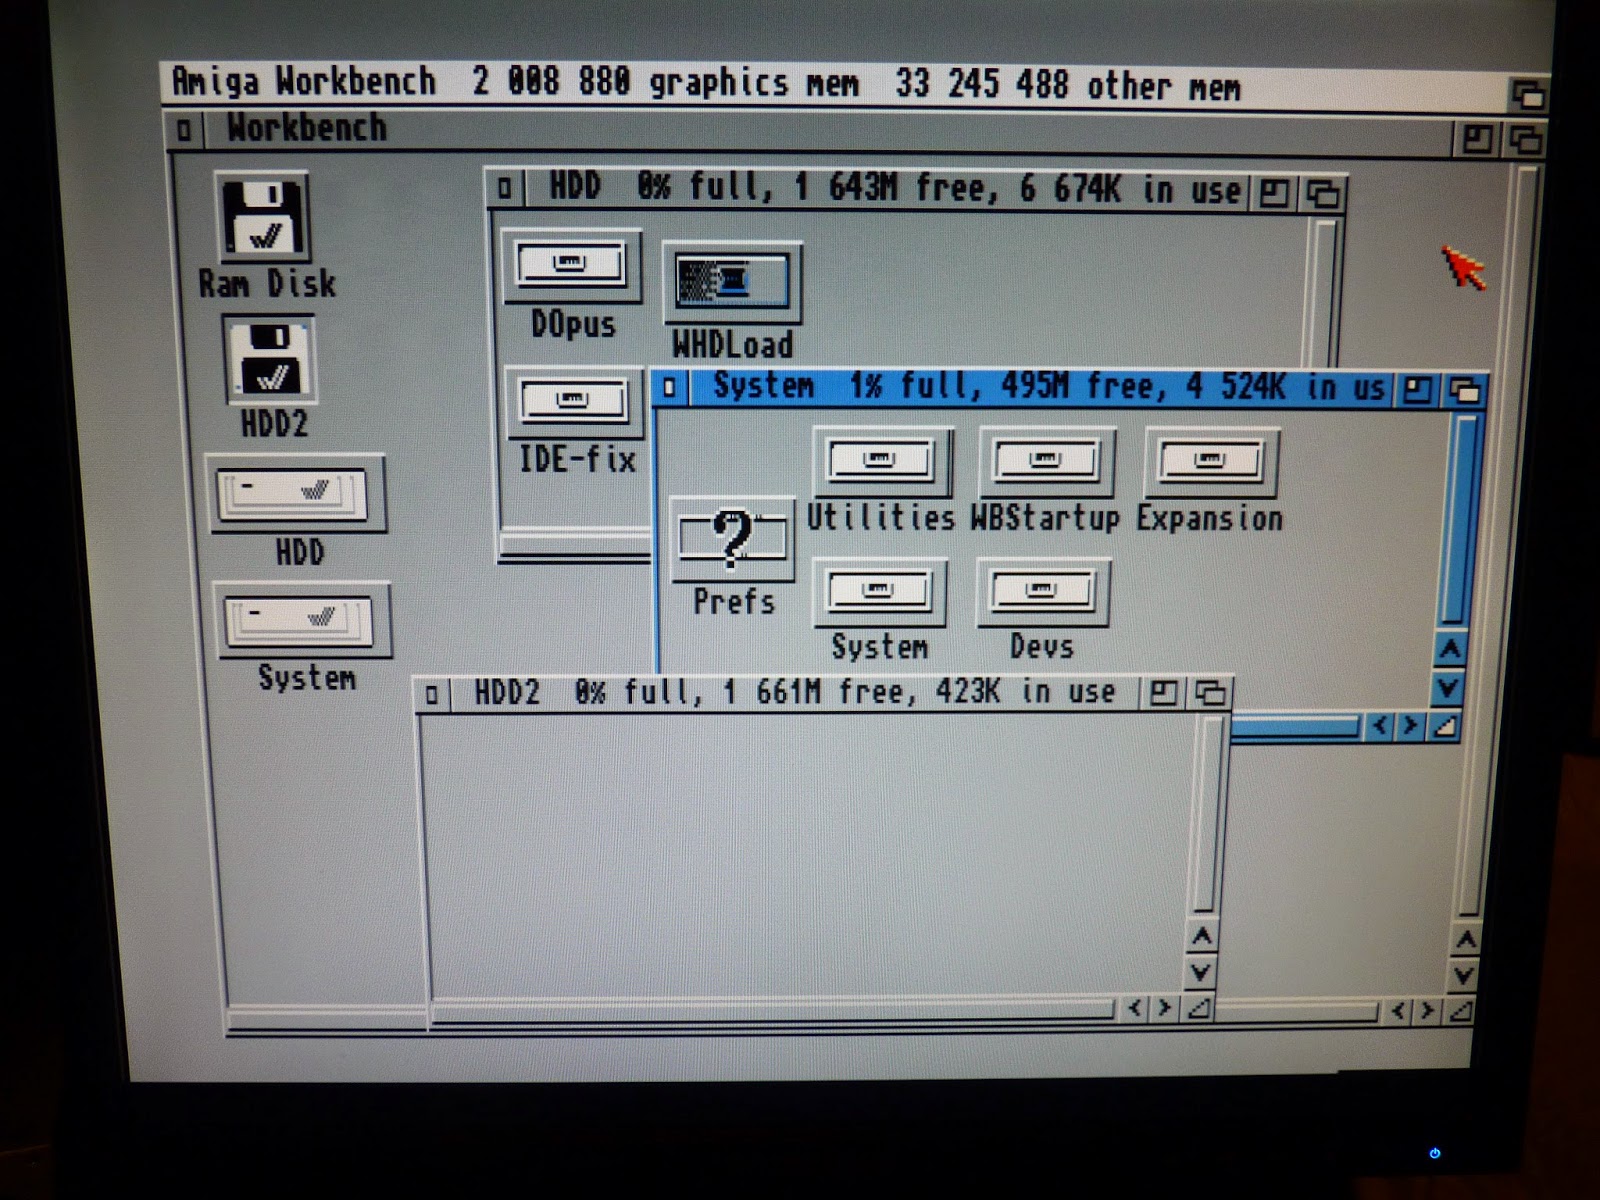
You can see above that the ACA630 and A604n expansion previous installed in my Amiga 600 here and here. These are giving me the 68030 accelerator, 2MB Chip RAM and 34MB Fast Memory, amongst other things!
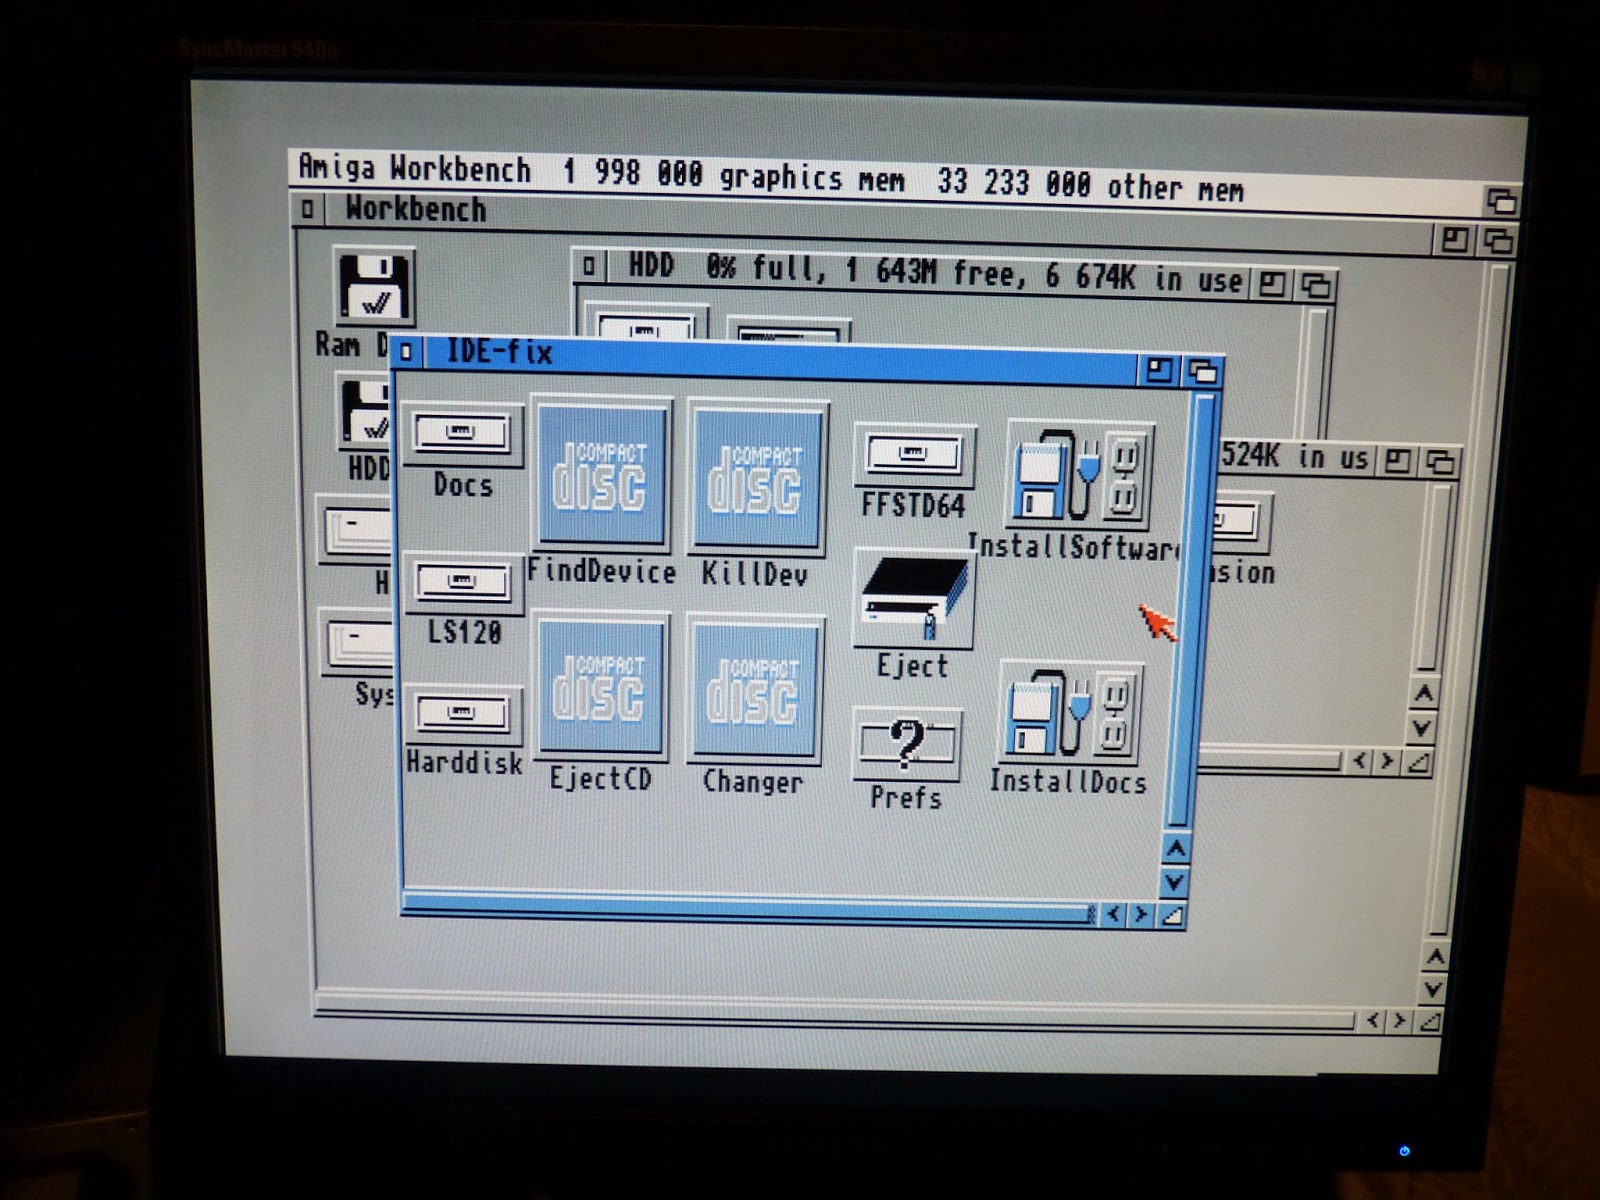
I next install the IDE-Fix 97 software included by AmigaKit on the HDD: partition:
I hit a problem when running the Install program, the same when I tried the DOpus 4 install program too, displaying 'Unable to open your tool Installer':

Clearly the AmigaKit AmigaOS installation program does not copy the Installer program from the Install Disk, part of AmigaOS3.1.
Normally, this Install disk is used to boot and install AmigaOS3.1. Because we used the included AmigaKit installer on the CF Card, the Install disk was not used and the installer program was not copied across. Here is the Install Disk:
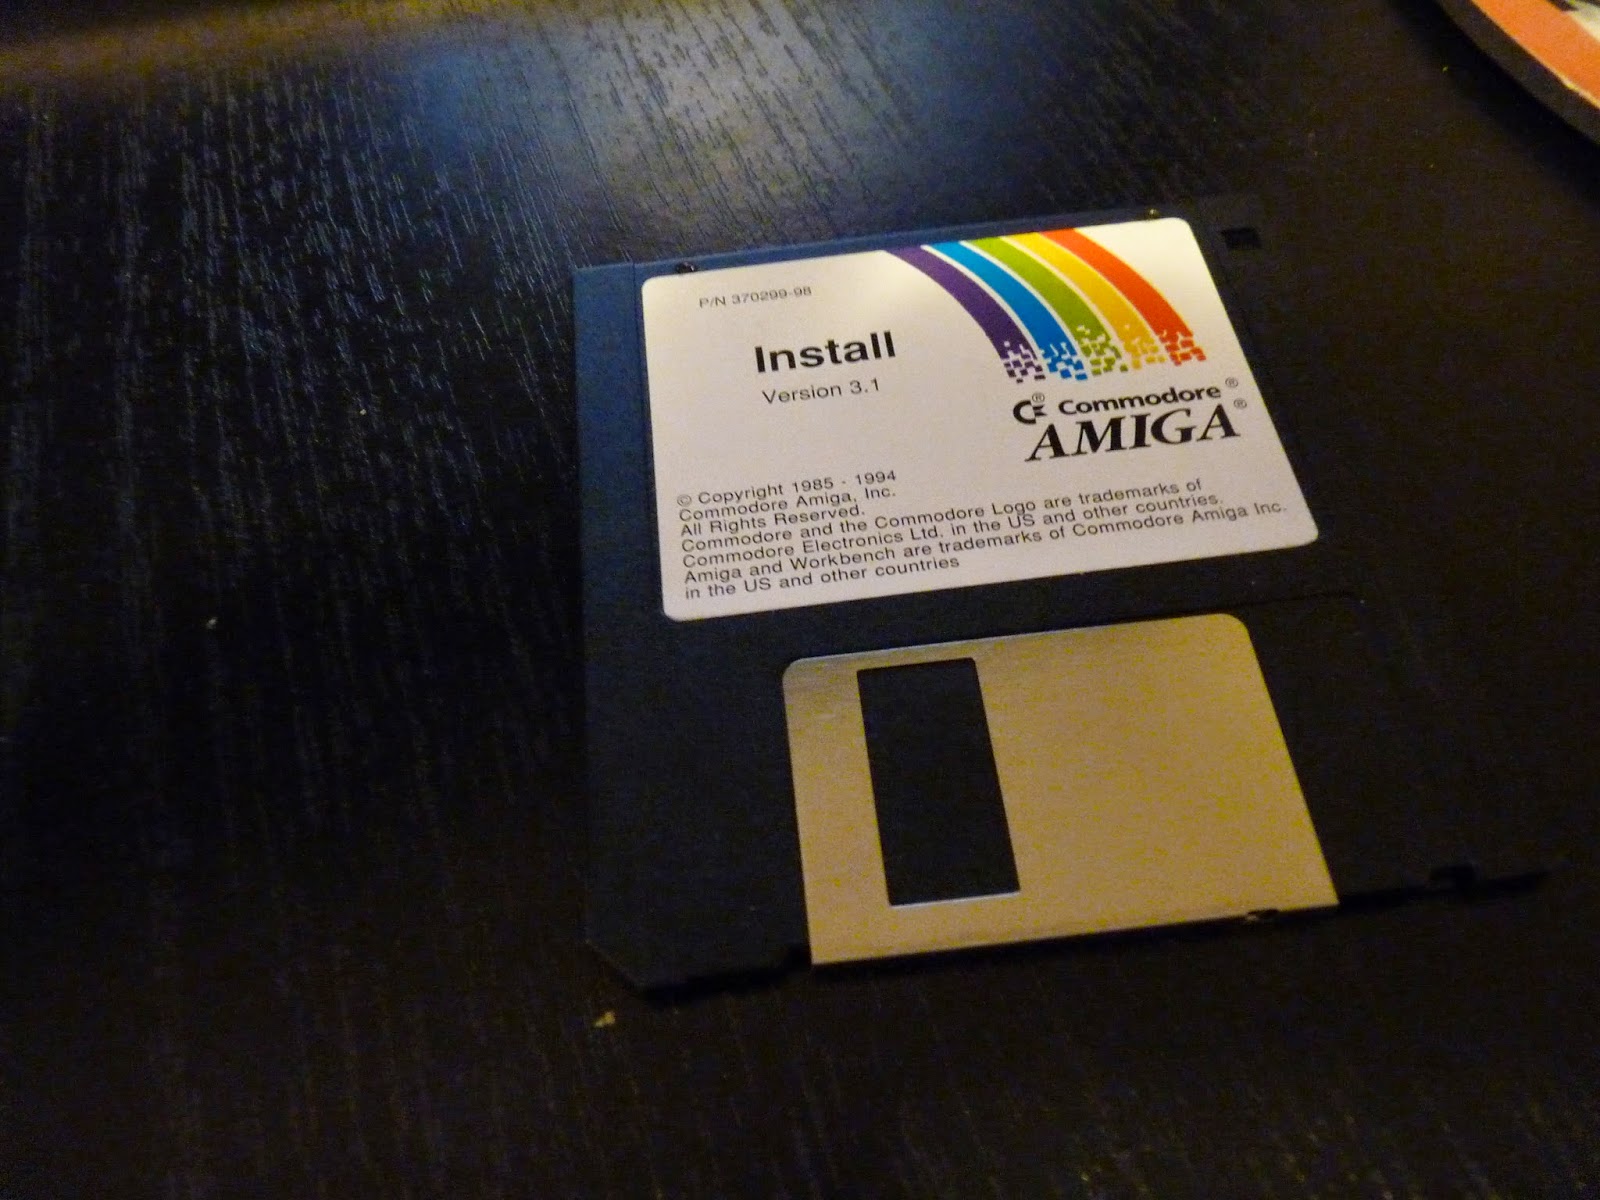
I put it in the Amiga 600 and copied the Installer program to C:, using the Shell:

Now I can run the installer, and get IDE-Fix 97 installed. This is needed to provide the large partition size support (over 4GB).
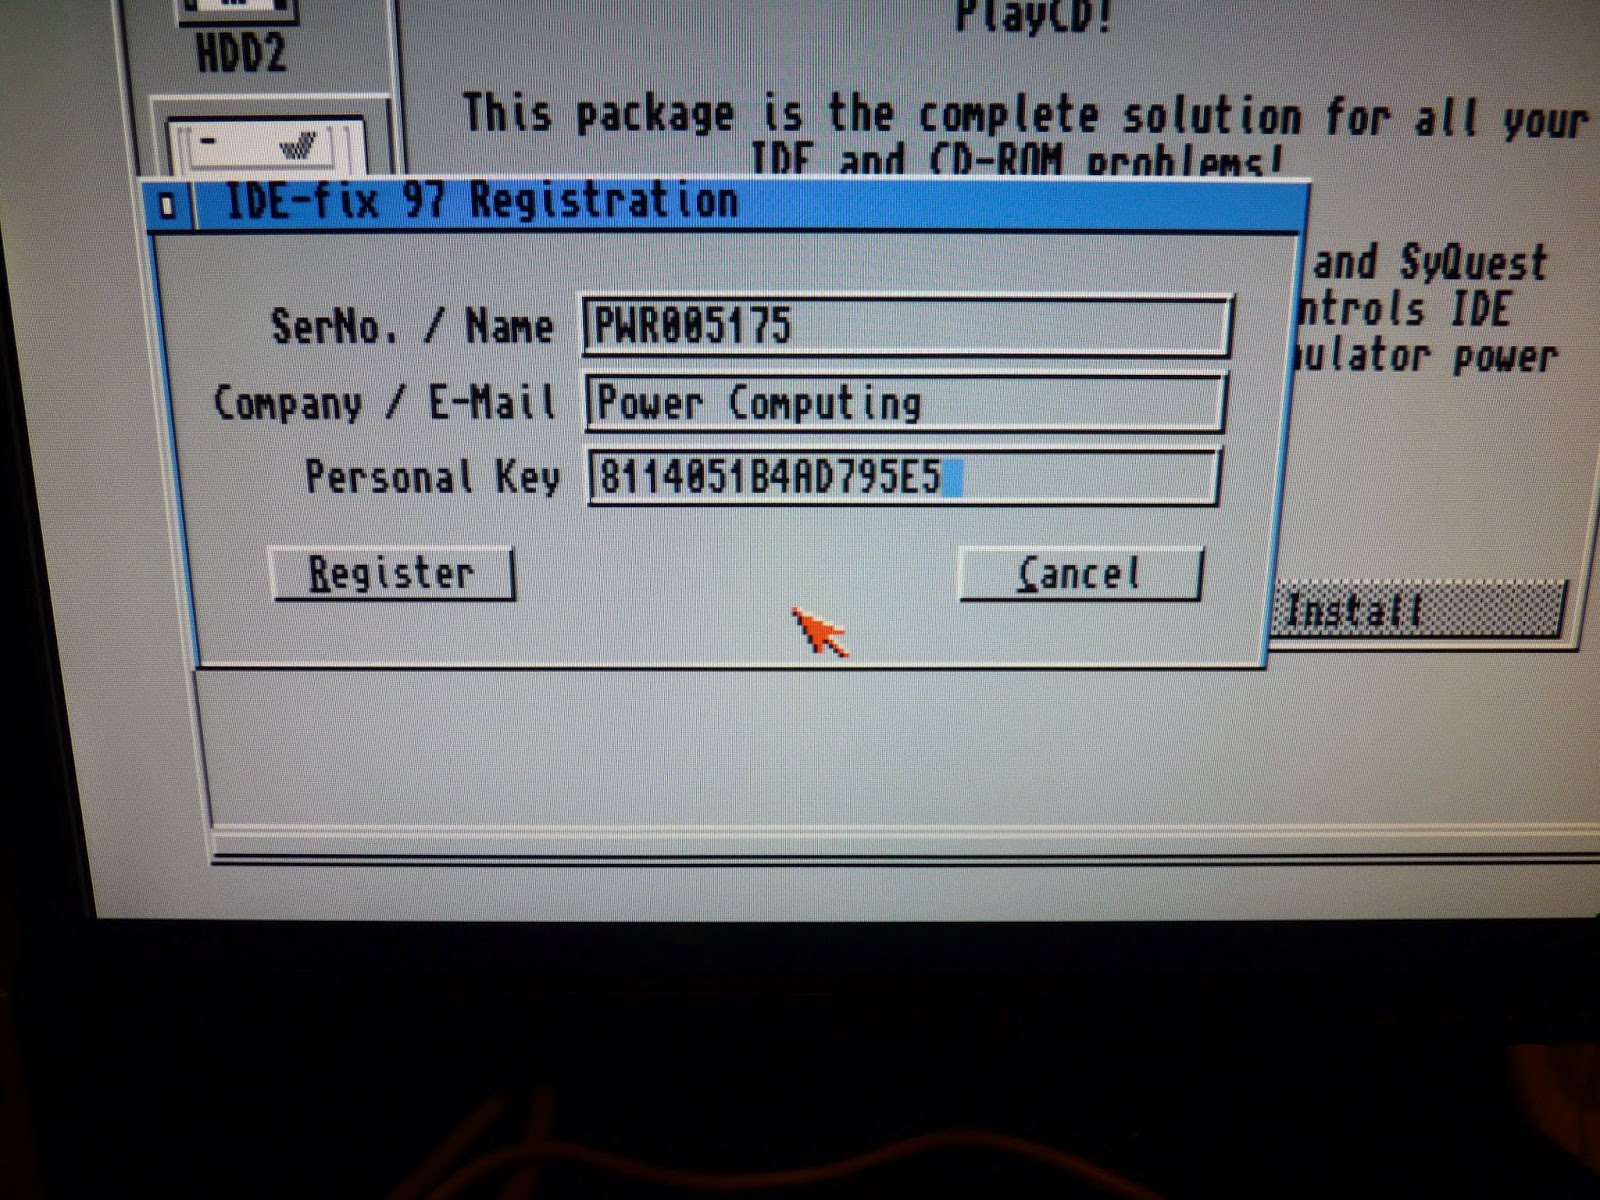
You need the registration information for this program as well, released by the original authors on an Amiga Format cover disc many years ago - it is also available from a number of forum sites and shown here to save searching for it:

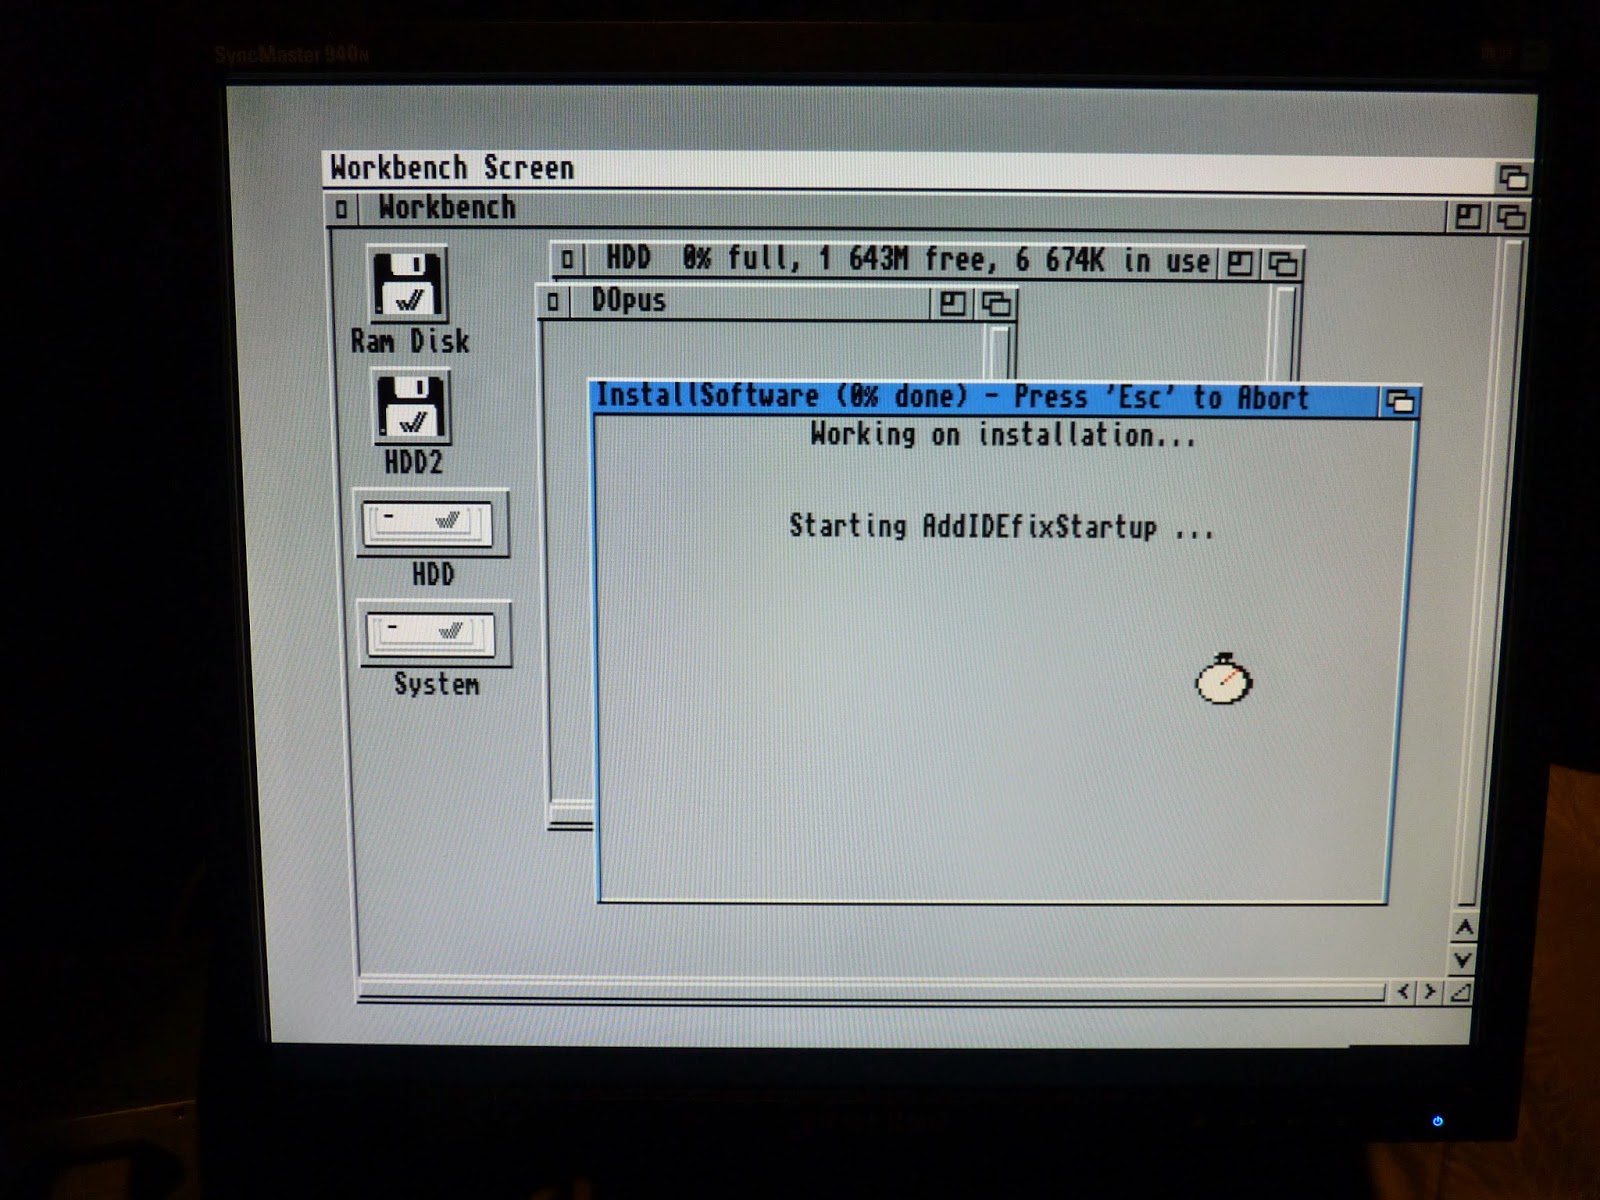
Get the install of IDE-Fix 97 underway:

If the install freezes at the point below, just reboot and run the installer again, and select not to start IDE-Fix during the installation. Note that I didn't setup the CD drive, since I don't have a CD drive in the Amiga 600 (I did install the software needed for it though):
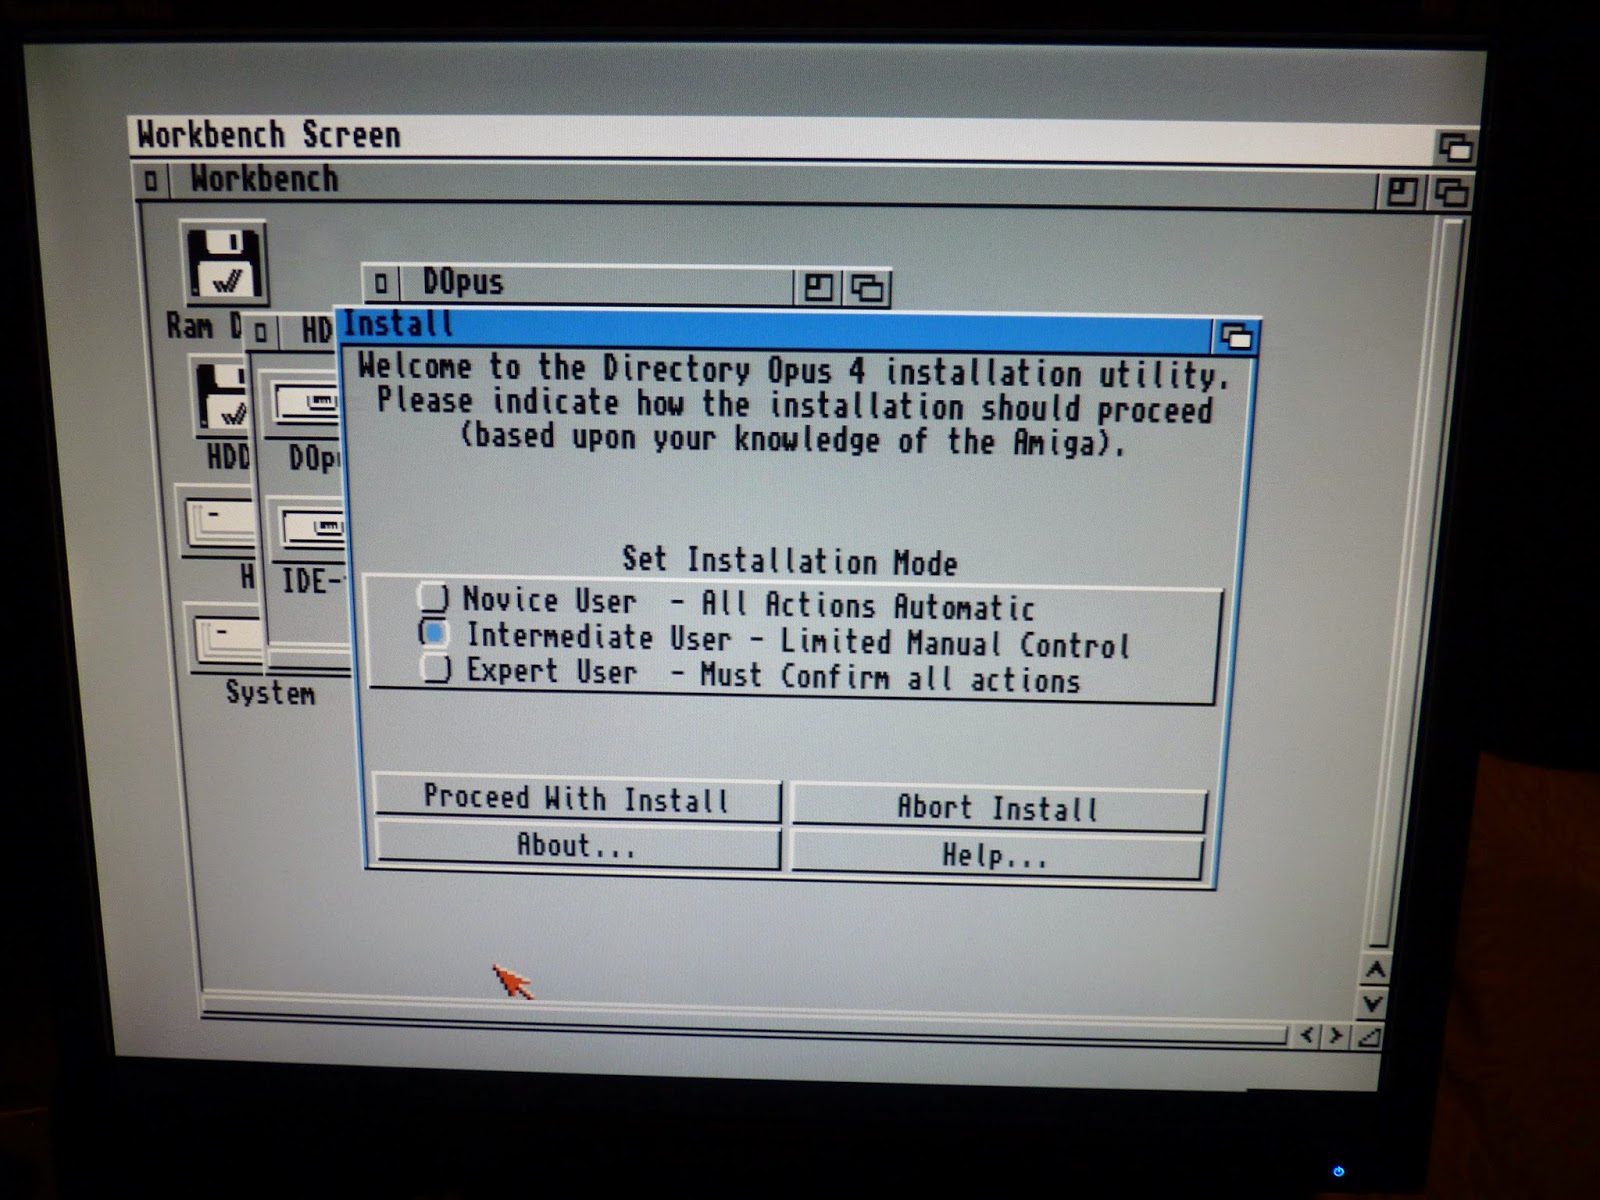
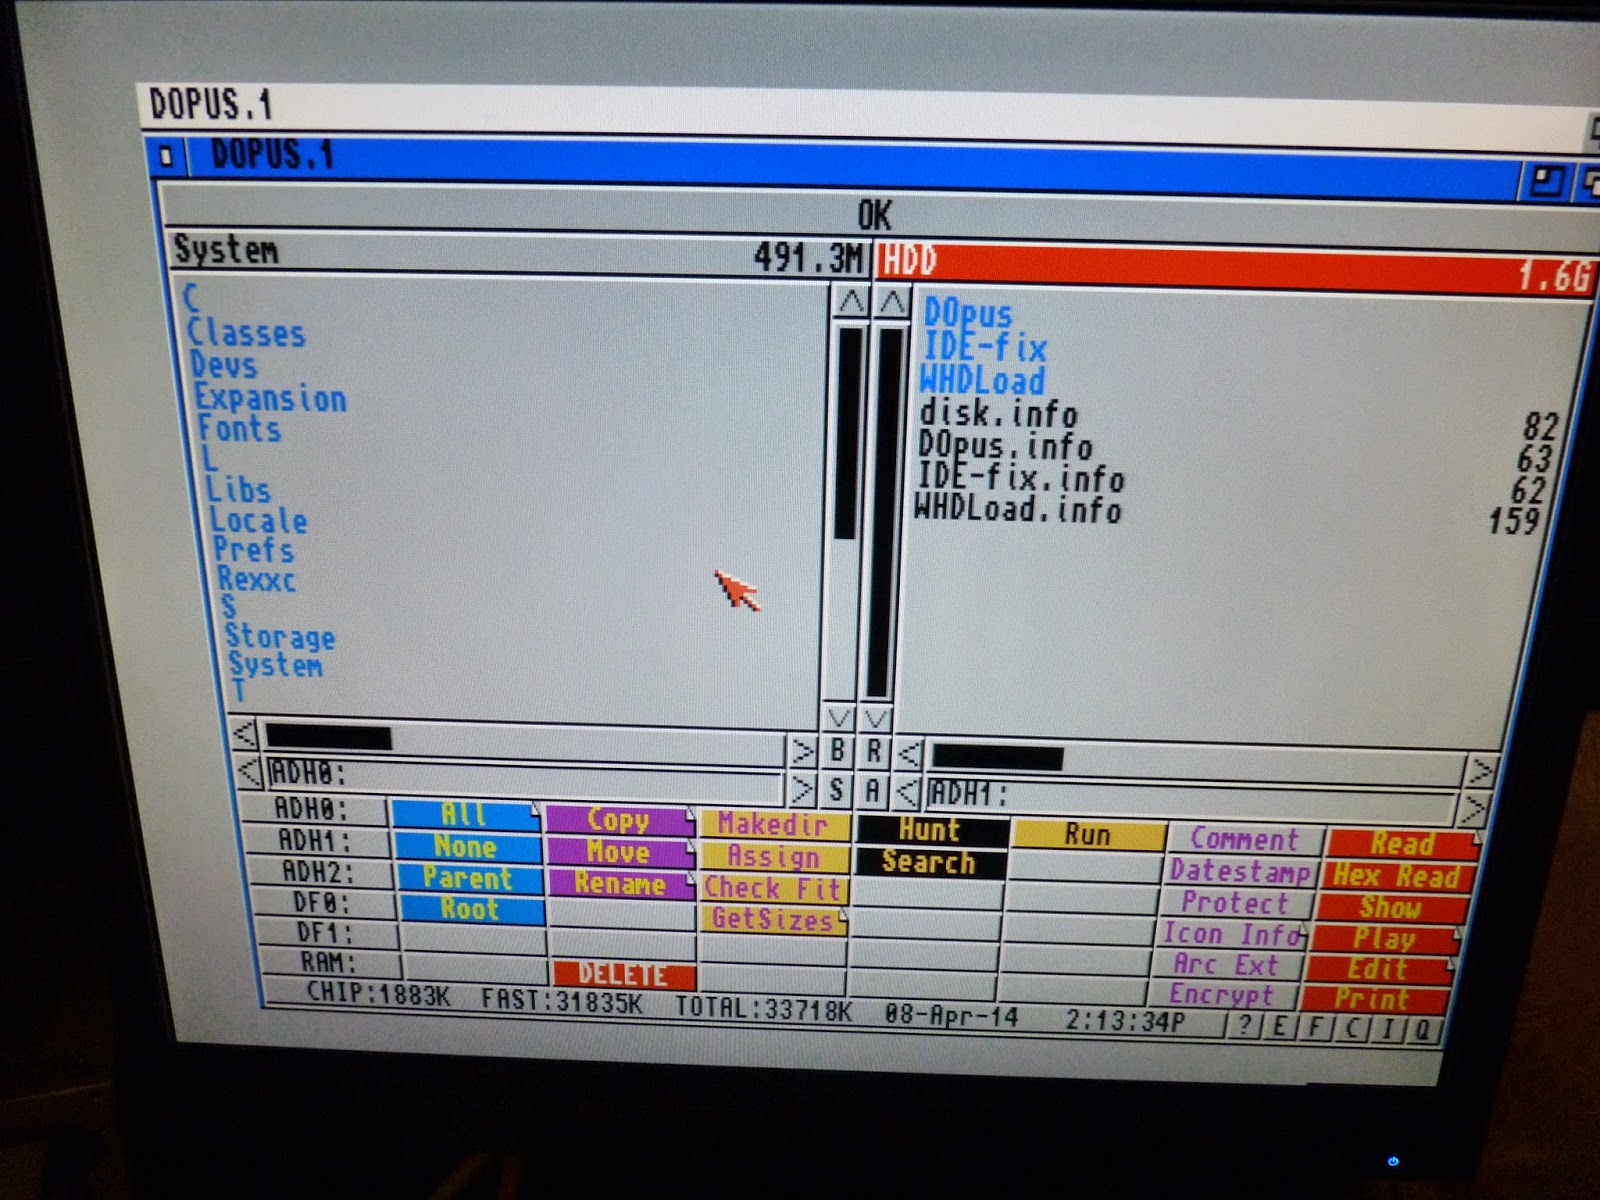
After this I rebooted, and then installed DOpus 4, also included by AmigaKit on the HDD partition on the CF Card:
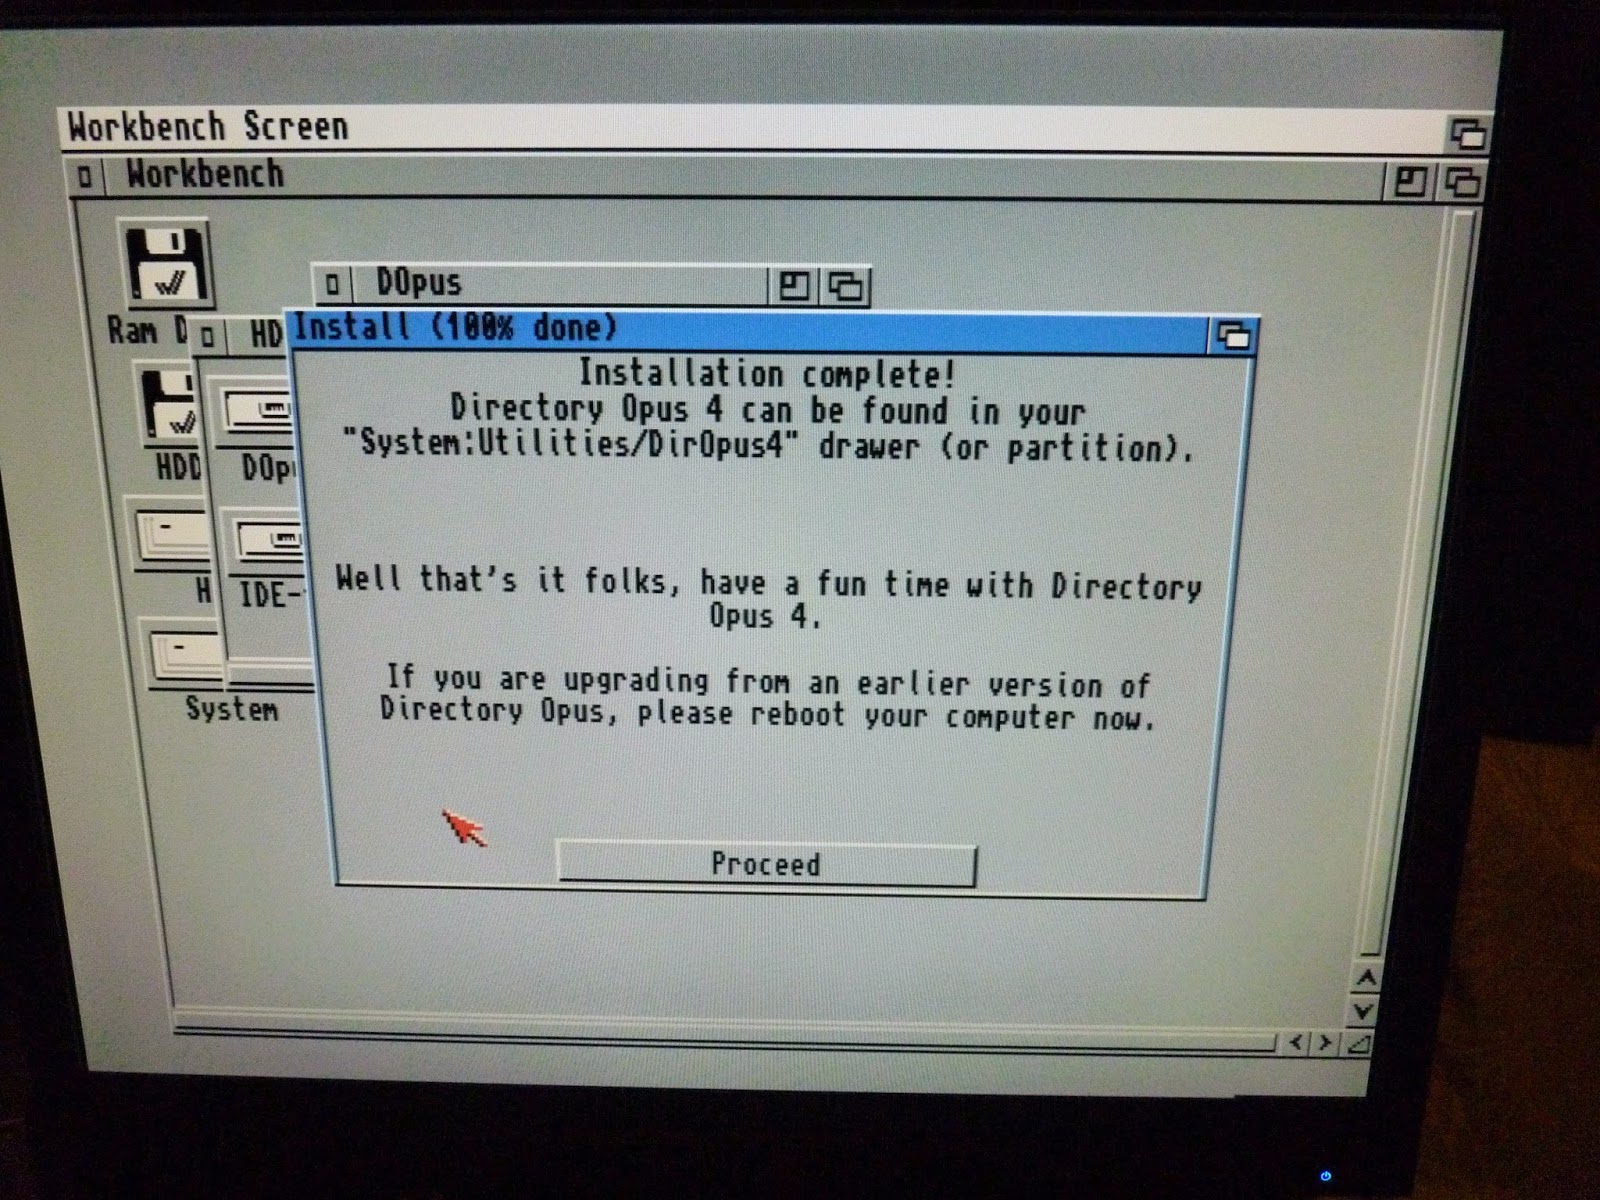
Install completed:
Here is DOpus 4 running on the Amiga 600:
From the AmigaOS3.1 Workbench screen, you can turn off the annoying window frame on the desktop from the Workbench > Backdrop option:

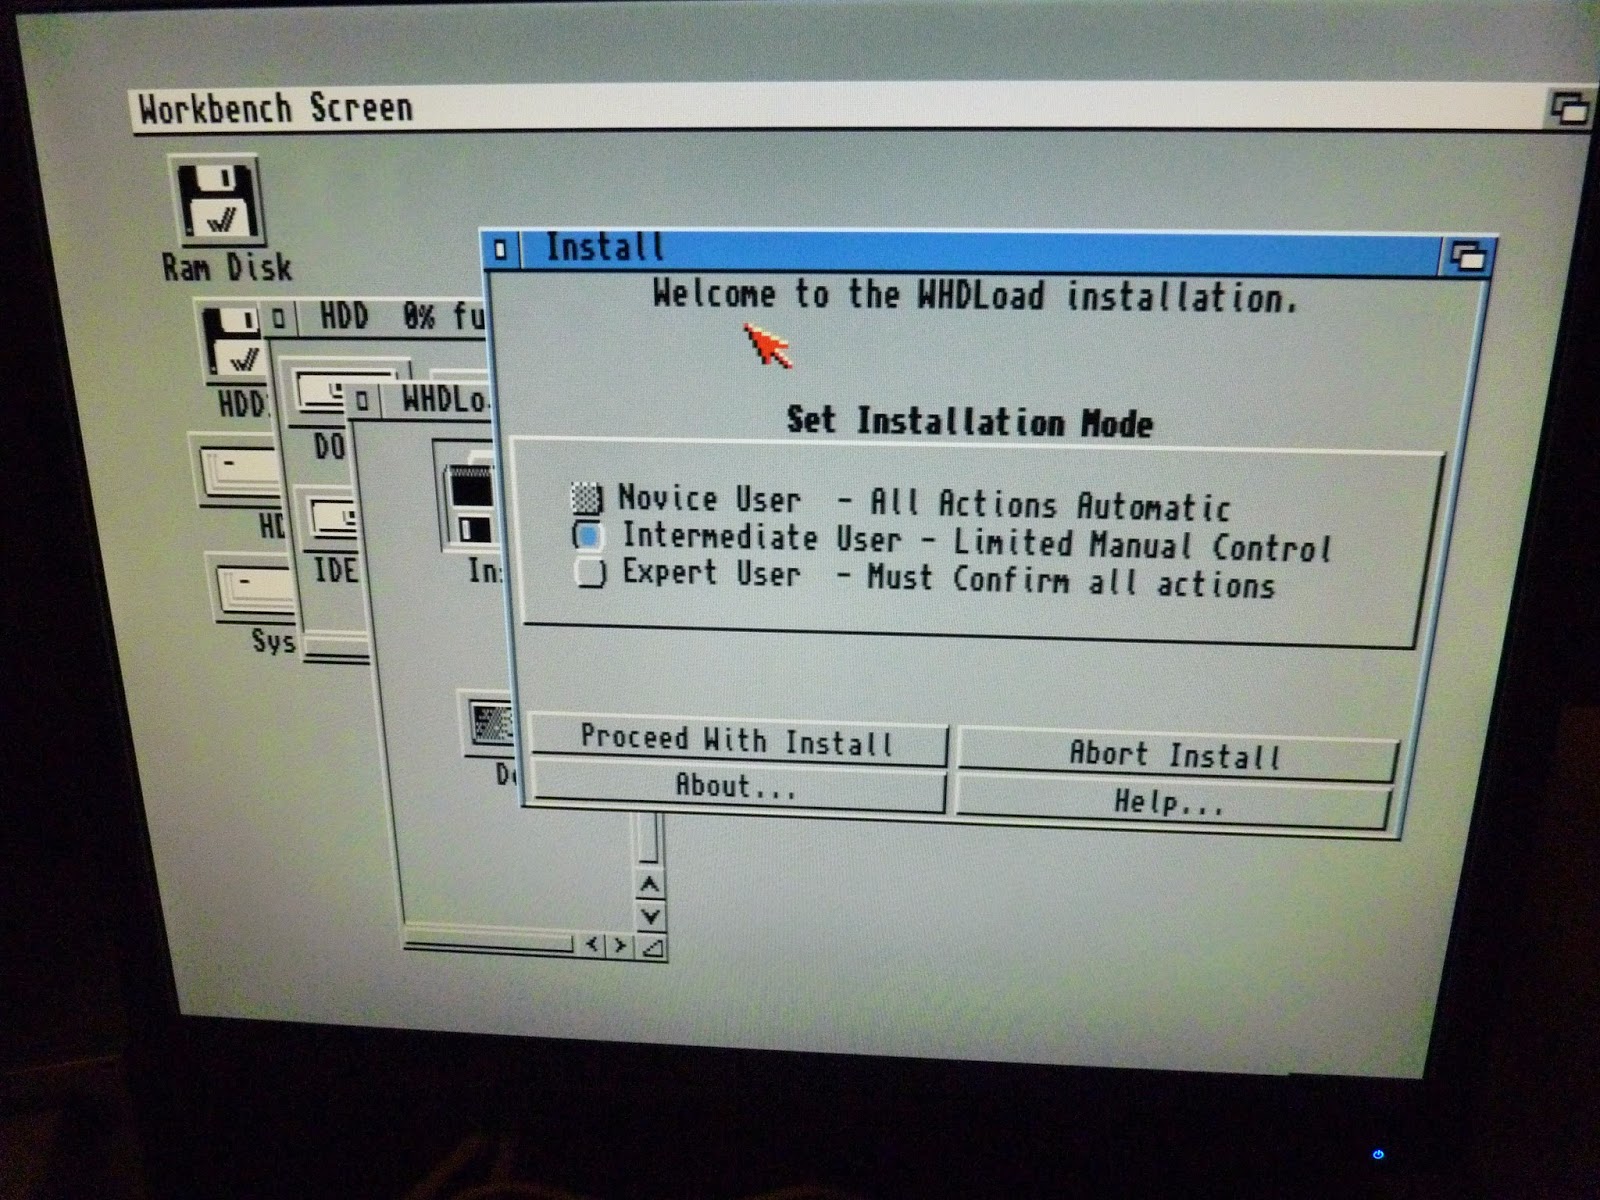
I then installed the final program included on the CF Card by AmigaKit, WHDLoad (Non-registered version):
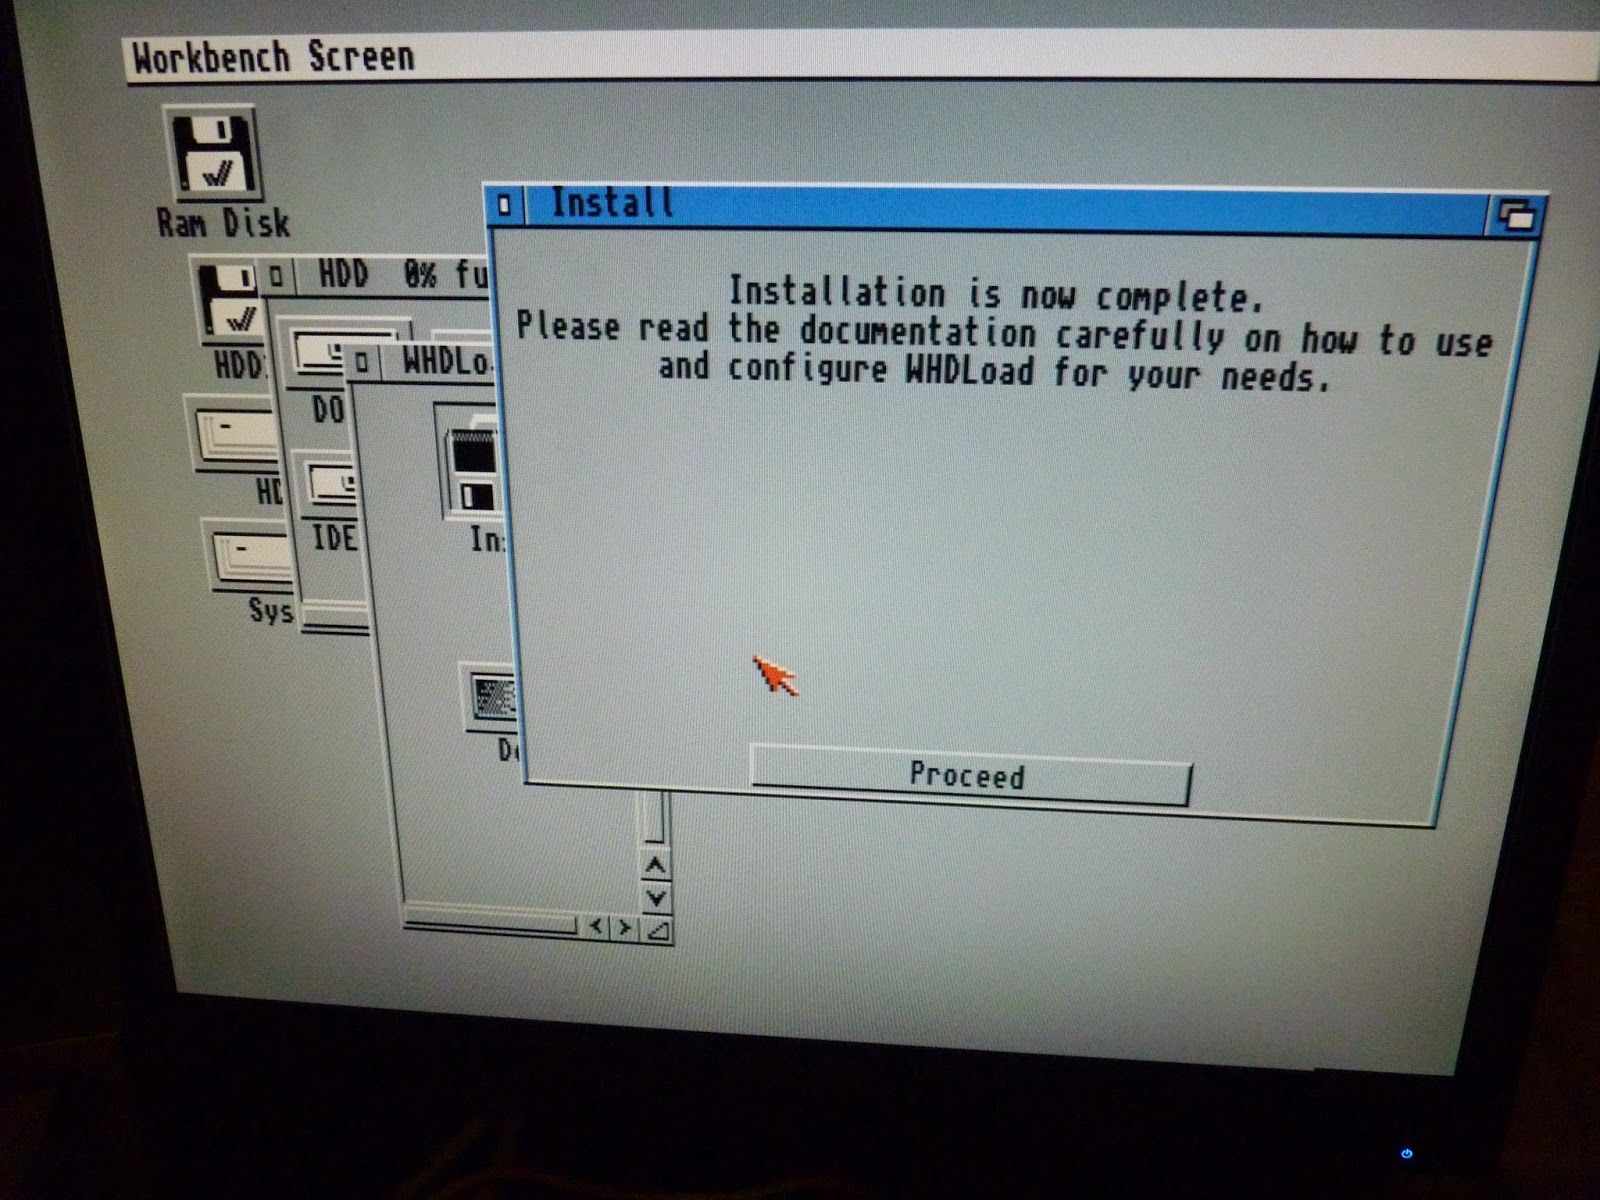
WHDLoad install completed:
I then copied my registered whdload key file to the s: location.
Having got this far and having a working AmigaOS3.1 install on the Amiga 600, I also installed sgrab from Aminet so I could start taking screenshots of the installation work instead of having to use a camera to do it!
Next, I installed MUI 3.8 from disk. MUI is needed for lots of software to work. I used the MUI 3.8 installer I have on a Delfina driver disk:

Install is fairly standard fair:


MUI install finished, reboot needed:

After the reboot, here is the AmigaOS3.1 workbench on the Amiga 600 - long way still to go on the setup!

I then setup Poseidon 3.3, so I can use USB to make installations and copying files to the Amiga 600 much easier. This is using the A604n and Subway USB device I previously installed in the Amiga 600. I did cover this install in some detail here so I won't cover too much of it again:

Installer is reminding me that I need to upgrade the Installer version from Aminet - I will get to this later on, but it doesn't prevent the installation working:


Installation of Poseidon completed. Reboot time:

Before I rebooted I also installed the fat95 archive which was extracted to RAM: as part of the Poseidon installation. Make sure you install this, otherwise you can't read the FAT formatted USB flash drives!
Next, after the reboot I needed to copy the updated subwayusb.device driver from Individual Computers to the DEVS:USBHardware location, so that Poseidon can find the Subway USB device. I did this via floppy disk.
After this, I ran the Trident Prefs program so I can configure Poseidon to use the Subway USB driver:

Trident Prefs screen - at this stage the driver is not in use, but I have specified it:
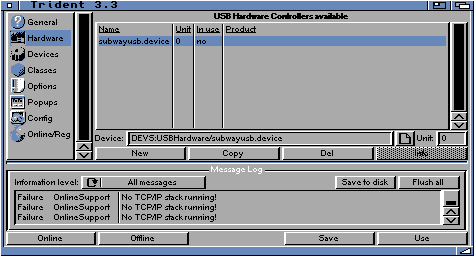
After saving the settings and running it again, the Trident prefs show the subway USB device is active and ready:

Next I plug in a USB flash drive which works straight away:
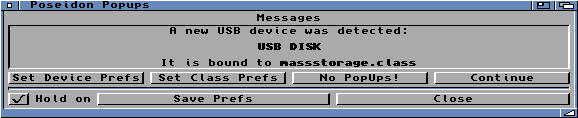
Poseidon maps the USB flash drive to Device UMSD, shown below by running info from the AmigaShell (not vol which I typed by accident!):

Here is the USB flash drive contents, working well on the Amiga 600 using the Subway USB device:

I then modified the screen resolution of AmigaOS3.1 Workbench to 640x512 interlaced with 8 colours. This is needed for the next software I plan to install, MagicWB:

Here is the MagicWB2 disk - Magic WB transforms the AmigaOS3.1 standard Workbench with gradient icons, fonts, backdrops, patterns and more to make the Workbench look fantastic:
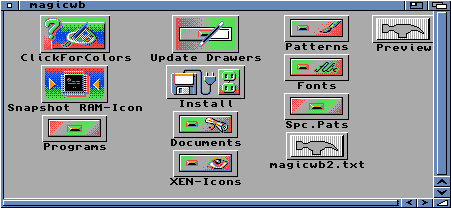
Here is the MagicWB install program:

This install process takes a while, so patience is a virtue. Be sure to copy the hard disk icons to the other partitions too when prompted in the installer:

After the installation is complete, a reboot is needed, and here is the new look AmigaOS3.1 Workbench with MagicWB installed. Looking good:

Hopefully this shows what is needed to get a Classic AmigaOS3.1 setup up and running from scratch. The AmigaKit supplied pre-configured AmigaOS CF Card with built-in software does make it easier!
Still a lot more to do of course, but I will continue work on this in the next part!