MultiviewerNG Sneak Preview for AmigaOS4.1 on Sam460CR
Today I want to take a sneak peak at a preview version of MultiViewerNG on AmigaOS 4.1 FE, written by Andy 'Broadblues' Broad for A-Eon Technology Ltd, in development for over 6 months and soon to be released on AMIStore.
I have been offered a sneak peak at this software by A-Eon - thanks for this! I have been testing it on my Sam 460CR. (click on any images in this post to expand)
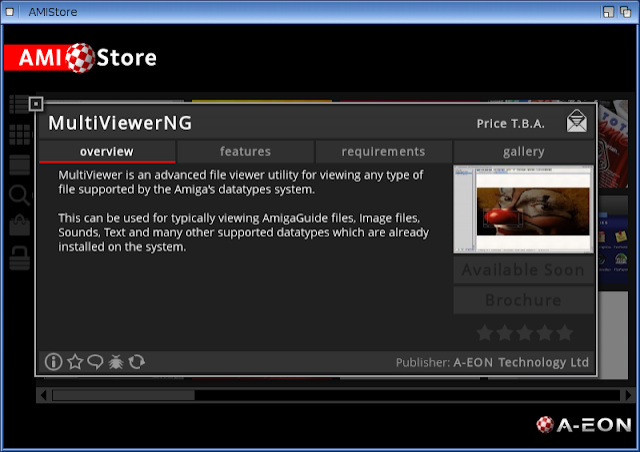
It is coming to AMIStore very soon - officially called MultiviewerNG for AmigaOS4.1 - I shorten the title to Multiviewer in this blog post as the software is called Multiviewer everywhere else:
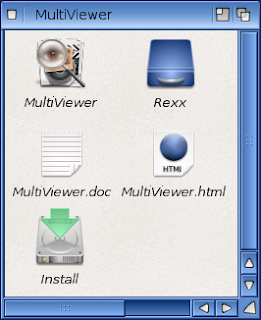
Once the Multiviewer software is downloaded and extracted you have the following drawer, which contains the installer to set things up for Multiviewer:
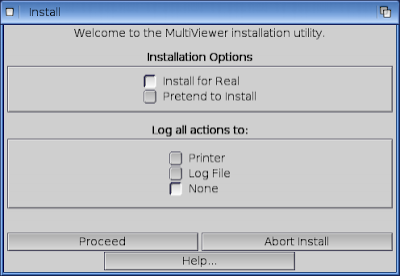
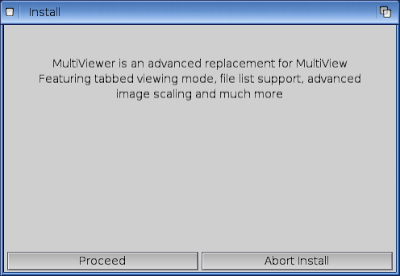
As Multiviewer is a replacement for the AmigaOS Multiview utility, it needs to make some changes to your system to make Multiviewer the default instead - you don't have to make Multiviewer the replacement for Multiview if you don't want to, and you are given the option during the installation:
An assign for Multiviewer: is created in s:user-startup for wherever you choose to install the program.
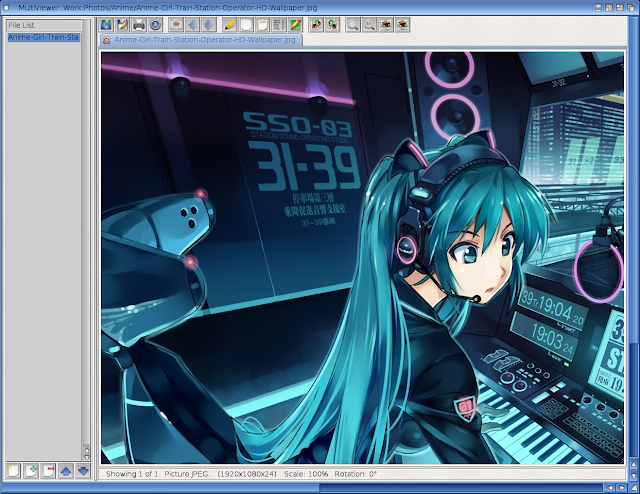
Once installed, I opened Multiviewer and load an image to start with:
There is a toolbar across the top with the various options available, which are:
1. Open
2. Save
3. Print
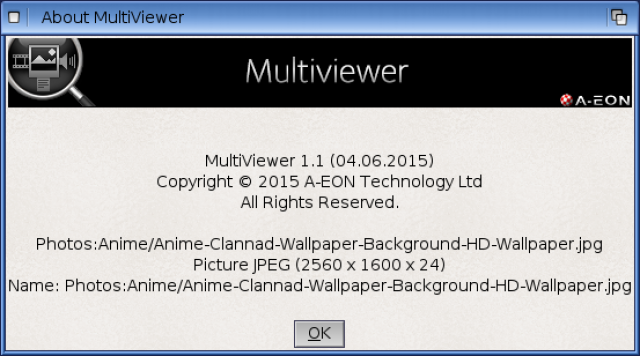
4. Information
5. Slideshow of all files in File List
6. Previous file
7. Next file
8. Mark Section
9. Copy
10. Paste
11. Clear Selection
12. Edit File
13. Rotate Image Anticlockwise 90 degrees
14. Rotate Image Clockwise 90 degrees
15. Zoom
16. Show image unscaled at full resolution
17. Rescale image to Fit window
18. Rescale image to Fill window
You can move the mouse pointer over each icon for a description of what it does.
As with Multiview, Multiviewer uses AmigaOS Datatypes to display files. Unlike Multiview, Multiviewer supports multiple files at the same time, and allows manipulation of images too.
In the above example you can see the image doesn't fit in the display window of Multiviewer, with scroll bars to view the rest of the image.
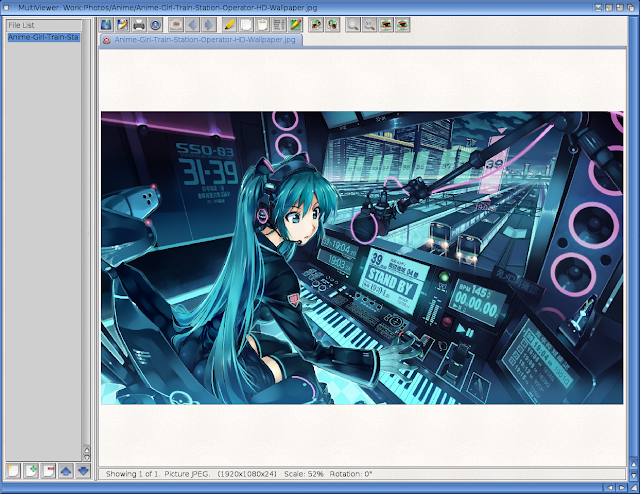
If I click on the Fit button, it will resize the image proportionally to fit the window size, as below:
I can also rotate the image left or right - very useful for images from cameras and smartphones where the image was taken in portrait mode and needs to be adjusted:.
I can also use the Fill option, which will resize the image to fill all of the screen display and provide a scrollbar for the bits that don't fit:
If I then open another image, it is added to the file list on the left hand side. This enables me to quickly select either one for viewing:
I can then open a new tab (like a tabbed browser) by right clicking and selecting the Project > New Tab option as below:
I now get a blank tab, into which I can load another image/file:
I can also paste the contents of the image I copied earlier into this tab - note the tab name changes to the Clipboard 383 title now:
I can then save this new cropped image by right clicking on it, and select Project > Save Image As > and then choose your preferred image format - ILBM, JPG, PNG or TIFF:
You can also apply different filters to the types of files you want to be able to see with Multiviewer - via right click, Settings > Filter by:
As mentioned you can open text files too, an example below is the included Multiviewer.doc file:
Note that if you find you have issues opening a particular datatype(s), you may find that uncommenting (NOCACHING) to NOCACHING in the icon tool types (as shown above) may help with it - it worked for me.
1. Search Text
2. Find next occurrence
3. Find previous occurrence
When clicking on Search Text button, you get the following window pop up to enter the search text, case sensitive and which direction to search in:
Results of the search for 'SDK' in S:user-startup file:
You can also choose to hide the File List and toolbar icons, if for example you prefer a clean Multiview classic style look or want to maximise the image viewing area - this option is available by right clicking, then selecting Navigation > Show File List (or press F7) or Navigation > Show Toolbar (or press F9):
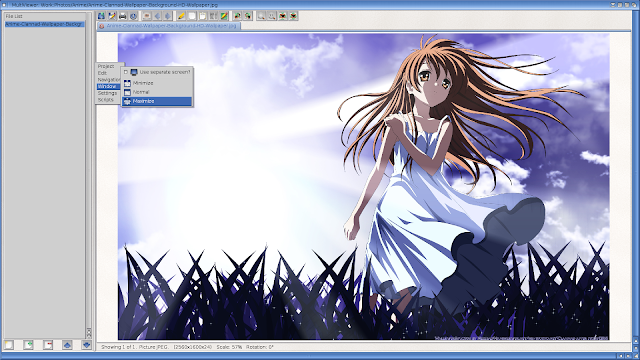
You can also maximise, minimise or even open Multiviewer on it's own screen - very helpful if you have dual monitors, or if you just want to have it running on it's own screen with one display:
Here is a GIF in Multiviewer - I tested many of the common image formats:
You can also playback sounds through Multiviewer - I show examples below like a WAV file and 8SVX sound file:
I can also view/interact with AmigaGuide files through Multiviewer:
As with Multiview, you can download additional AmigaOS4 Datatypes from OS4depot.net and install them to add additional filetype functionality to Multiviewer.
Example datatype I tried is Mpegadt from OS4depot here that you can use to playback MP3 files in Multiview and now Multiviewer:
