Installing Linux on the X5000
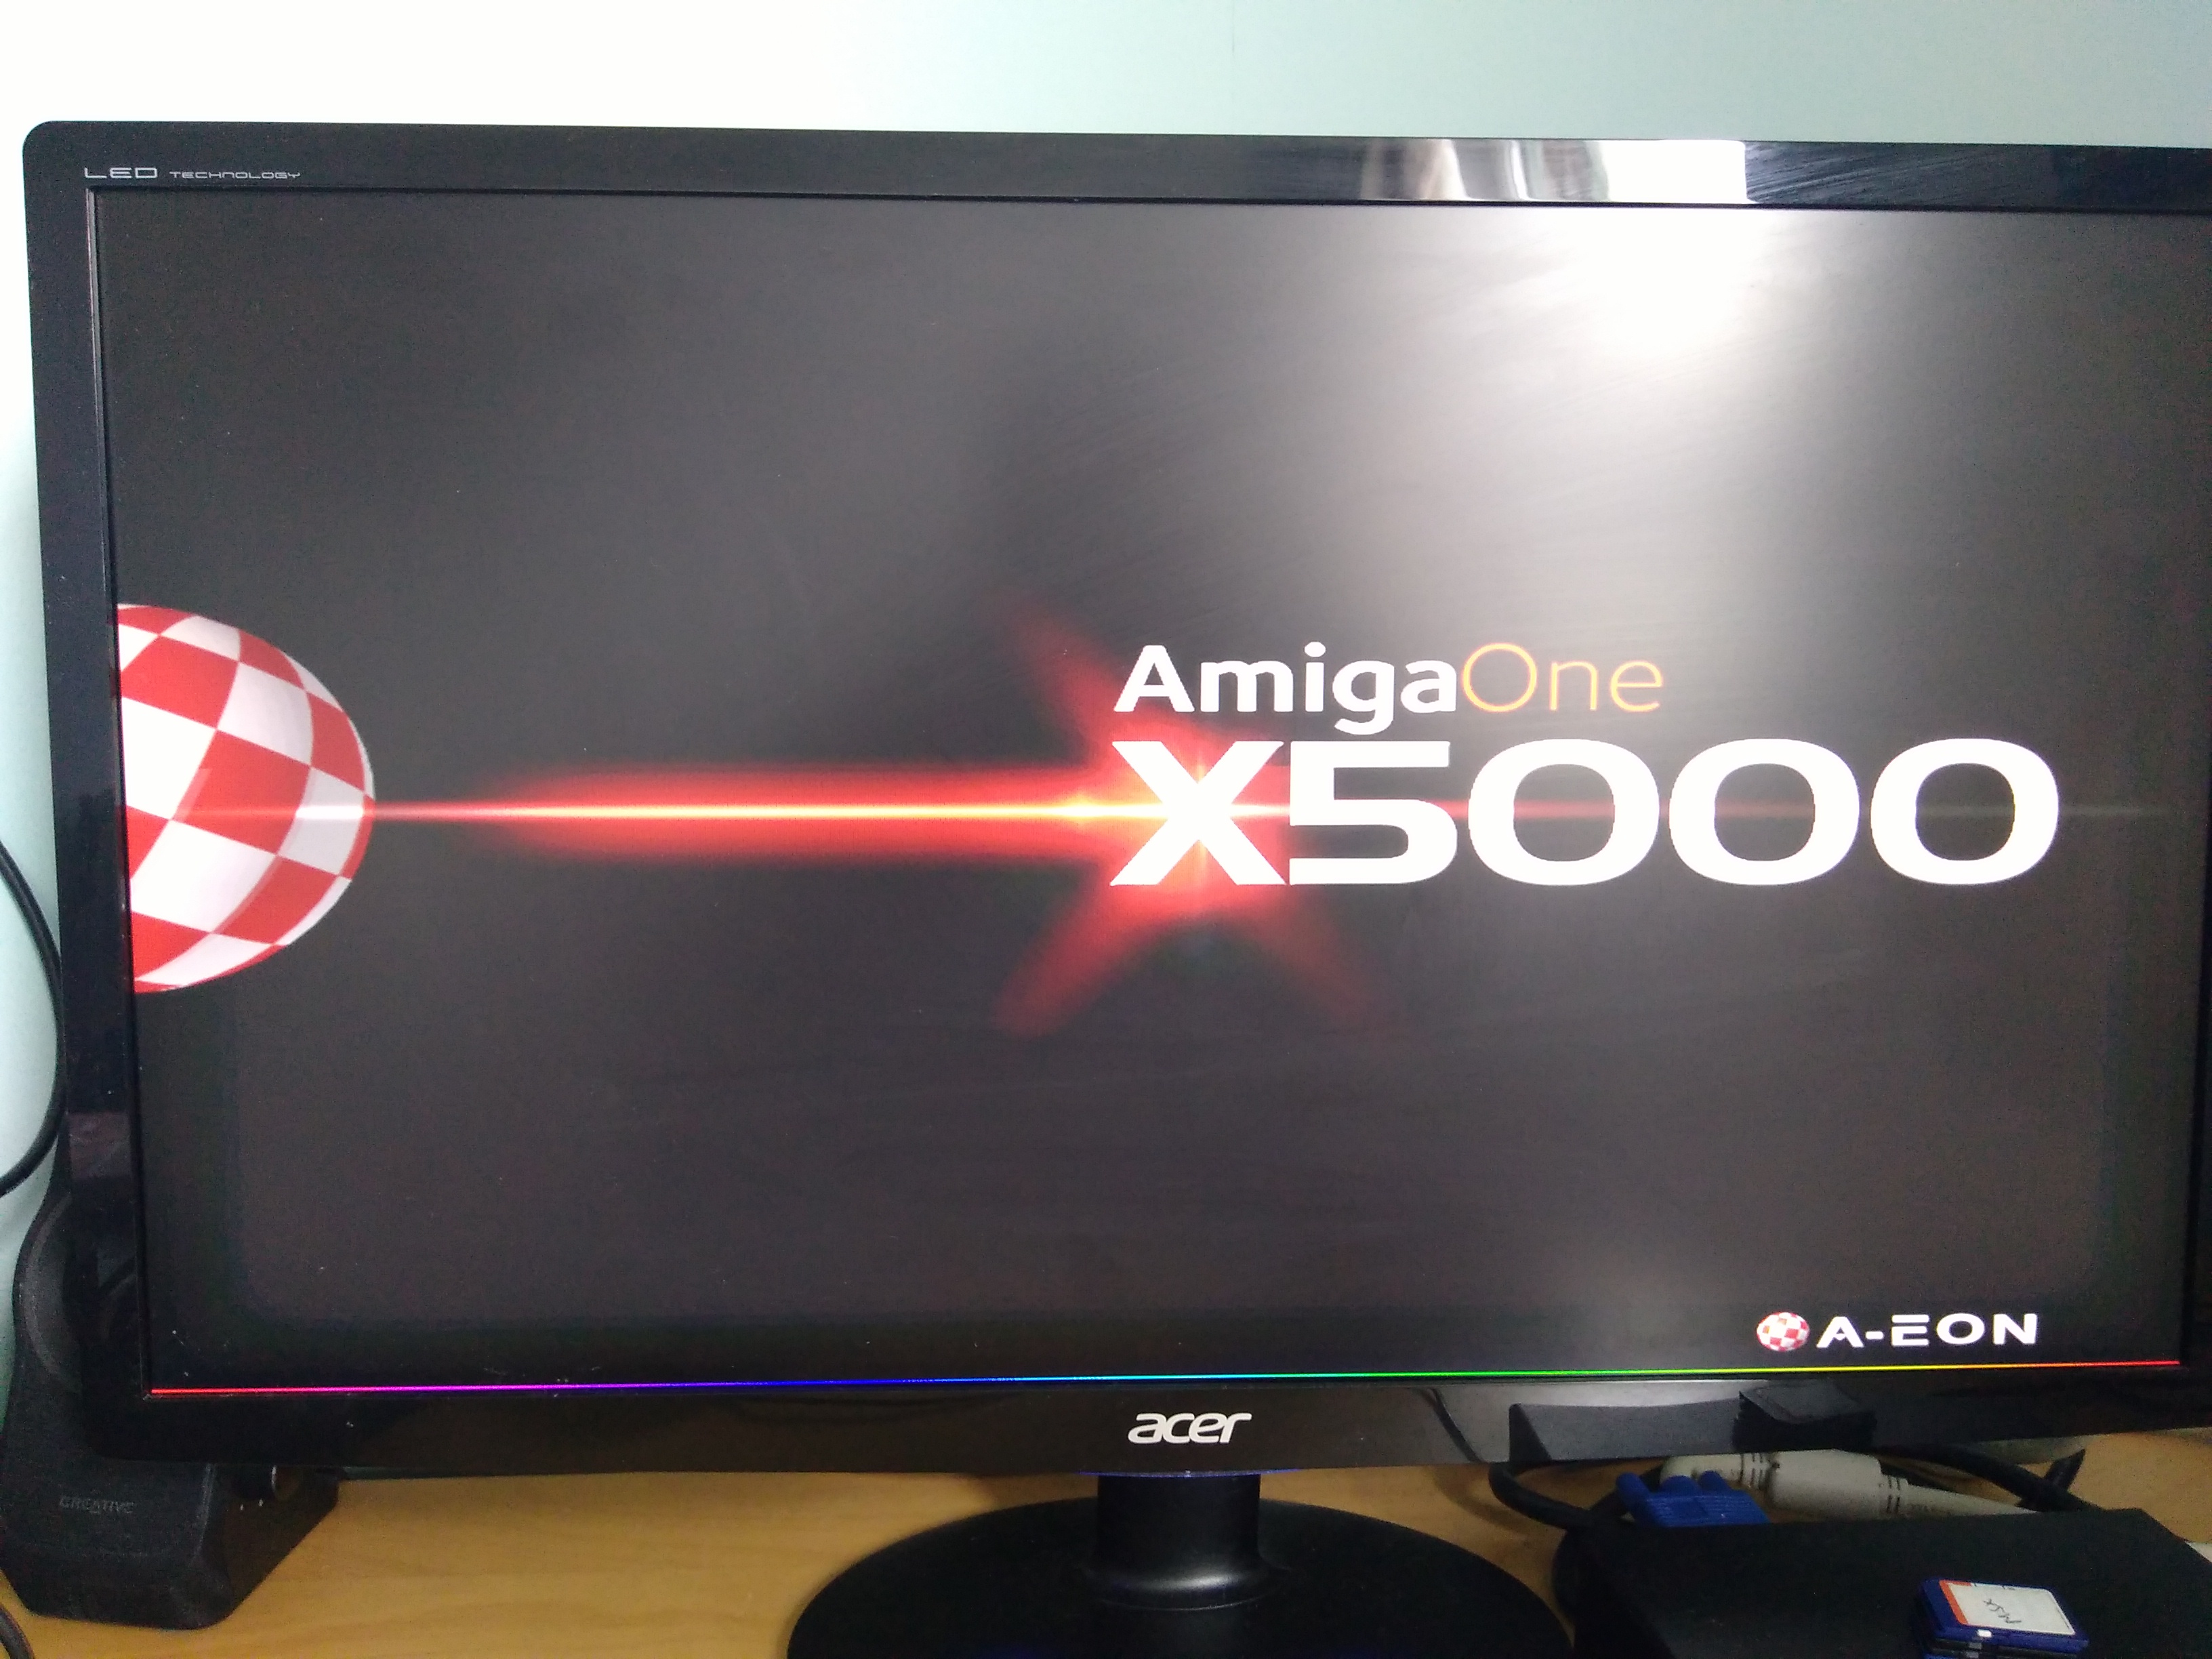
Upon reading the title of today’s blog you may be wondering why upon purchasing a very expensive custom-made motherboard primarily with the purpose of running Amiga OS on it, would you now be wanting to install a rival operating system? Well, for those who were not aware, although the X5000 was designed with Amiga OS as the main operating in system in mind, it will also support other operating systems. At the present time the system supports the dual booting of Linux as well as Amiga OS 4.1 Final Edition and further down the line, it is hoped that the system will also support the upcoming MorphOS version 3.10 which itself is an Amiga like operating system.
The Linux distribution I have decided to load today on to my X5000 machine is a Power PC version of Linux entitled Ubuntu-Mate 16.04.1.LTS. Now a little disclaimer is needed here. I am versed in both the Amiga and Windows operating systems and I may be capable of writing a blog, of using a computer for everyday tasks such as word processing, spreadsheets, moving files across and watching stuff on the internet, but generally i tend to use my computers for playing games. I can’t code to save my life, i struggle with shell commands and i generally prefer the point and click type of interfaces. So why the hell am I trying out Linux which is a system aimed at the hardcore computing community and is notorious for endless entries and commands into the shell? Well thanks to Ubuntu, Linux has kind of got a little more user-friendly and equally I was curious to find out how it ran on the X5000.
Preparation
Now to download Linux on to the X5000, you will need a PC or a Linux machine to generate a disk image on to a USB flash drive which will act as your opening portal to the world of Linux.
Firstly you will need to head over to the Hyperion-Entertainment Linux support forum to download the following file: X5000_Ubuntu_16.04.1_Live_USB-3.img
Once this is download on to a PC, you will need to enter in your USB flash drive, at least 2GB is required) and use a programme like Rufus which will convert the disk image on the USB drive
There are some instructions that go with the installation of Linux on to the X5000 over on Hyperion’s forum which i followed to the letter however after many failed attempts trying to work out what had gone wrong, i thought it best that once I had got this working that I share a few tips and tricks with you all as it can be quite daunting especially for a first time Linux user like myself. If anything setting up Linux has really helped me understand the U-Boot process a little bit better on the X5000.
After creating the USB flash drive on the PC, you need to transfer the drive to the Amiga, turn on the X5000 and wait for the initial loading screen to start flashing:
Once this starts flashing you will need to press the enter key and this will take you to the AmigaOne Early Start Up Menu with some options to boot AmigaOS, MorphOS, Linux or command line:
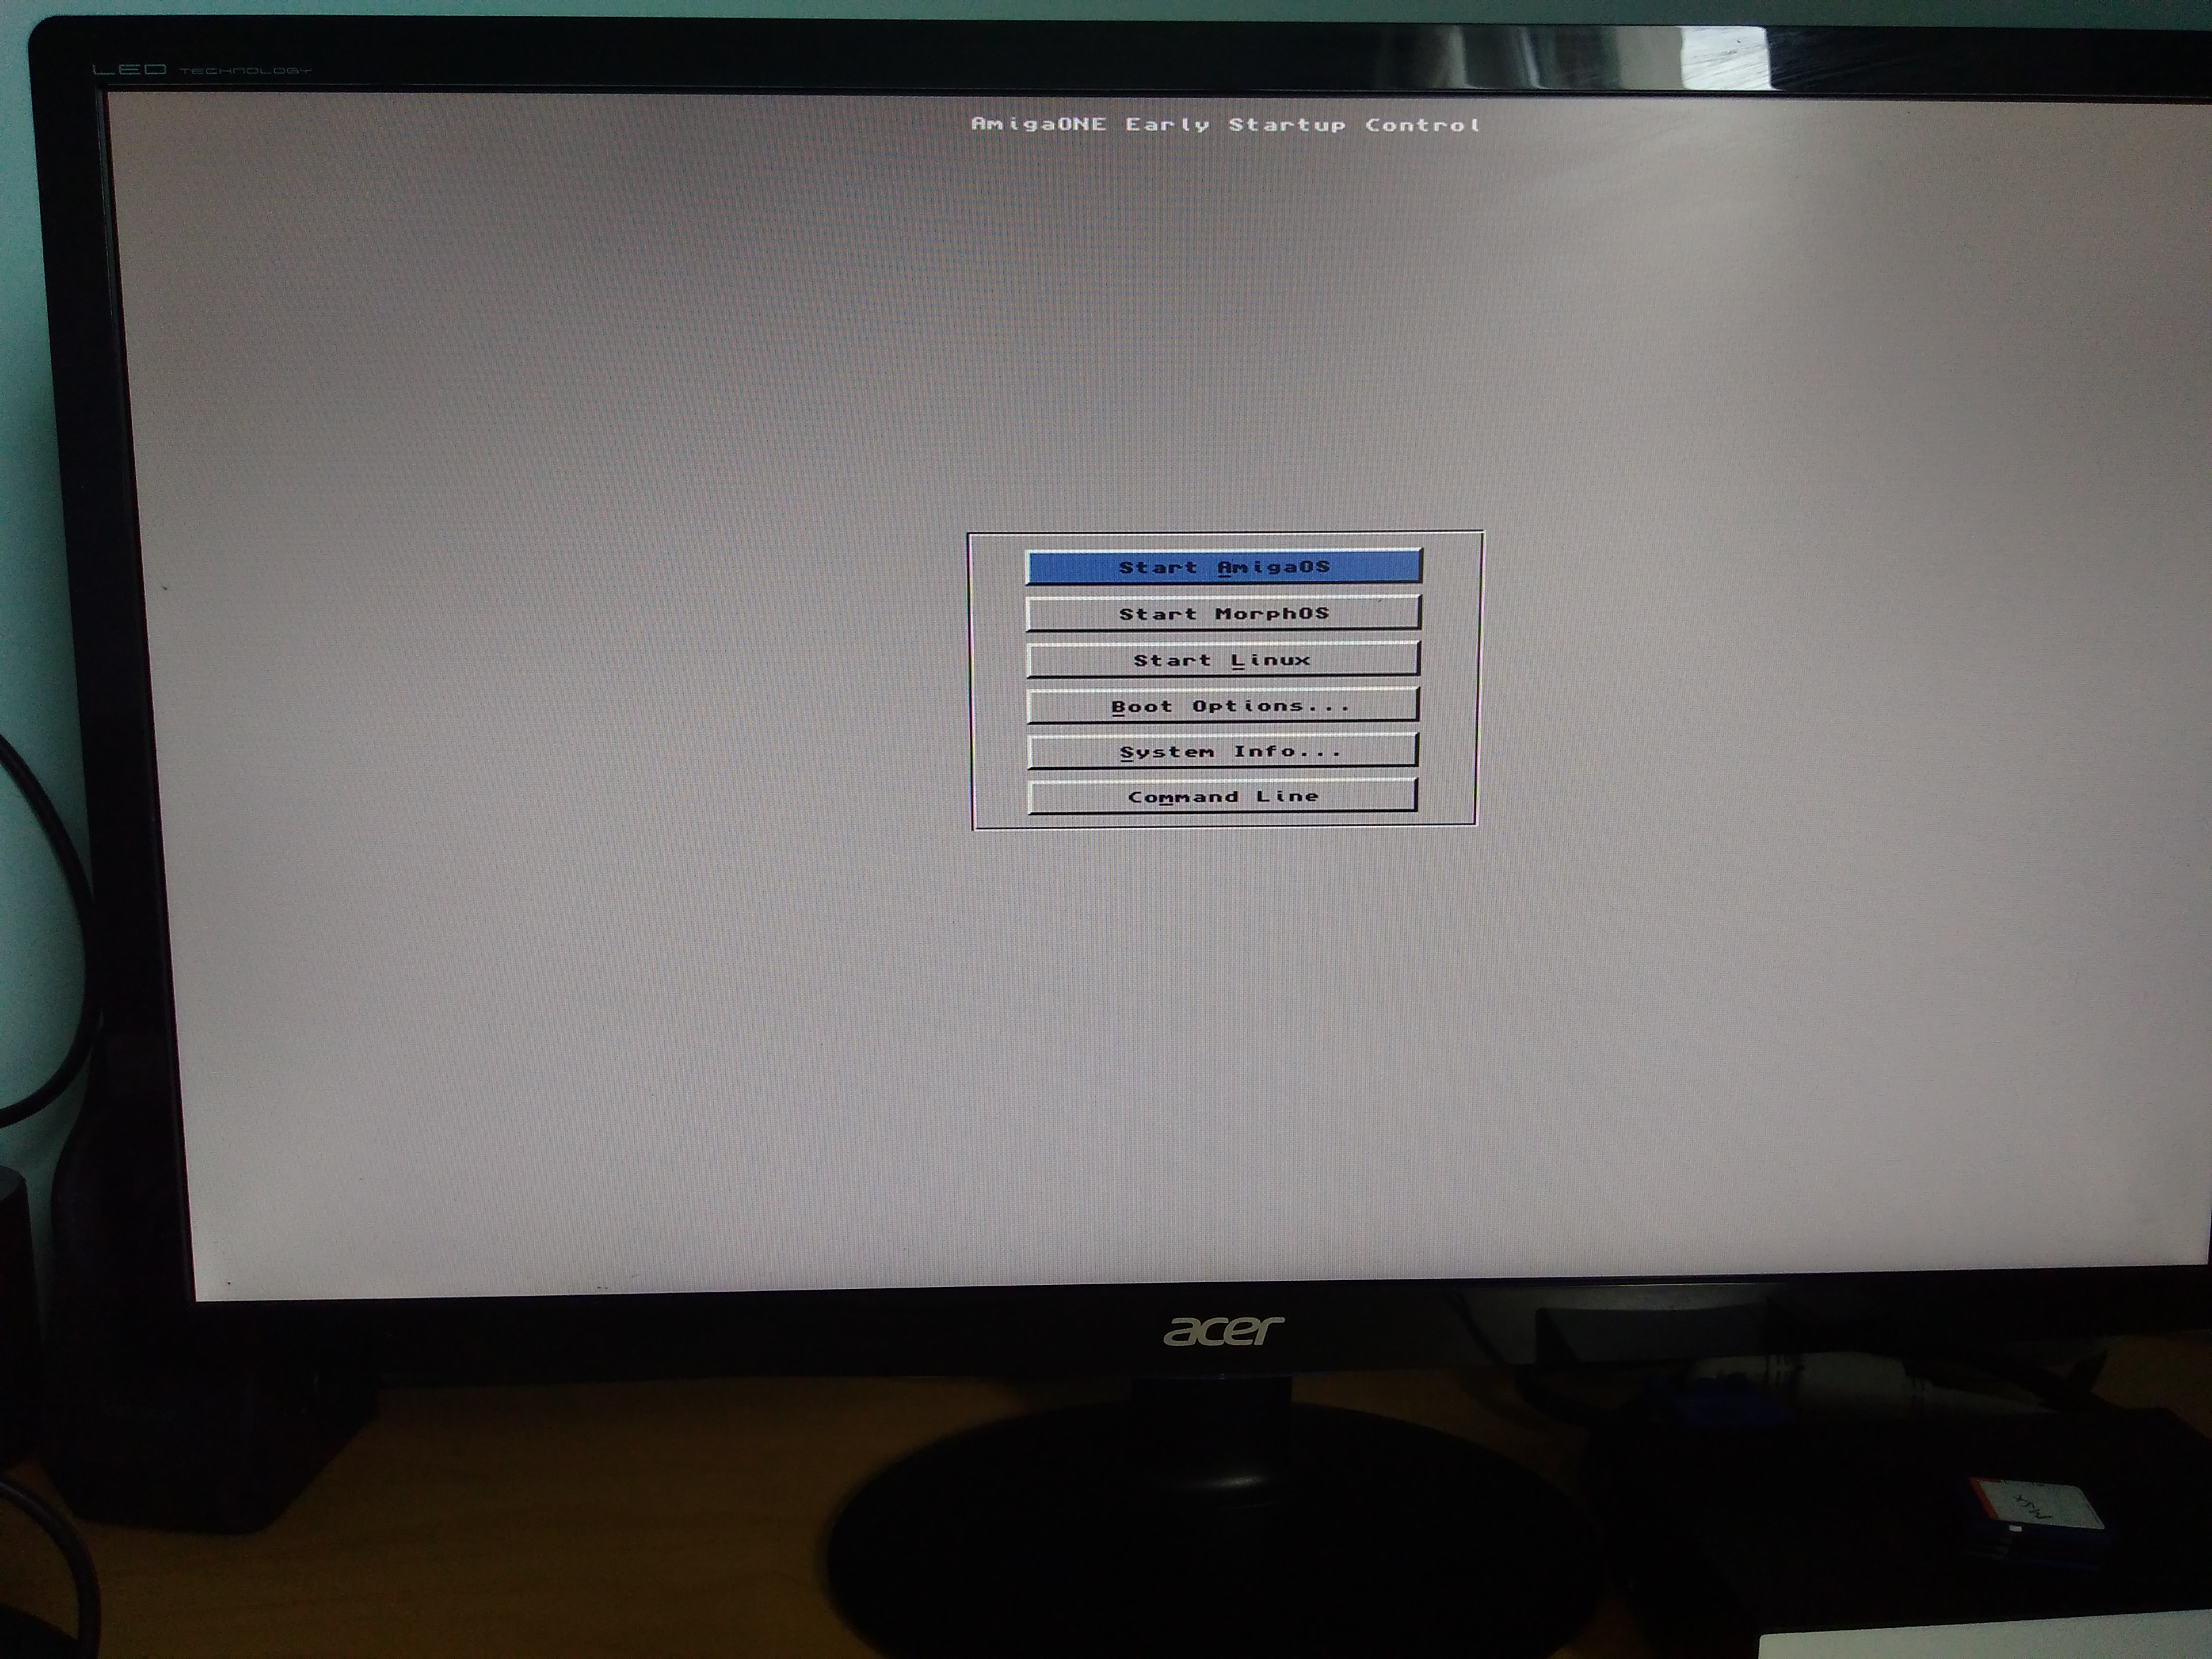
Here you will need to select the last option for the command line and from here enter in the following:
Usb reset
This will reset the USB ports. Then you will need to enter the following lines of text which will set the environment for Linux to load from the USB flash drive:
setenv bootargs root=/dev/ramdisk file=/cdrom/preseed/ubuntu-mate.seed boot=casper rootdelay=10 mem=3500M radeon.pcie_gen2=1
fatload usb 0:1 1000000 uImage-cyrus
fatload usb 0:1 1c00000 cyrus_5020.dtb
fatload usb 0:1 2000000 uRamdisk
bootm 1000000 2000000 1c00000
If you are getting any bad USB errors at this point, you need to do a usb reset in the command line and then enter in the setenv and fatload lines ending with the bootm command.
Hard drive partitioning
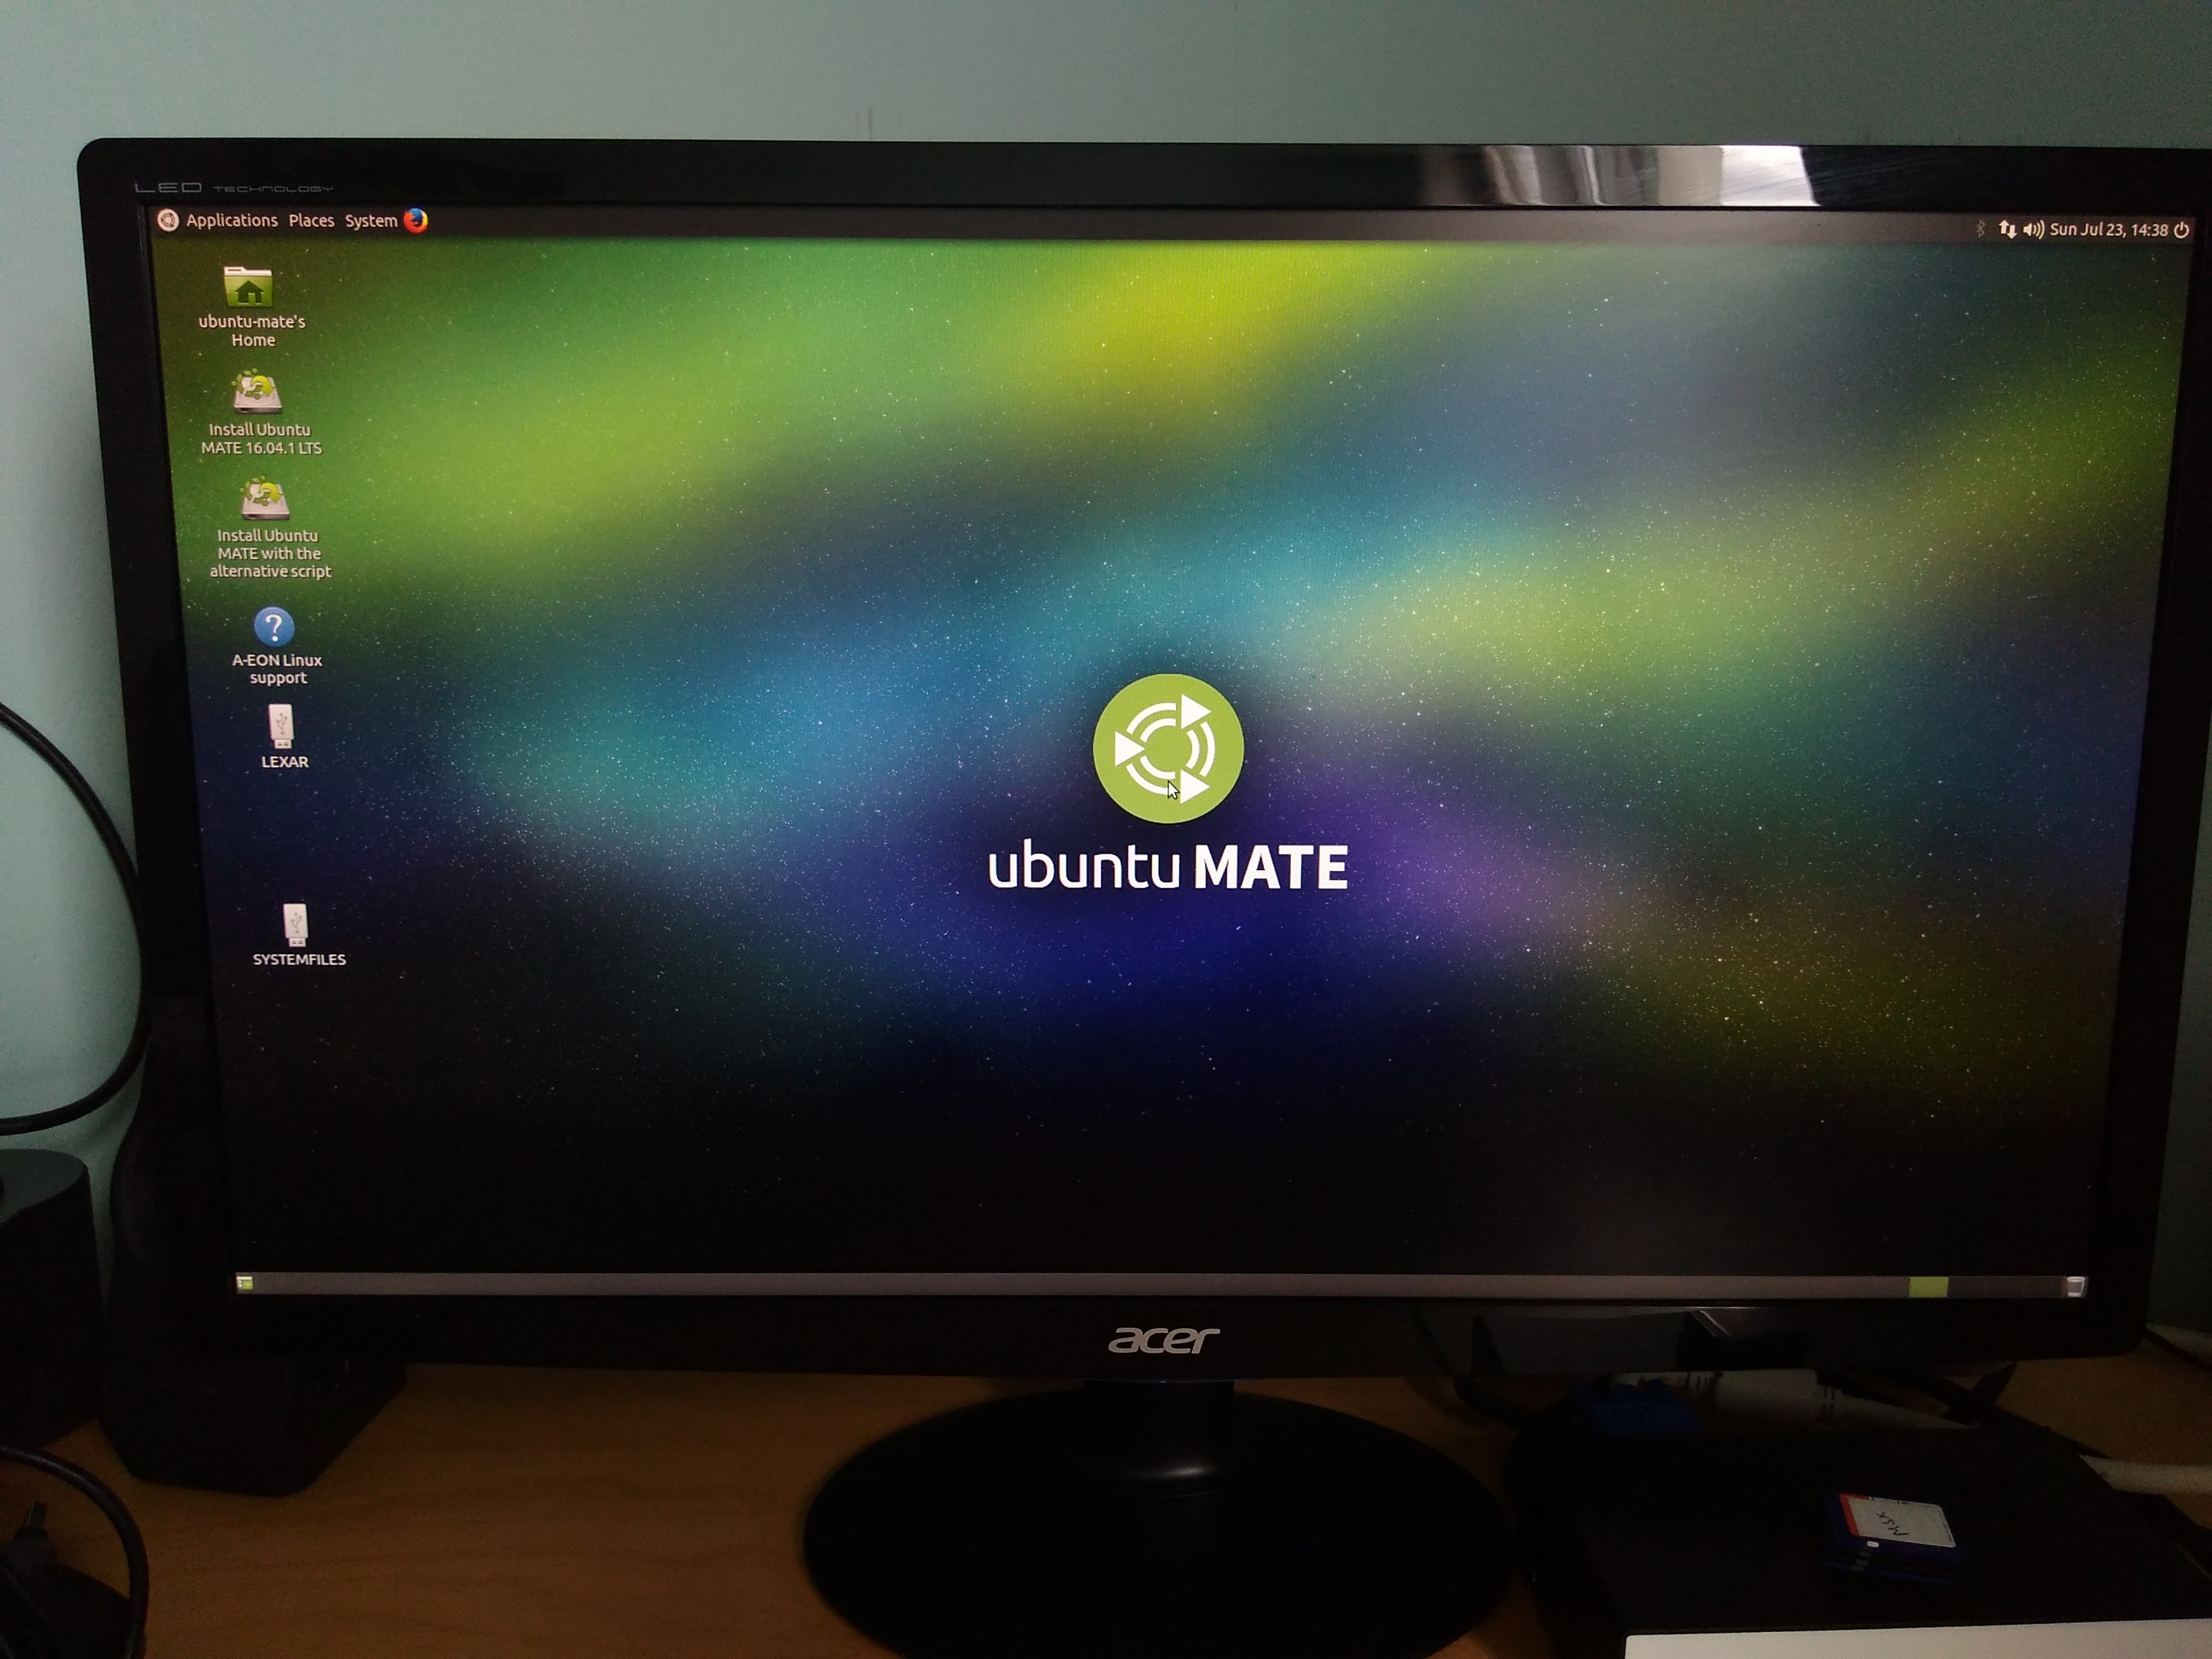
All being well this will then load into Ubuntu Mate where you need to hit the option to install Ubuntu 16.04.1 LTS using the alternative script.
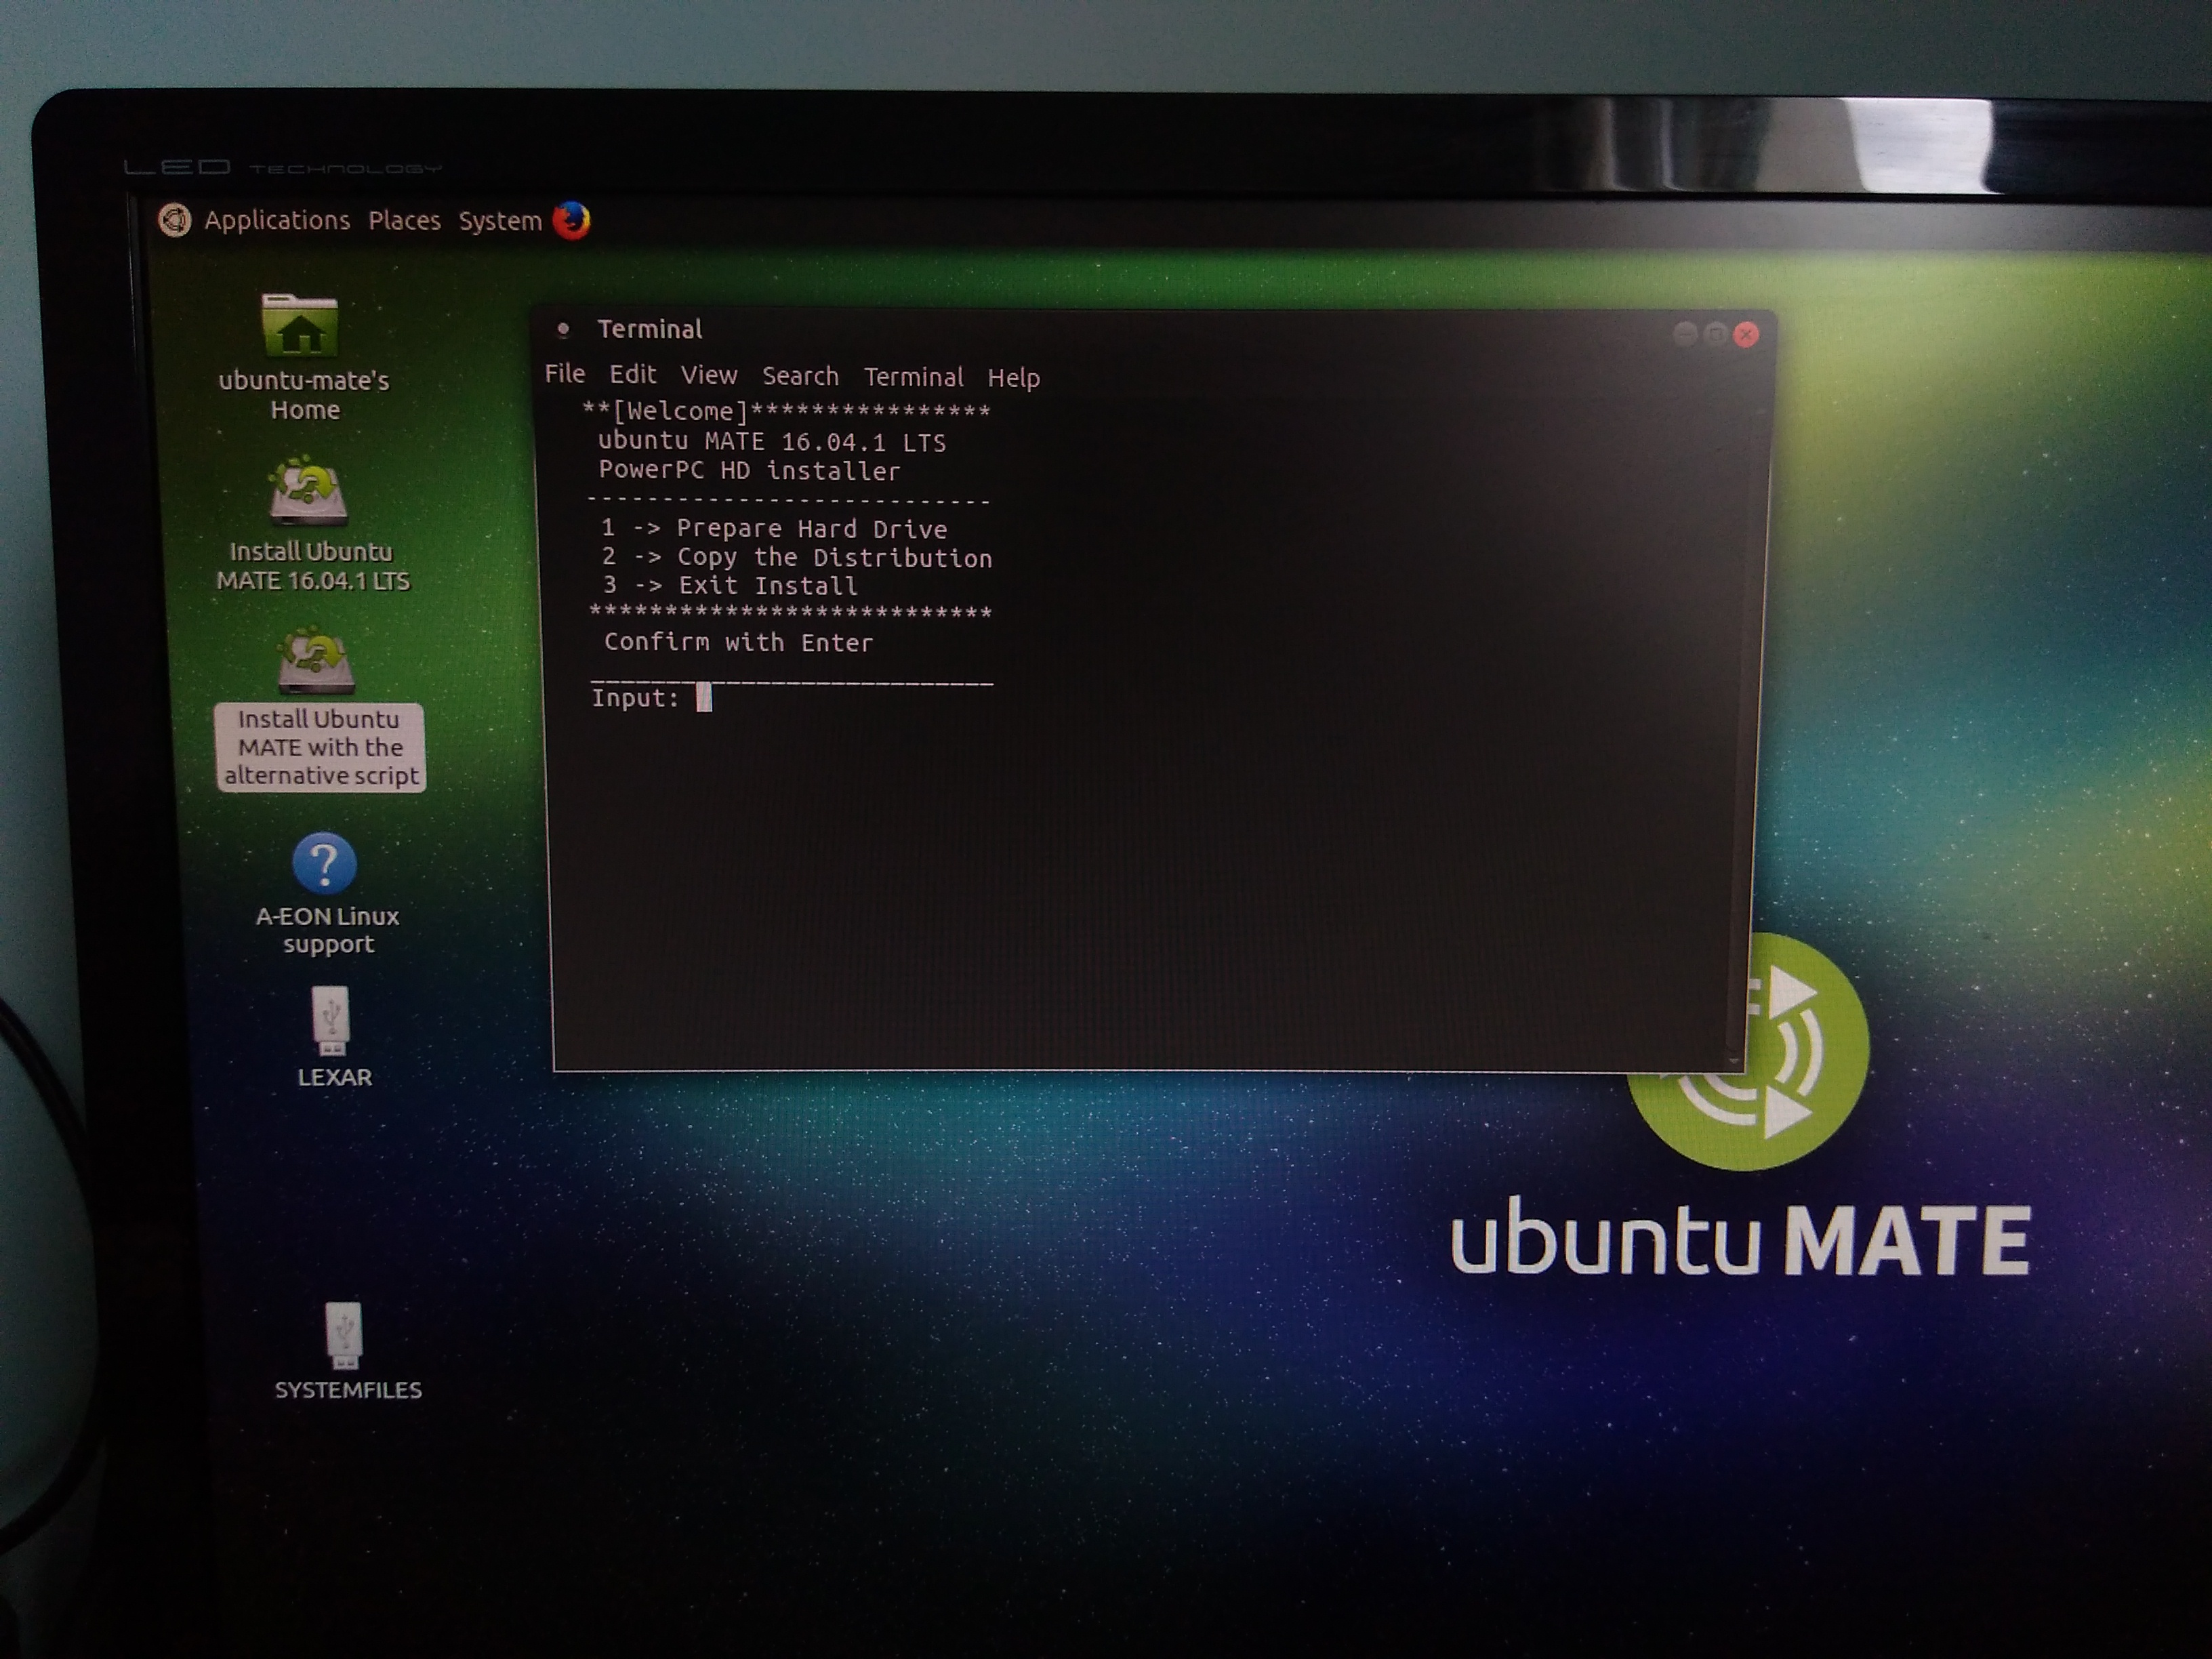
You will then need to press option 1 which will prepare your hard drive.
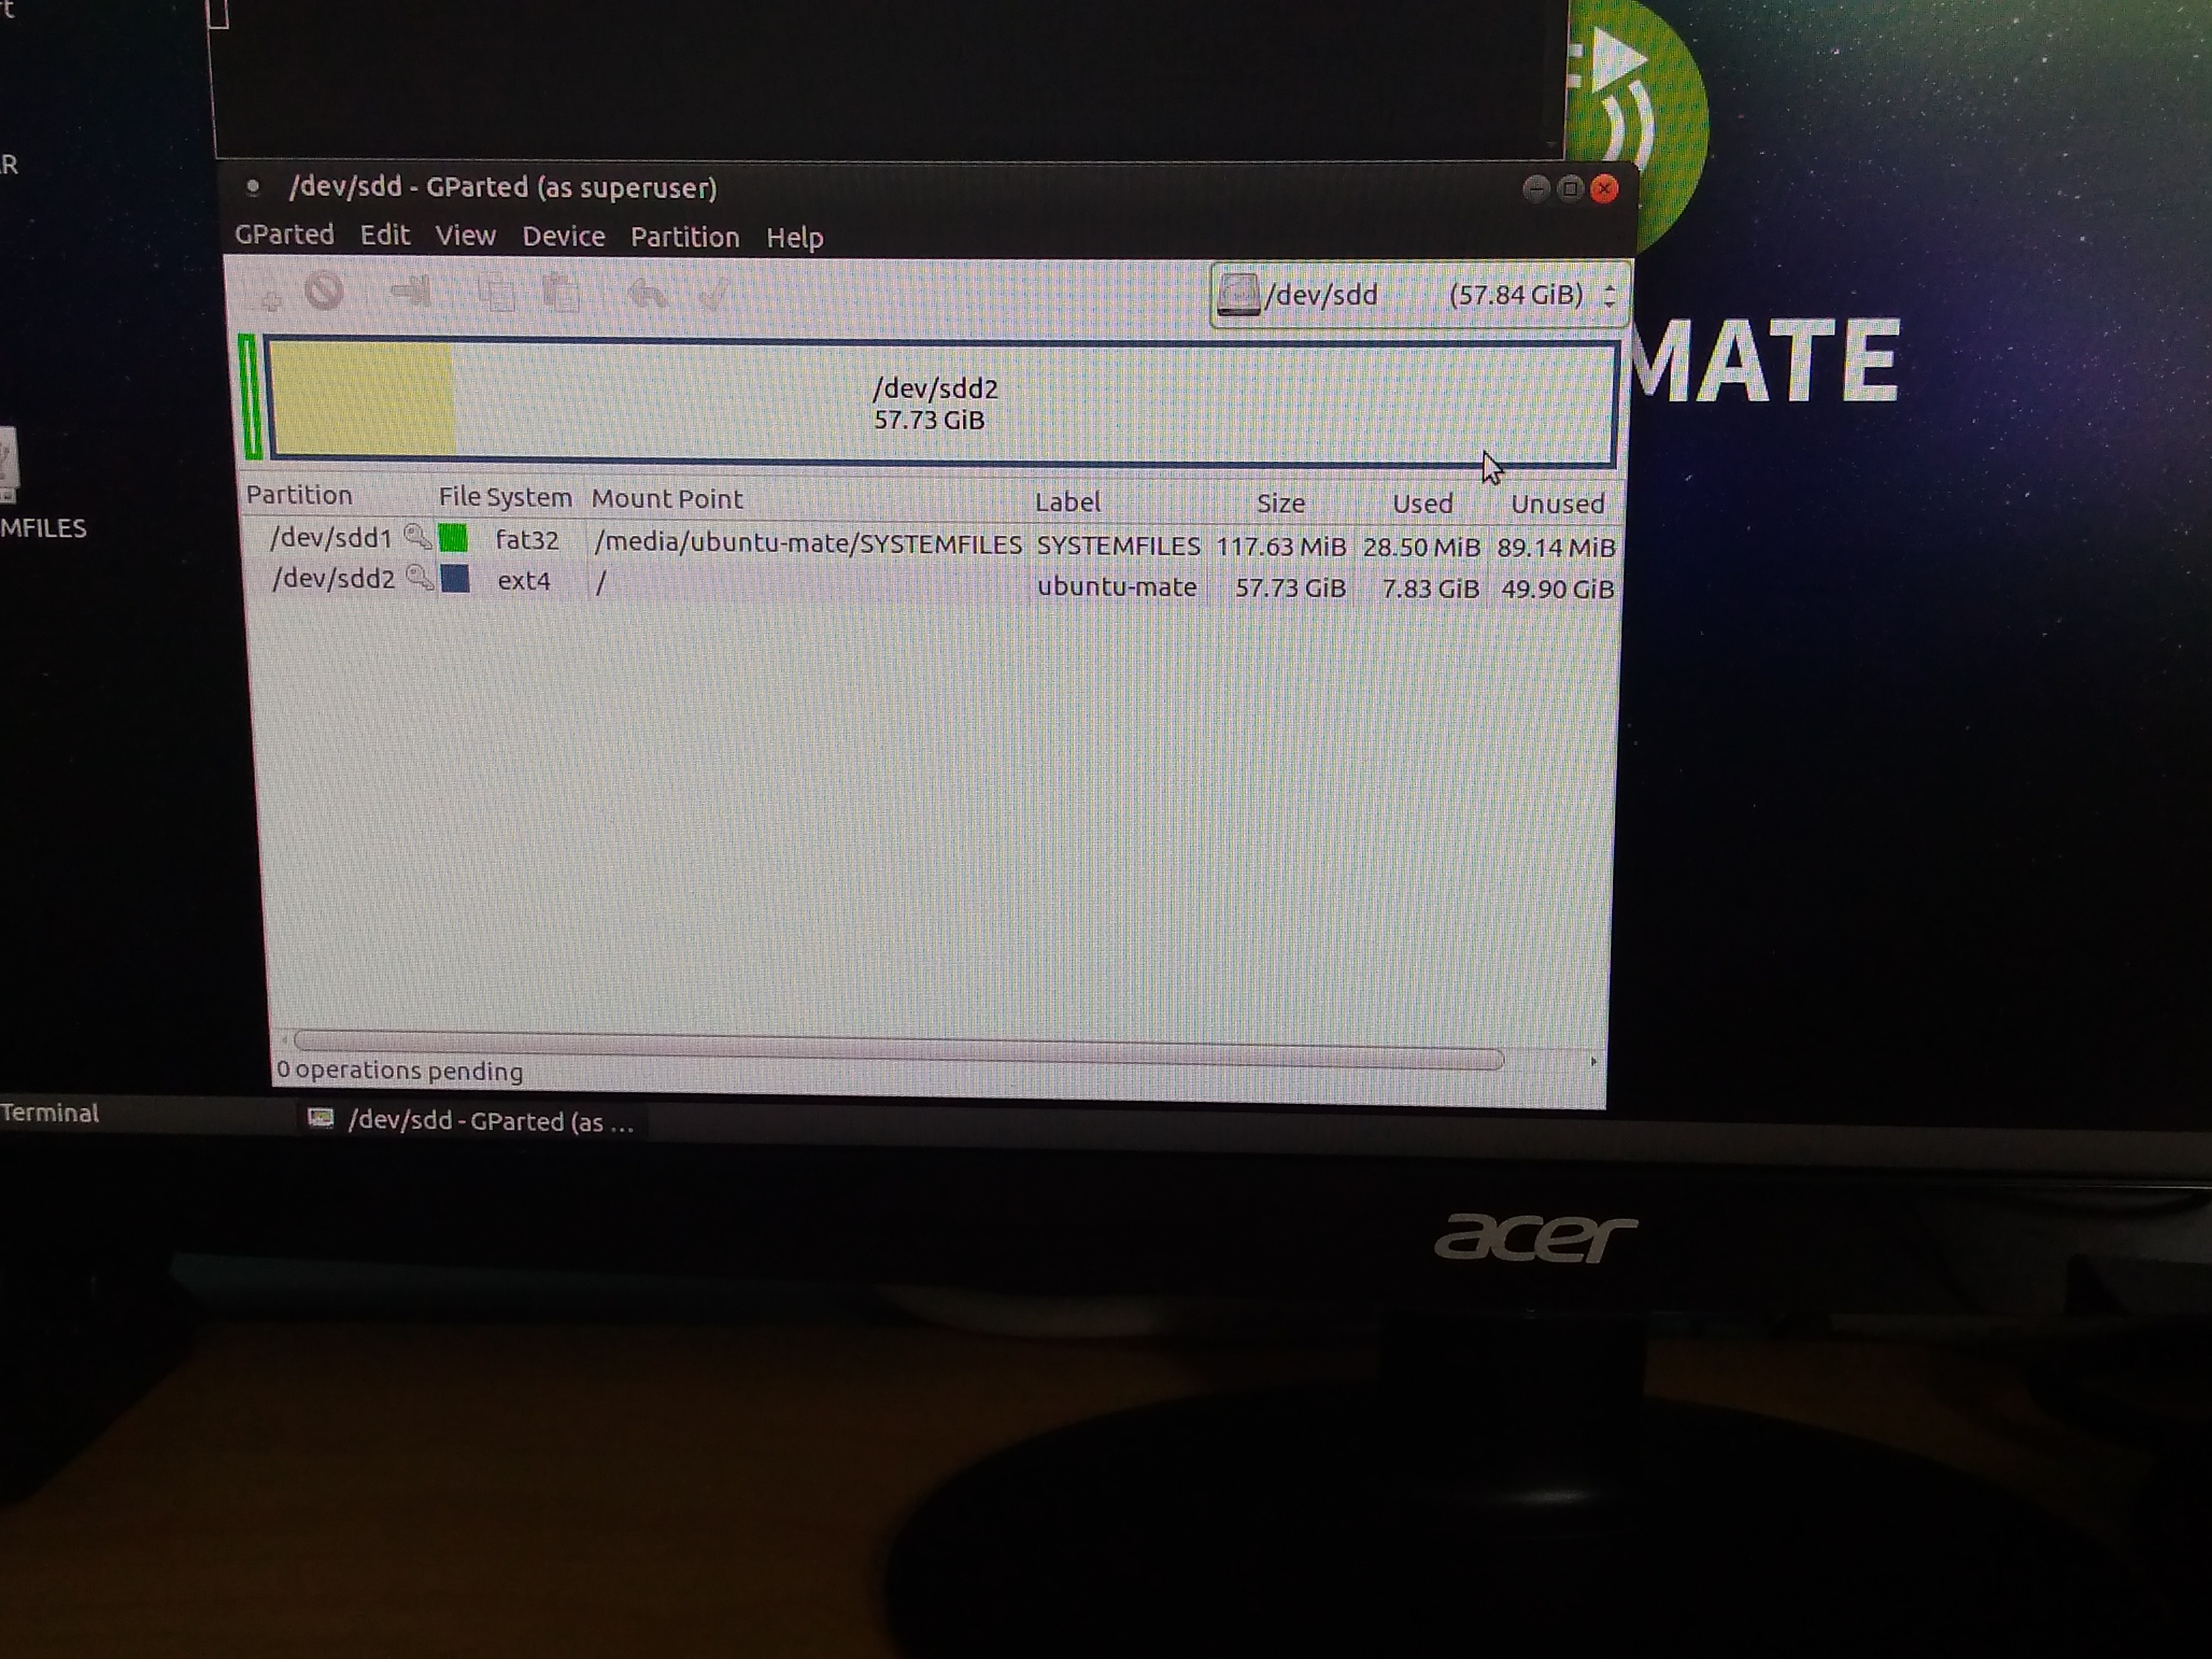
Now on my X5000 I now have two SSD drives set up via my onboard SATA ports and I have decided to install on to this small 64GB flash drive.
When you press option 1, it will open a programme called GParted which is the Linux partitioning and hard drive preparation programme.

In the top right hand corner are a list of the drives. Now the flash drive I have booted from is recognised by Linux as device (dev) SDE. The other devices it has recognised are as follows:
dev/mmcblk0 = The SD drive which sits on the X5000
dev/sda = My first Amiga drive
dev/sdb = My second Amiga drive
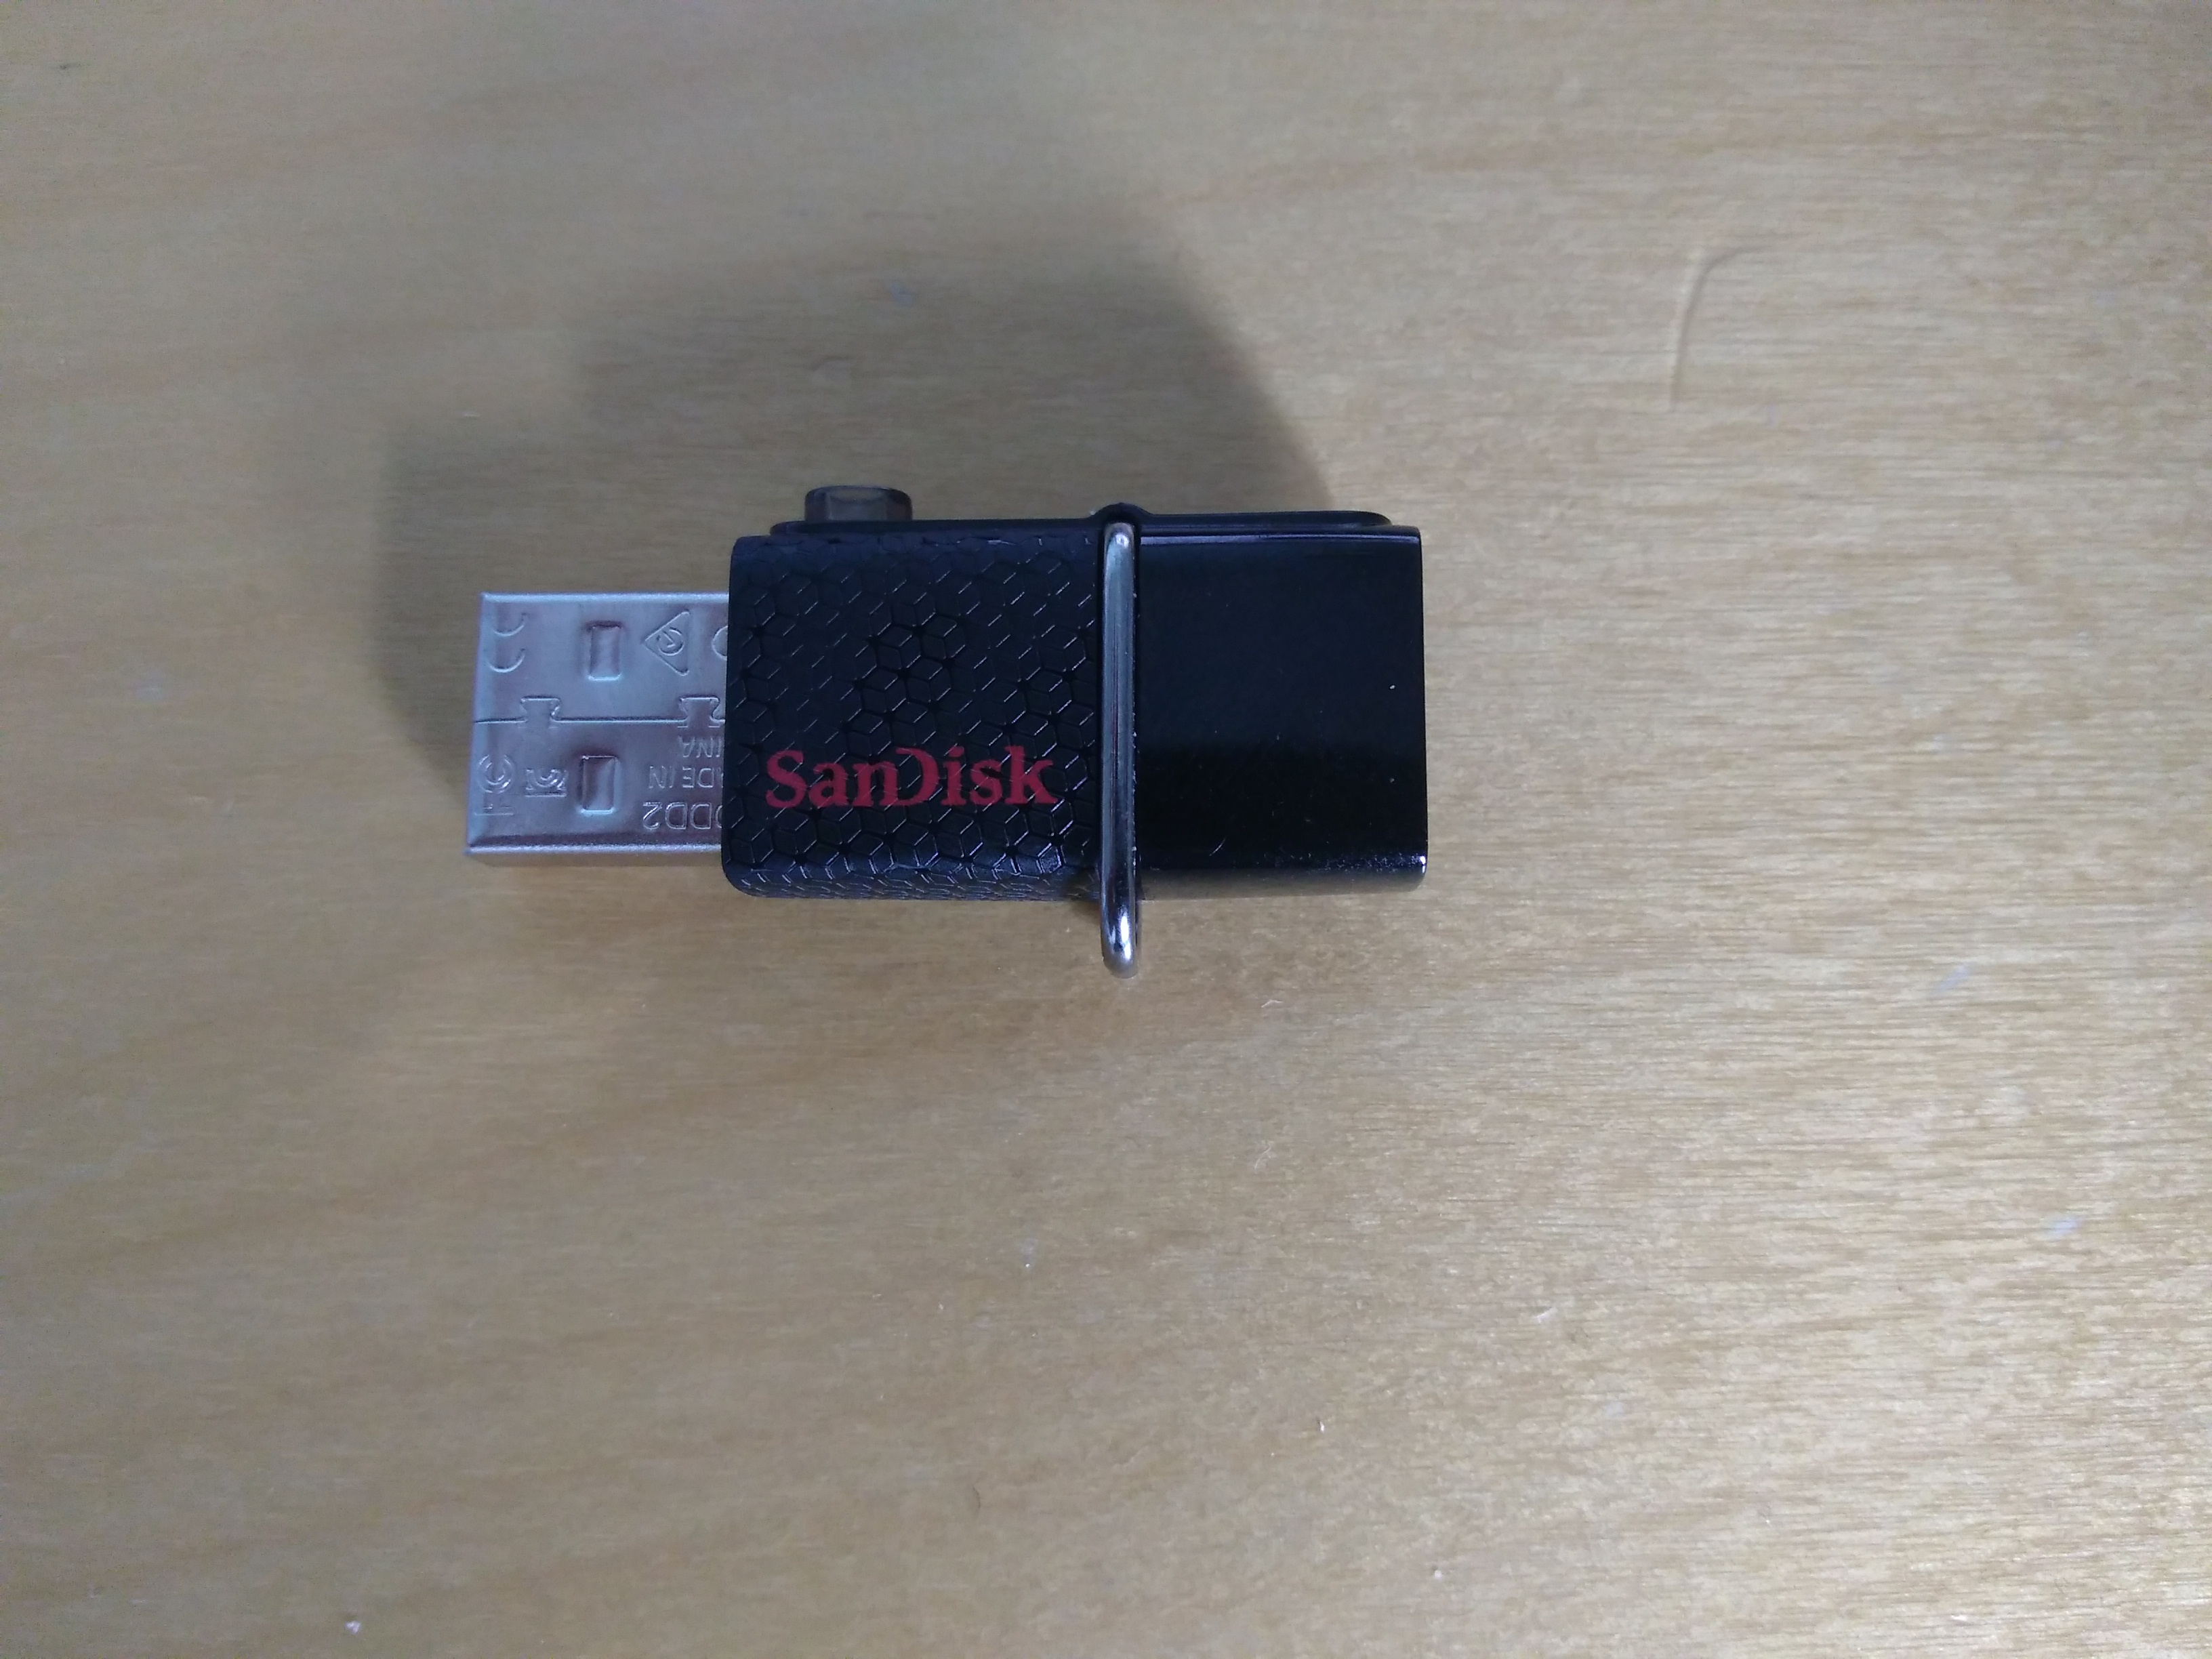
dev/sdd = My Sandisk 64GB flash drive which i want to install on to.
Now if you are installing to a clean fresh SSD/hard drive your drive should appear here and it is more than likely that it will appear as dev/sdb if you only have one Amiga drive installed. For me the dead giveaway for knowing which device is which down to the size of the drive.
Anyway we then need to create two partitions. You will need to click on the plus sign in the top left to add a partition and the first one should be a small partition done in Fat 32. 100MB will suffice here and you need to format in cylinder mode. The second larger partition will be reserved for Ubuntu system files and extra storage space and it is recommended that you format in cylinder mode and select the EXT4 file system which is a special Linux file system.
Installation of files
Once you created your partitions, it is time for the installation of the files.
From the USB flash drive that you have just booted from, you till need to place into the small Fat 32 partition the following files:
uImage-cyrus
cyrus_5020.dtb
uRamdisk
Then click on the icon to use the alternative script again and this time press option 2 to copy across the files to your new drive. It will prompt you to ask what device you wish to copy these to and as I am copying this across to device Sdd2 I will need to enter dev/sdd2 and the copying of the files will commence. This will take approximately 5-10 minutes to complete.
Once you have completed the installation of Ubuntu-Mate to the drive, you will need to take out the boot image flash drive and restart the X5000.
Final modification of U-Boot settings
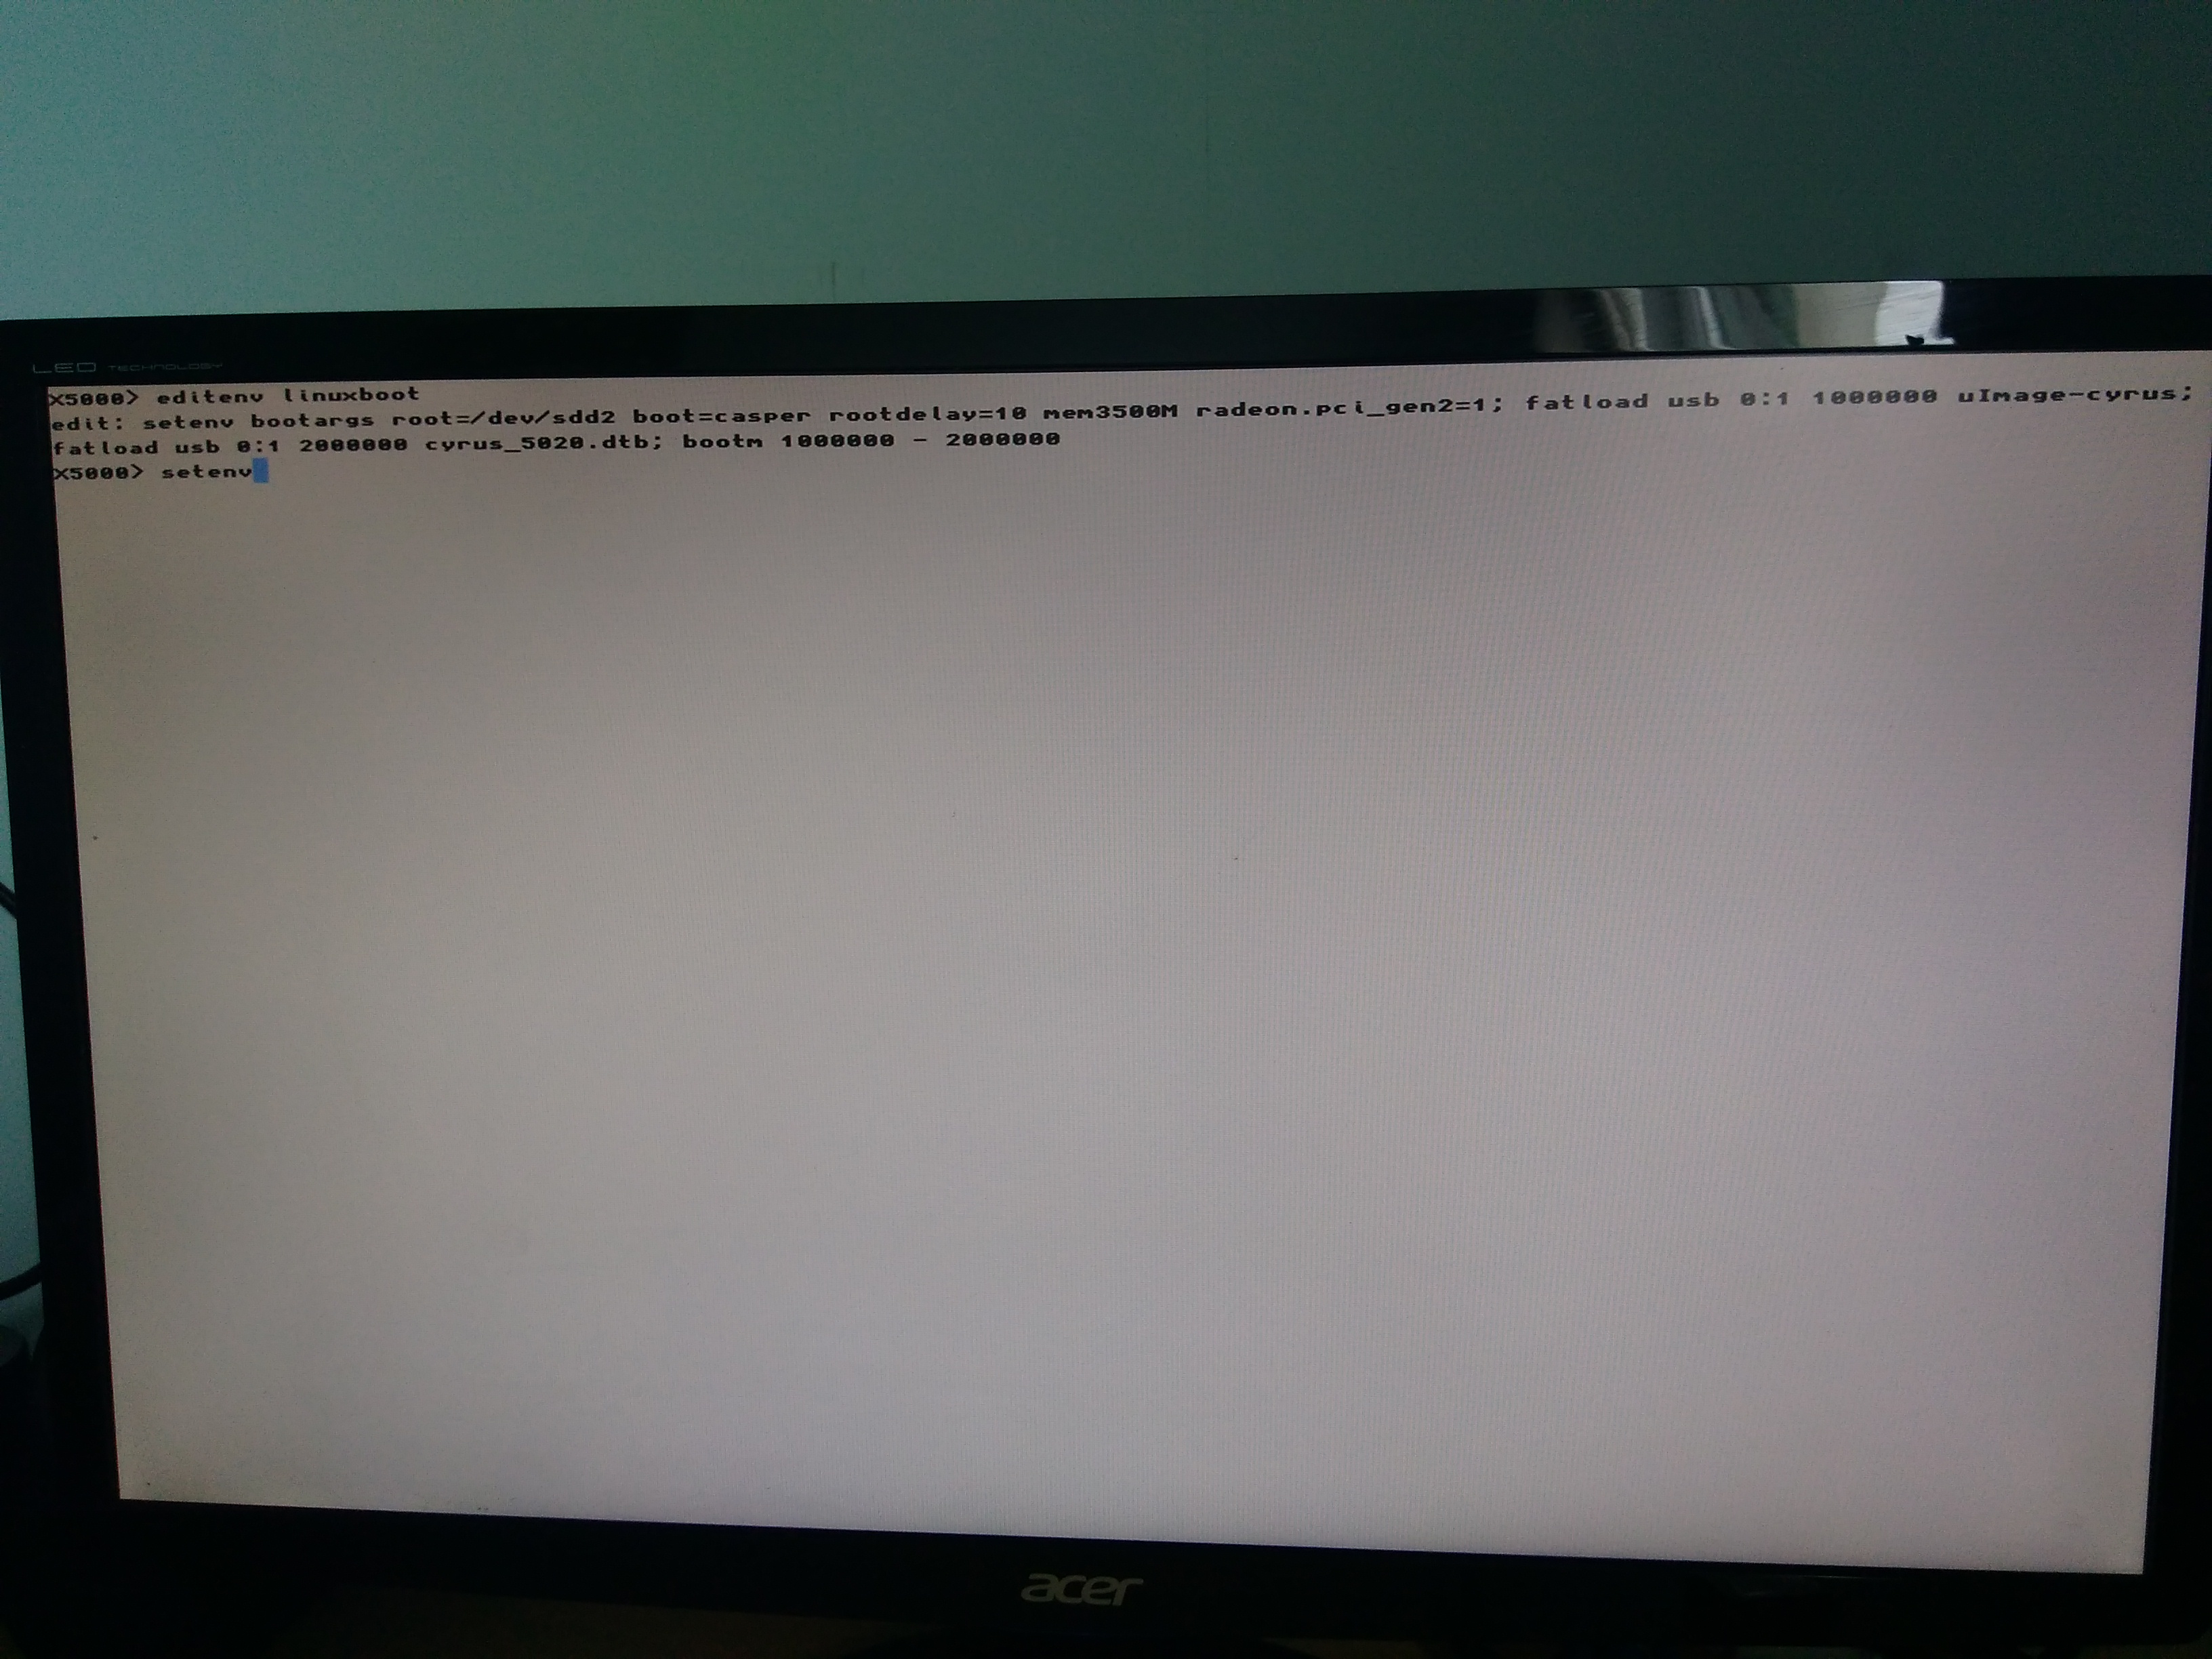
Wait again for the flash screen and the early start-up menu and you will then need to alter some parameters within the Linux boot menu.
First of all enter editenv linux boot to modify the linux boot arguments and then enter in the following commands to boot from USB:
setenv bootargs root=/dev/sdd2 boot=casper rootdelay=10 mem3500M radeon.pci_gen2=1; fatload usb 0:1 1000000 uImage-cyrus; fatload usb 0:1 2000000 cyrus_5020.dtb; bootm 1000000 – 200000
Then enter saveenv and this will store this in the U-Boot for booting from the main menu.
Now here is the difficult bit, if your device that you have copied across your files to was sdb in Linux and a USB drive you may need to amend this as follows:
setenv bootargs root=/dev/sdb2 boot=casper rootdelay=10 mem3500M radeon.pci_gen2=1; fatload usb 0:1 1000000 uImage-cyrus; fatload usb 0:1 2000000 cyrus_5020.dtb; bootm 1000000 – 200000
If this was copied across to say a SSD or actual disk drive connected to one of the onboard SATA ports then you may need to amend this to: (assuming that the drive is device b)
setenv bootargs root=/dev/sdb2 boot=casper rootdelay=10 mem3500M radeon.pci_gen2=1; fatload sata 0:1 1000000 uImage-cyrus; fatload sata 0:1 2000000 cyrus_5020.dtb; bootm 1000000 – 200000
The SATA command 0:1 relates to port 0 on the board so amend this to 1:1 if this was connected to port 1.
Having finally got this to work, I am now ready to boot into Linux, however I do recommend that before you run the boot Linux command, you do a quick usb reset command.
Start up and first impressions
Having loaded up Linux and deleted the default account on the installation and put in my own details and set my self up as an administrator, it was time to start customizing a few bits and pieces.
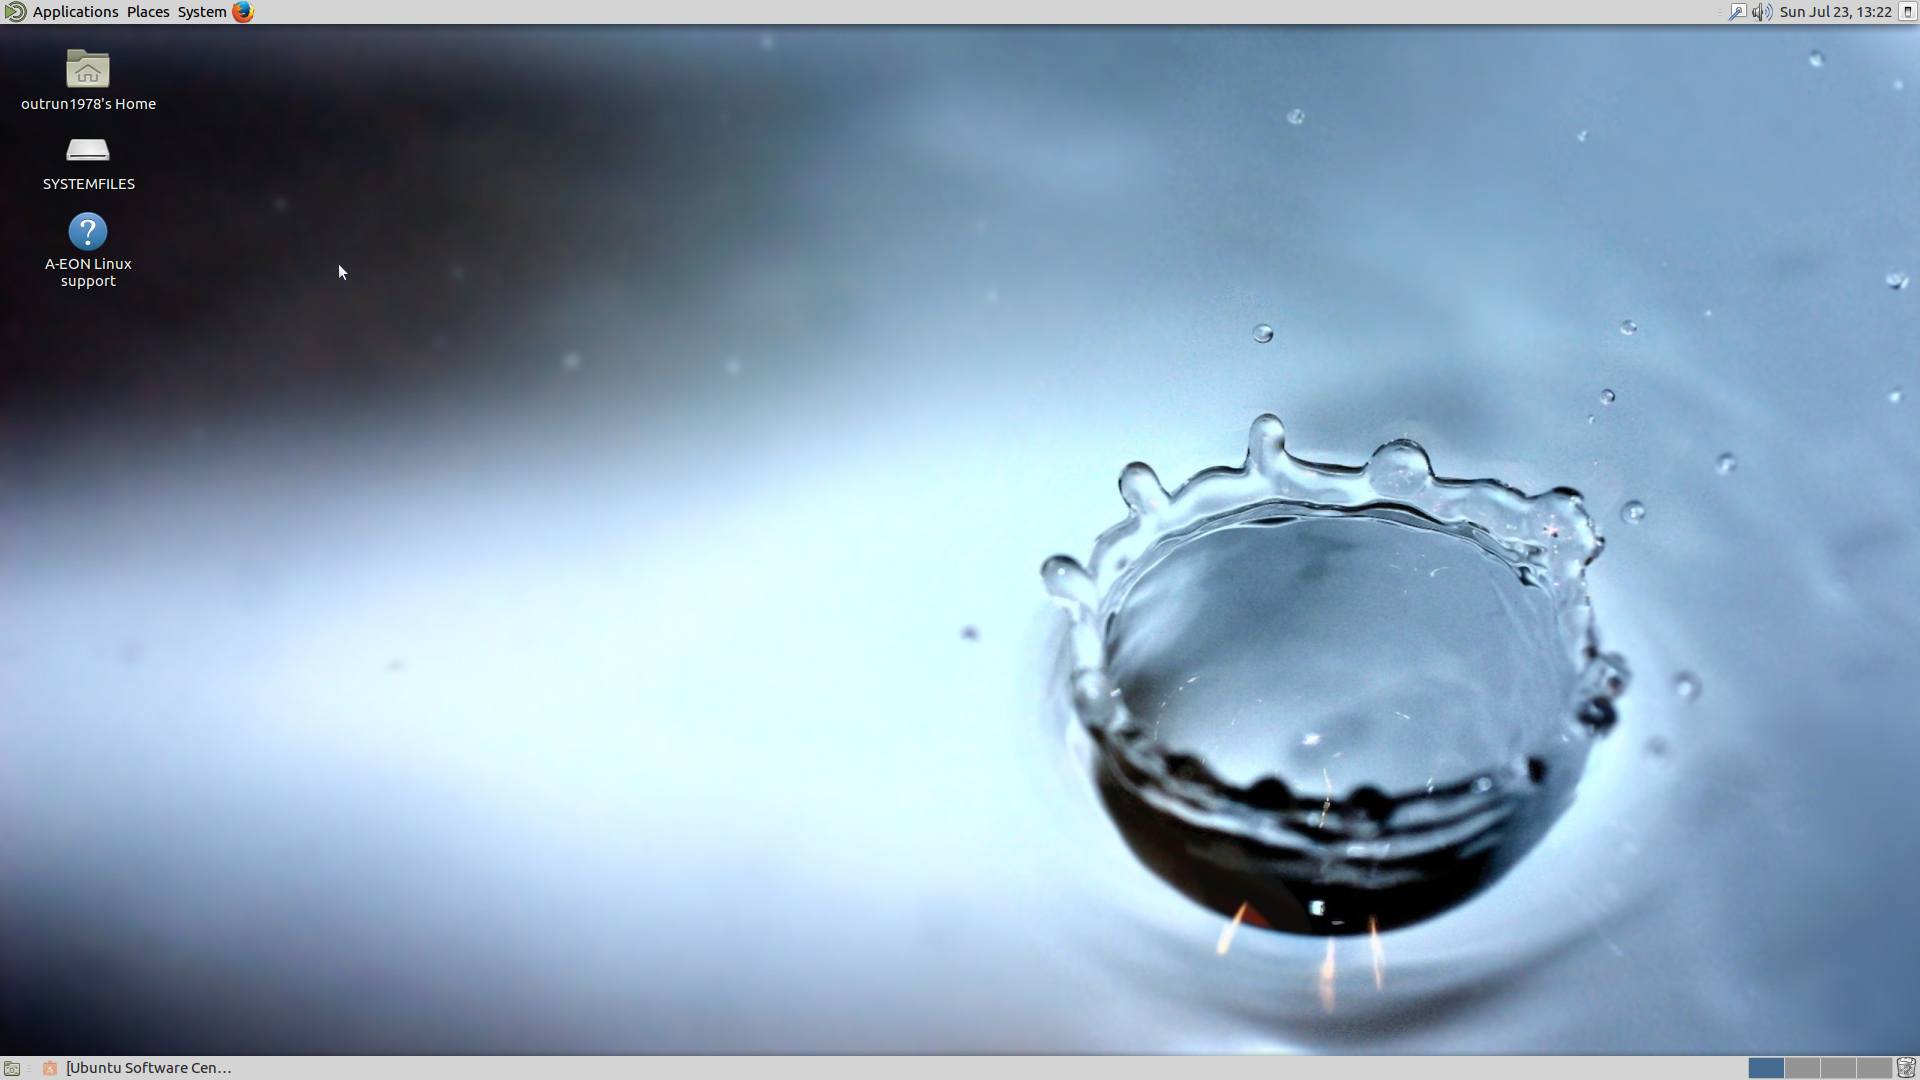
Initial thoughts are this is like using some old version of Android, say version 4, and then I remember that Android itself is a derivative of Linux anyway as it uses its kernel. Compared to Amiga OS the folders take just that little bit longer to open up and it doesn’t feel as nippy to navigate around the screens, but I guess you notice this too on a PC and with Windows.
The default browser on this distribution of Ubuntu is Firefox which works quite well actually, there is support for BBC IPlayer as a result of Adobe Flash which is missing on the Amiga, although again, it didn’t feel like the browser loaded webpages quickly as it does in Odyssey on the Amiga. Maybe the sluggishness is down to the fact that I am using a USB flash drive (although a quick one which reads at 150 mb/s), but this was a bit of an unexpected surprise.

For a first time user like myself there are a few quirks to using Ubuntu that I am going to have to get used to like entering in my password each time I want to download files and even remove files from the computer.

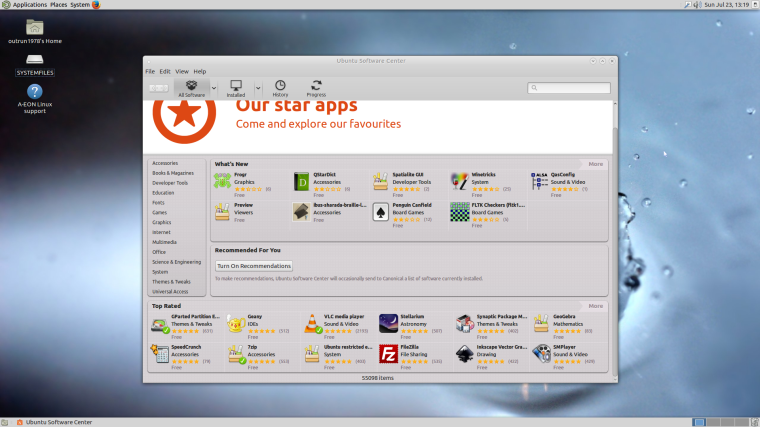
Oh and if I want to download games and programs I will need to go to the Ubuntu Software center which I guess is no different from the Windows or Mac Apps store.
I also have to remember to mount the CD drive whenever i decide to play a CD or a DVD as you would have thought that the system would do this automatically?
Talking of software and more specifically games, it was a surprise however upon looking at the games on offer, just how many games had actually been ported across to Amiga OS 4.1, stuff like Open Transport Tycoon, LinCity, Frogatto and friends, Super Tux Kart.

I decided to have a little bit of a play with Open Transport Tycoon which I have on Amiga OS4.1 and it doesn’t look that much different, although it should be noted that this was an updated version and in truth Linux version do tend to get updated more simply because of the much larger user base installed.

There is also Libre Office which comes installed as part of this distribution which looks very nice, although as an Amiga user, we really are looking forward to our own native version.

I will certainly have a bit more of a play around with Linux over the coming days but I am guessing I will need to update the installation to a proper SSD drive at some point as whilst the USB stick is usable for playing games and using stuff like Libre Office, it won’t be of much use if I decide to use Linux to play music videos or watch IPlayer as it will require a constant stream of data to be pulled from the stick.
For those who do want to try it out and explore a different side of the X5000 machine, I recommend that you at least try it out and that hopefully my experiences in setting up help you in setting this up with minimum fuss.
Until next time have fun with your Amigas!

![]()