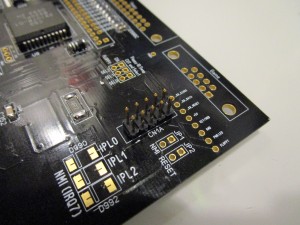
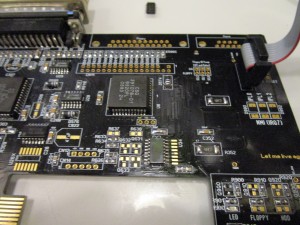
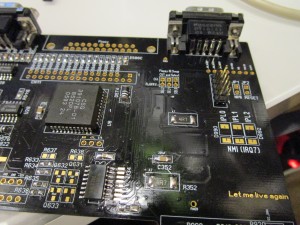
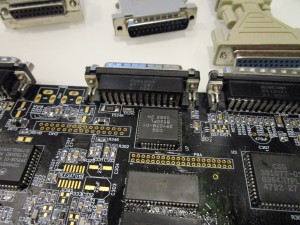
Building the ReAmiga from scratch. Part4
Ok.
Now when we have a minimal setup. Lets fix an issue that will make the machine unstable. especially when no monitor attaced:
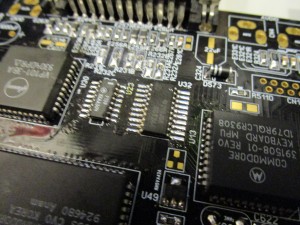
Add a 74HCT244 at U32:
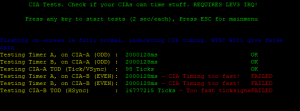
Lets do some tests. first a CIA test:
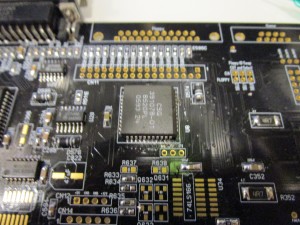
And Oh DOHH! EVEN CIA is not installed. lets do it:
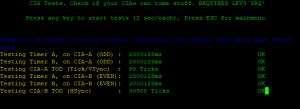
And NOW?
ahh better.. (BTW if you are doing a NTSC version with NTSC oscillator. it will fail for the moment know issue in DiagROM)
Now it would be nice to be able to use mouse and joystick:
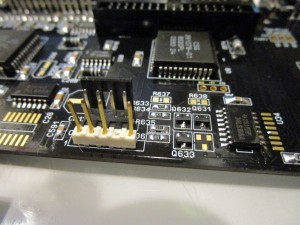
Lets add header for the mouse:
but this isn’t enough. You need to put a 72LS166 at U34. this baby is sometimes reason why joystick doesn’t work in some directions etc.
And put in the DB9 male for joystick:
Now you can control diagrom with the mouse.
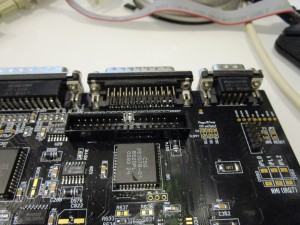
Lets add the Parallel port:
As the CIA already is in place, all we need is to put in the Female 25Pin DSUB.
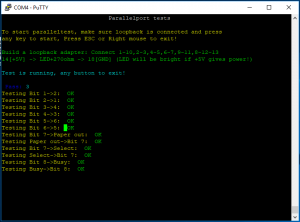
Lets use a loopback adapter in DiagROM to test it:
Yay.. seems to work.
OK.. Audiotime.
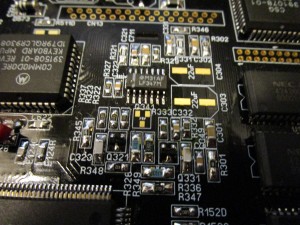
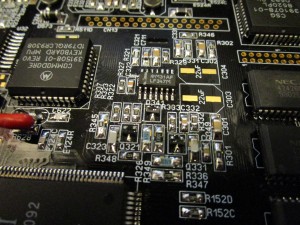
Lets add the opamp:
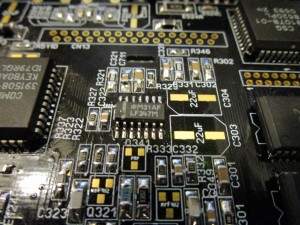
a LF347M at U15
but to get audio. we will need 2 electrolytecaps. so grab 2 of the 22uF ones.
(a note about caps: Capacitors is a more or less religious thing. some put in ceramics, some puts in tantals.
this however I will not support. if you have ANY issue and using that kind of caps. ask for support from that person telling that is OK. I will ONLY support electrolytes. but. they leak? BAH! not if you put in real qualitystuff like those panasonics in my BOM!)
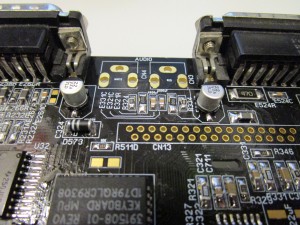
So lets add the 2 caps needed for audio:
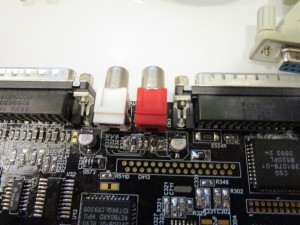
And audioports:
You will not have audio. but you will notice that you cannot turn the filter on/off:
You need to populate 2 pads with the MPF Transistors:
And also the PNP that does the actual switching:
Now audio should be ok with filterswitch.
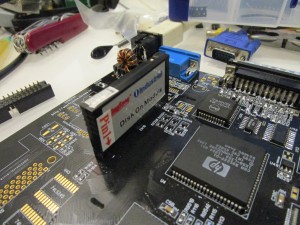
Time for the HDD Controller.
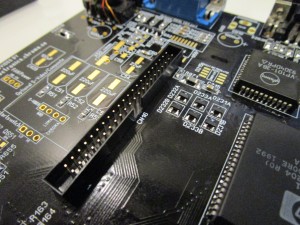
Add the HD Connector: I use this type of connector as it looks better and well is simply better:
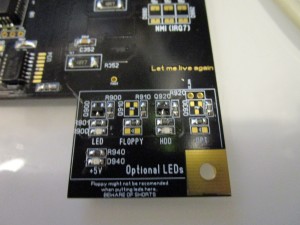
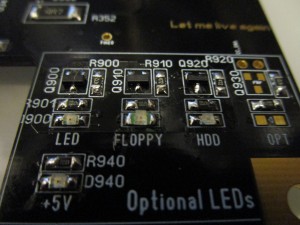
Also add LED for HDD on the board:
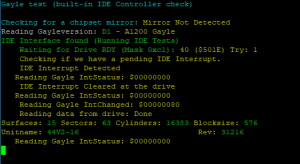
Lets test in DiagROM:
HD led will be bright a while etc. but as you can see. it reads data.
Lets do floppy:
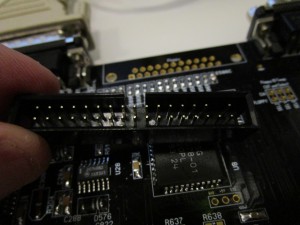
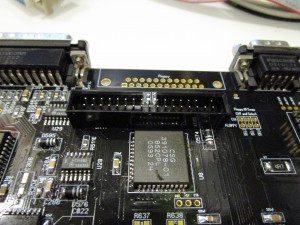
I use this kind of connector here aswell.. note that you need to remove one pin on the top row 2nd next to right.
Solder it to place and the DB23 connector:
And the LED:
As DiagROM floppytest currenly only seems to work on A4000. we cannot test it.
but .. lets add header and PNP transistors so A1200 ledboard can work. and floppy powerconnector:
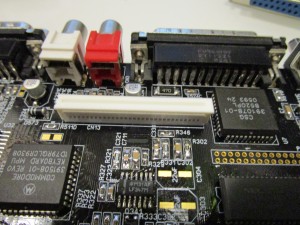
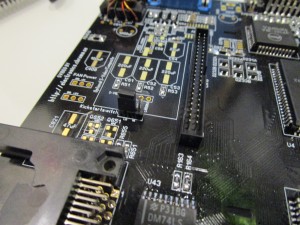
And Keyboard connector and Clockport connector:
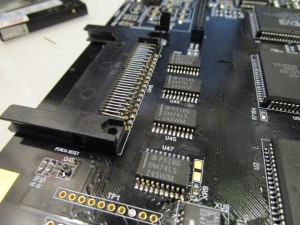
Add buffers for PCMCIA and the PCMCIA connector:
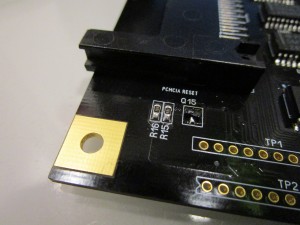
Put in the PNP transistor for the pcmcia resetfix:
Now, the first optional thing (except the leds….) the Kickstartswitch on the Rev 1.2 board.
on the bottom you have 3 pads for a 0ohm resistor where you set if you want the switch ENA(bled) or DIS(abled).
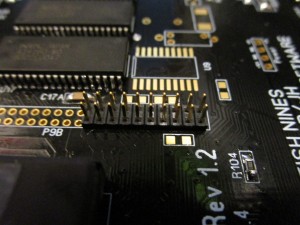
when in ENA more. you can put a header for a jumper on the board. in DIS mode. just skip that header and it will work as an original A1200.
BUT! actually with normal kickstartroms. either mode will do just fine. it is only if you are using 74F800 proms native on an A1200 DIS mode would make any difference.. no idea if such a solution is even available.
So in ENA mode. and put in a header:
This jumper now selects if you will use HIGH or LOW block of the 27C800 prom where you have made a custom programming. with one kickstart located in the top 512K and another in the bottom one. using a normal kickstartrom. any position will do as it technically will not do anything with those roms (as they are 27C400 proms)
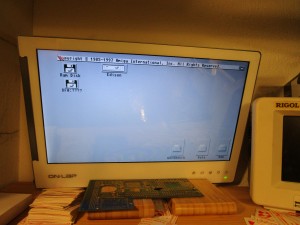
So now the machine starts:
Time to put in all the other decoupling caps.. next post will be about the extras on the board!
some other day.
