Building the ReAmiga 3000 – Part 1
This is my text-version (and slightly revided) guide how to build an ReAmiga 3000 that I did as a youtube videoseries shown at:
https://www.youtube.com/watch?v=6acm2dXSDzo
This tutorial works for my A3000 clone, and both the SMD and TH versions. (but my photos is from the SMD version)
The SMD version. is called like this that all passives etc is SMD. still chips etc is as it is on the original A3000, TH.
as always: you will have help of the locator tool: http://locator.reamiga.info/ and ALSO as always: if a value differs from locator and your board, the locator is most likly right!)
if you have any problems, and does not follow my guide: I WILL NOT HELP YOU!.. period!
this guide is made to make function by function to startup: so if you have a issue you can go back etc. it is alot more easy to troubleshoot. if behaviour is not as I tell here: do NOT continue building. solve the issue.
This is based on that you have all passives (resistors, ceramic capacitors, transistors, diodes) installed. do skip to install electrolyte capacitors, the tantal and the ressitornets for SCSI (220/330Ohm, RP802, RP803 and RP804)
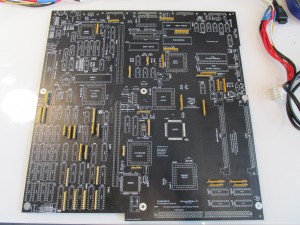
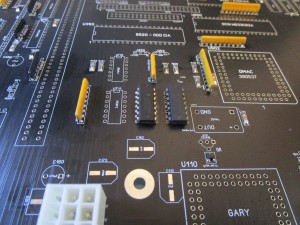
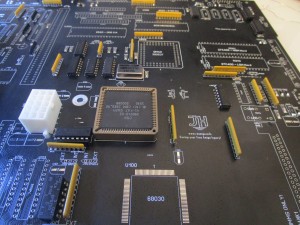
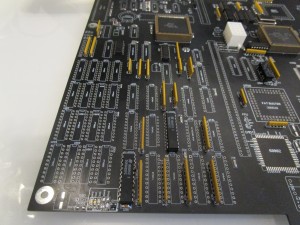
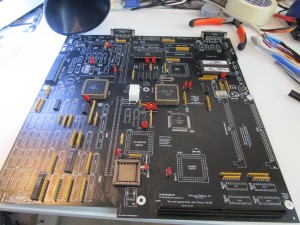
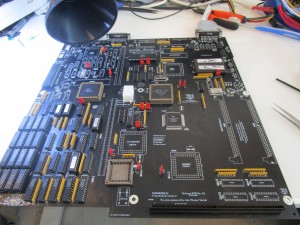
so in short you shold have a board that looks like:
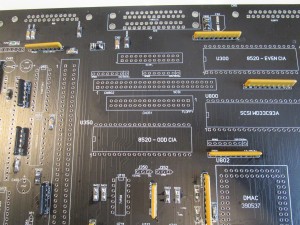
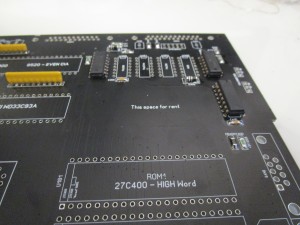
and make notice that the resistornets for SCSI is not installed:
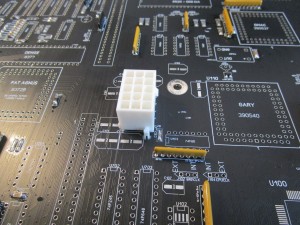
Anyway, time to install the powerconnector:
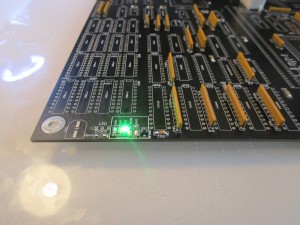
And when you poweron the +5V led should go on. (TH and A3000 versions will show a powerled with half-brightness)
I usually do Green for +5V, Red for “LED” (of a TH version. Green for power. ) and blue for SCSI.
(Blue is a very intense light)
Anyway. yes. the board gets 5V YAY!. time to be more serious.
First we need to install the ICs required for correct reset handling:
U712 (74F32) and U713 (7407, so 74LS07 is all ok):
ok. now we have a working reset. Time for next step. and this is to install the Agnus, Gary and the 28MHz oscillator and the 23Pin RGB port:
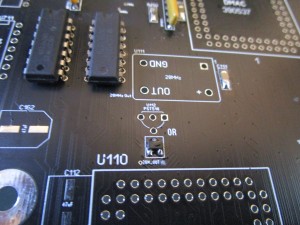
but first a small note about the “low voltage detector” between 28MHz oscillator and Gary:
Here you can see that I installed the SMD version. you do that OR the component taken from an A3000. NOT both. and if you skip this. you will have issues finding all fastram etc later. this NEEDS to be here.
Anyway. lets go on with agnus etc:
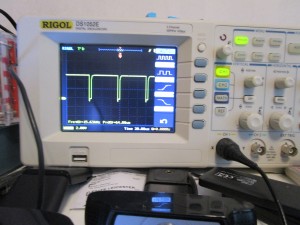
Now if you poweron you shold get a sync on the monitor. my monitor shows a “VGA” splash screen. some you can see it gives a dark grey screen.. or on my oscilloscope probing the Hsync signal:
so now Agnus produces the H and V sync signals. this is good. Time to make it run some code…
you now needs to install:
U106 (74F74), U710 (74F08), U711 (74F04), U103 (This is origially in a socket, so put in a socket) (74F08)
and U102 is the Delayline, either you use a TH component or the replacement SMD version.
aaand:
U354 (74LS174), U304 (1488, 5188 etc), U352 (7407), U252 (74F86), U204 (74F04), U253 (74F646) and U254 (74F646)
and ROM and ODD CIA (U350) also install the CPU slot connector (this can be skipped if you will not use a cpu card.. but why)
You need now to atleast install all jumpers for cpu: J102, J104, J100 and J103)
tecnically now if you have a cpu card. set jumpers correct, the LED should go bright after 1 sec. (TH versions, powerled shold go full brightness)
now you also need to install the CPU, 50MHz oscillator (and prefferbly the FPU) you can skip this if you will run a external cpu card.(even if I must say that when testing my 3630 was running VERY unstable, but it is a untested card)
if you want to use external oscillator for the fpu, install it.
IF you install a socket for fpu it is very tight between socket and the jumper for the capacitor, so I recomend to install it now.
This is a video of me installing the 030: https://www.youtube.com/watch?v=Fl-N8ZA86yU
it is also time to install the PAULA to get serial output (without it. you will notice the LED flickers some at powerup. and halts)
so you shold now have a board running minimal setup of DiagROM outputting data on the serialport (but not finding any ram)
this is a view of the board:
Lets go through all defaultsettings for jumpers for a Standard 25MHz PAL A3000. (why even build a 16MHz? well)
J481 2-3
J482 (apparenlty not marked on PCB. between amber and denise) 2-3
J351 2-3
J200 1-2
J350 2-3 (BUT if you are using a ATX psu. 1-2 or CIA tests (and WB) will not work)
J352 1-2
J151 2-3
J152 2-3
J102 2-3
J104 1-2
J100 1-2
J103 3-4
J851 2-3
FPUCLOCK (not present on A3000) 1-2
also reamiga board JP800 is just a switch what bank of the kickstart to use. if using original roms, this have no use
IF you use a 3640 or 3660 change:
J104 to 2-3
J100 to 3-4
J103 1-2
and if you are using 030 without FPU set J103 to 2-3
if you want to use the external oscillator for the fpu, set FPUCLOCK to 2-3
AAANYWAY. now you have all defaultjumpers. Diagrom puts out data on serialport.
Now time to get chipmem working so add:
U251 (74F373), U203 (PAL 390527-02), U202 (PAL 390526.02), U201 (74LS74), U258 (74F245), U701 (PAK 390528-02), U257 (74F245)
U708 (74F245), U256 (74F646), U709 (74F245), U255 (74F646), U716 (74F245), U714 (PAL 390529-03), U715 (74F245), U253 (74F646)
U707 (74F646), U704 (74F646), U706 (74F646), U704 (74F646)
Remember that PAL is originally in sockets.
now also solder in all chipram. I recomend doing it in sockets
U259, U260, U261, U262, U263, U264, U265 and U266 is for first 1MB, the rest is for 2MB.
you can populate either 1 or 2MB. no other config.
Diagrom should now start and detect all chipmem.
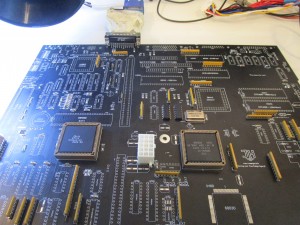
this is how my board looks like: (note no FPU installed)
AND that makes the end of Part 1!
