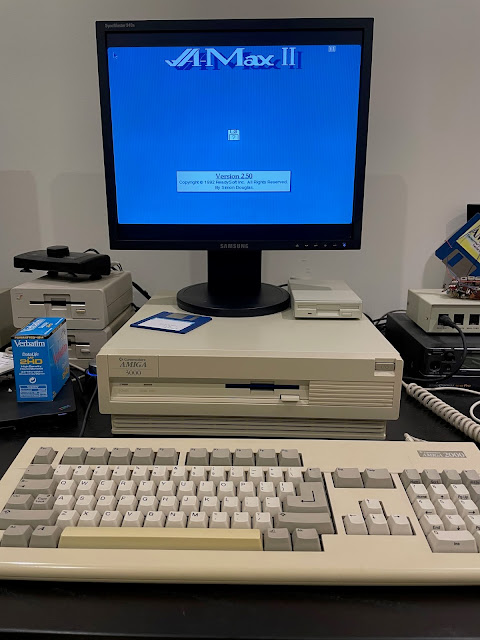
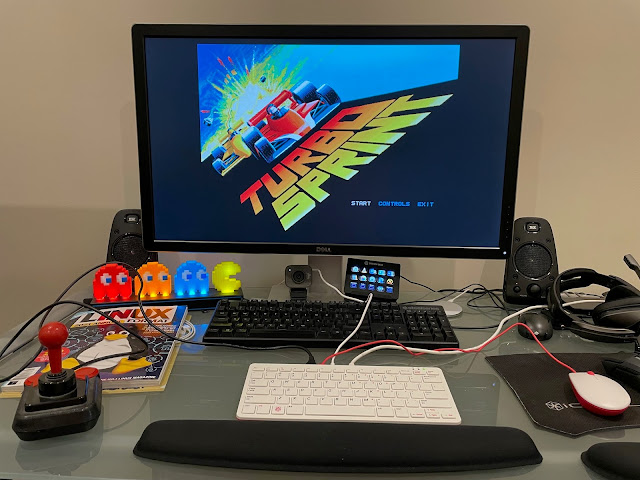
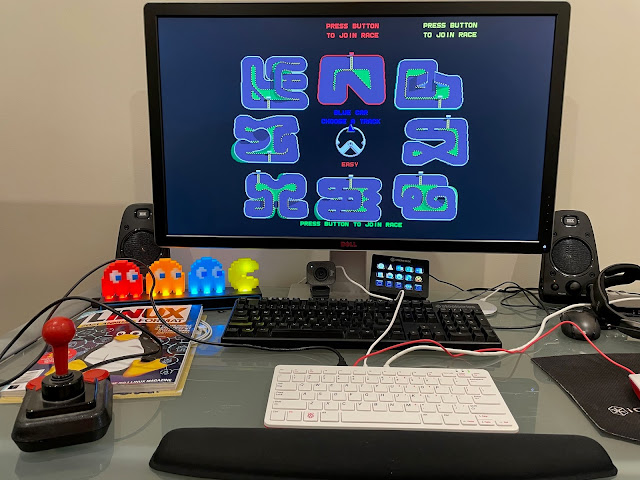
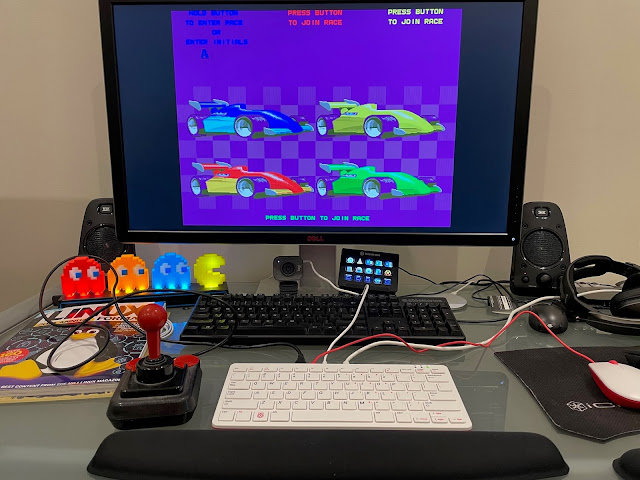
Amiga 3000 work, Retro Meeting, Turbo Sprint and other things
I was planning a number of different blog posts this month but I just didn't have time to put them together due to work commitments.
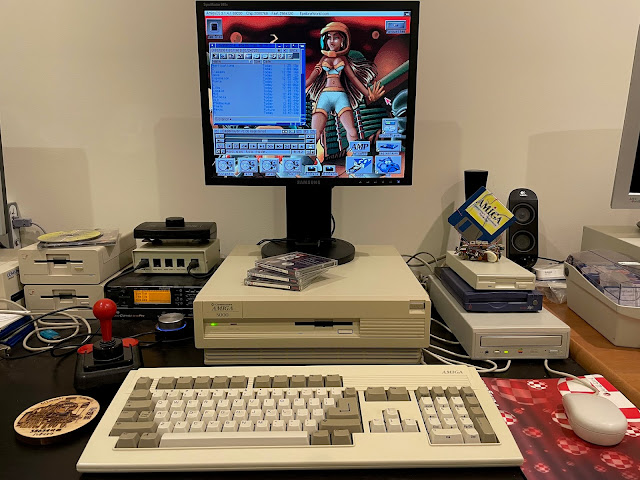
An exciting thing that happened this month was the release of AmigaOS 3.2 for Classic Amigas. My CD and physical AmigaOS 3.2 roms are ordered and you should definitely expect a blog post on the builds once I have them!
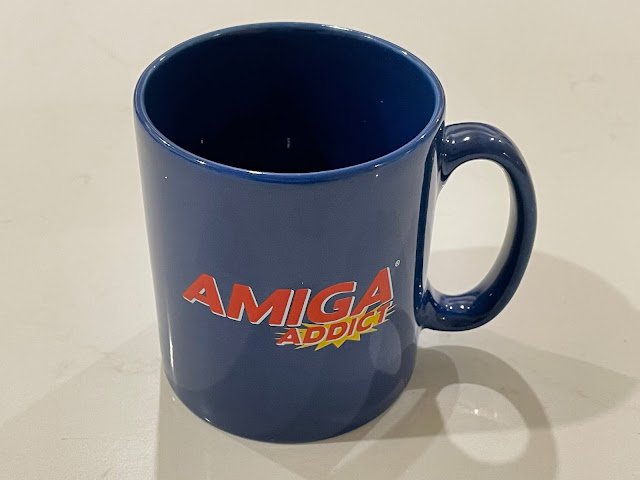
Before getting into the work I have done on my systems this month, I received my Amiga Addict magazines and this very cool mug, which I have been heavily using while playing with my systems this month! I love this mug.
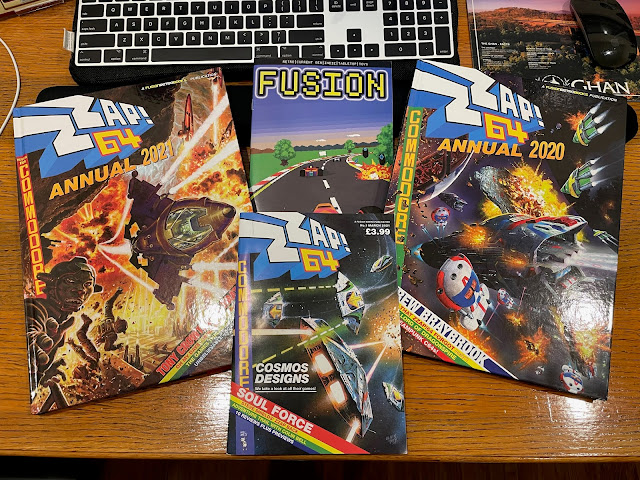
I also received my Zzap 64 2020 and 2021 Annuals and March 2021 magazine this month! Plenty of reading material now!
Amiga 3000 Work
This month I decided to revisit my Amiga 3000 system. Those who read my blog regularly will know I did a 3 part step by step build of my Amiga 3000 on this blog last year. I include the links below to avoid rehashing that material:
It is well worth the read, as I explain about the SuperKickstart setup of this Amiga 3000 and how to build AmigaOS 3.1.4 Superkickstart roms. I will do the same process for the 3.2 rom once I have them!
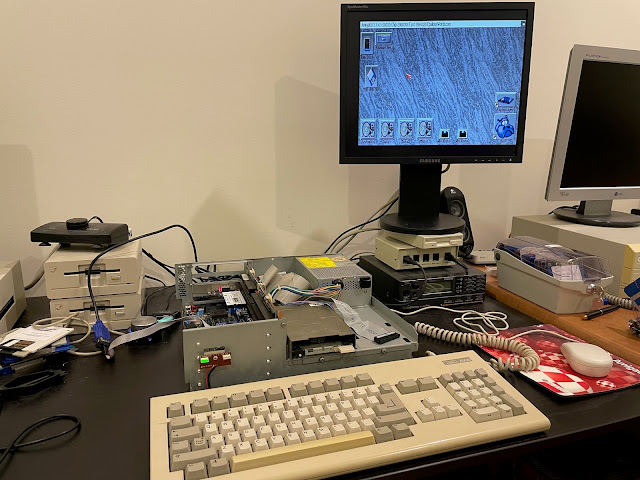
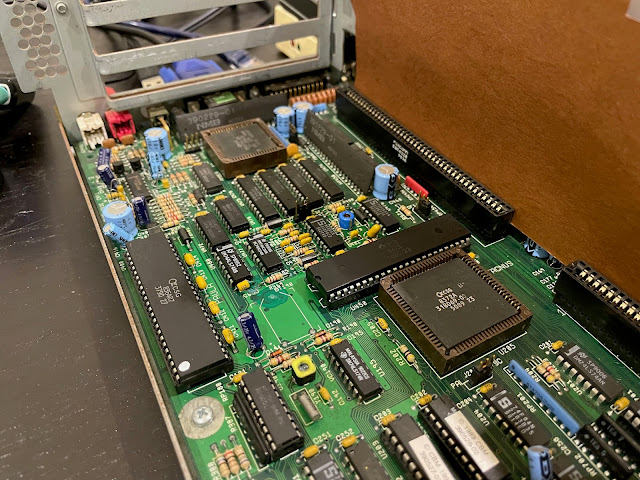
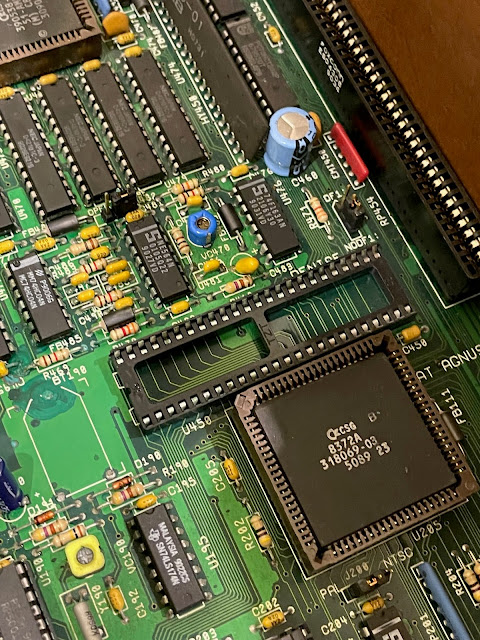
I removed the Denise chip and neutralised and cleaned the connectors and the board too.
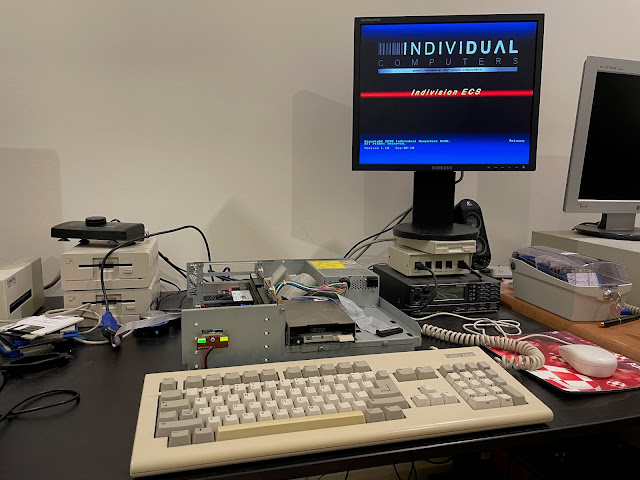
That done, I then took the Indivision ECS board from my Amiga 600 system (as it is no longer useful since the issues caused by the Vampire...) and attached it to the A3000, and put the cleaned Denise chip on top:
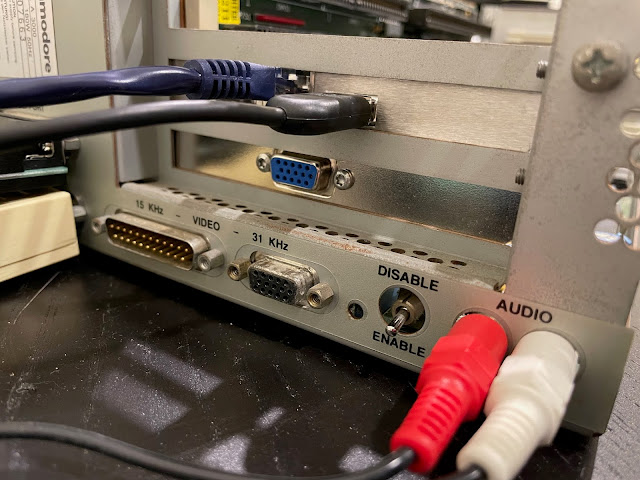
Here it is installed - I placed it on the bottom most slot, with the RapidRoad USB / X-Surf 100 card above it:
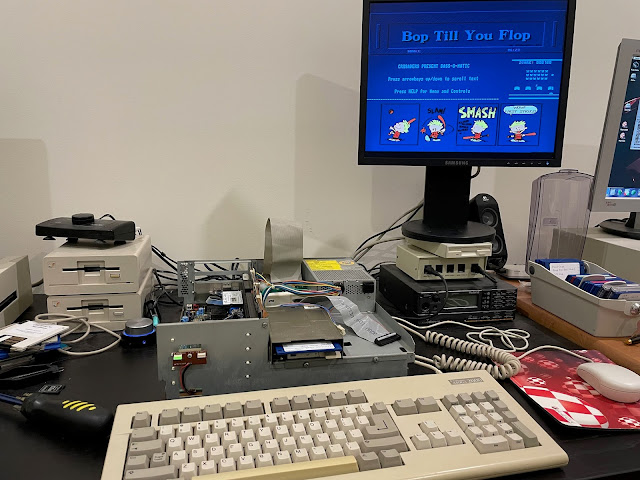
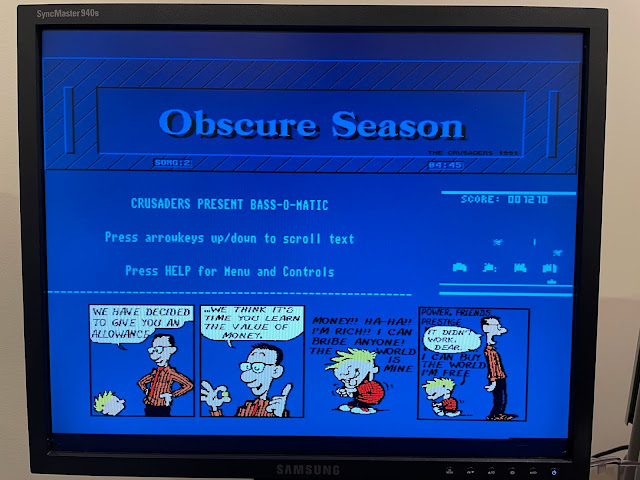
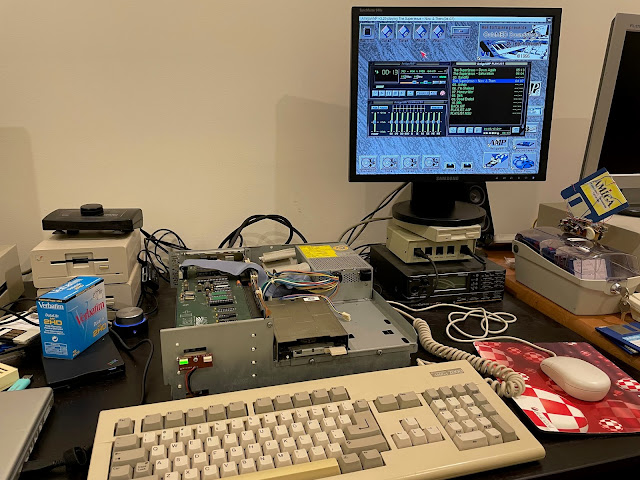
While enjoying the demo tunes you can read some Calvin and Hobbes comics and play a Space invaders game too :-)
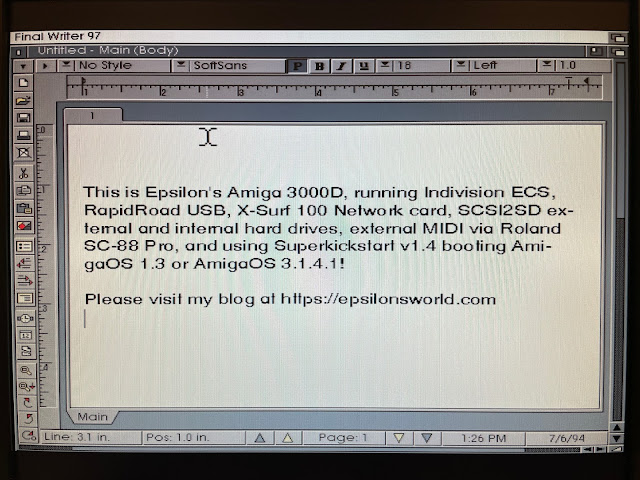
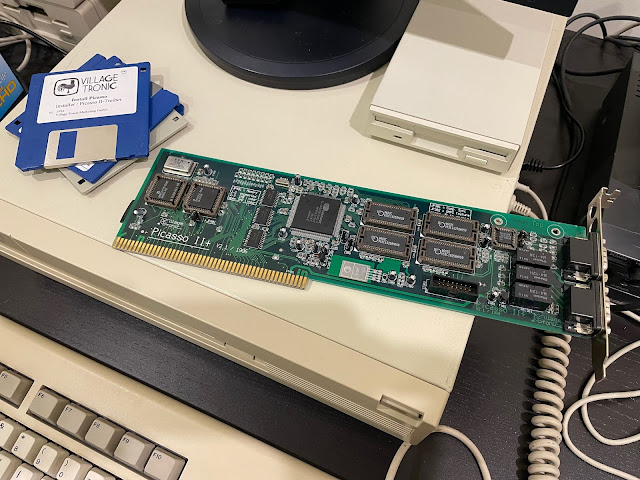
You'll notice that I didn't setup any graphics cards. Also, I ran X-Surf 100 in Zorro 2 mode. The reason for this is because I found out while building my Amiga 3000 again that any Zorro III card I installed immediately made the system unstable.

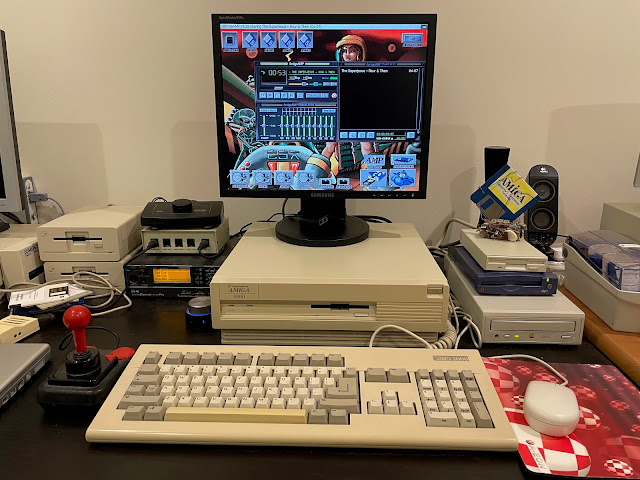
I installed my external MAS Player to the Parallel port and installed the MHI drivers on the system so I can play MP3 files on my Amiga 3000.
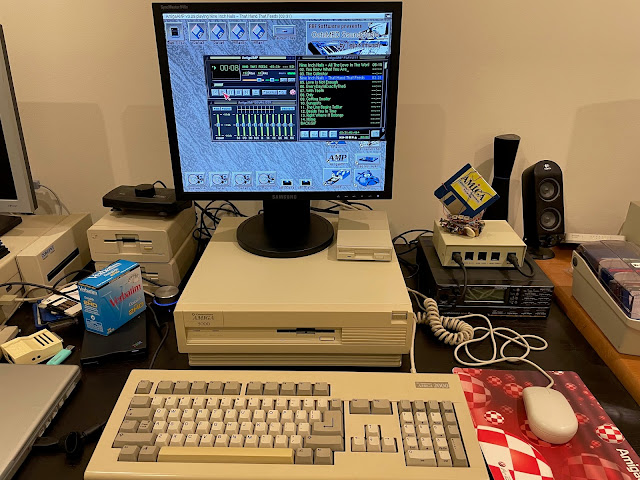
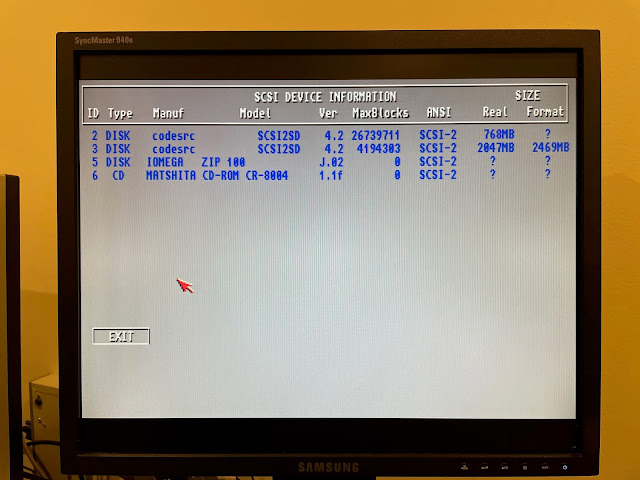
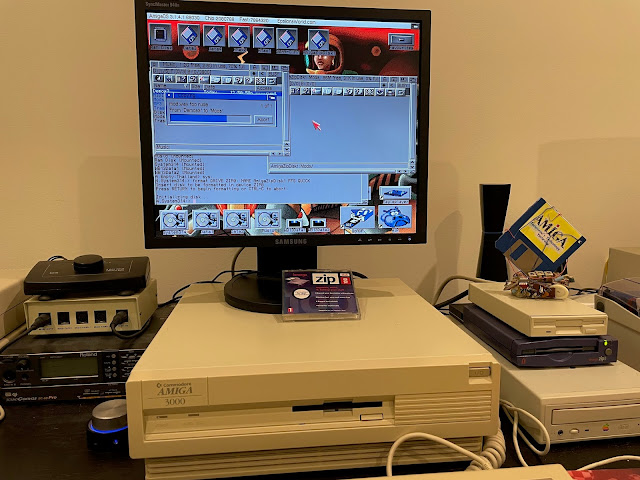
Next up, I set to work to get a SCSI CDROM and SCSI zip drive working on the Amiga 3000.
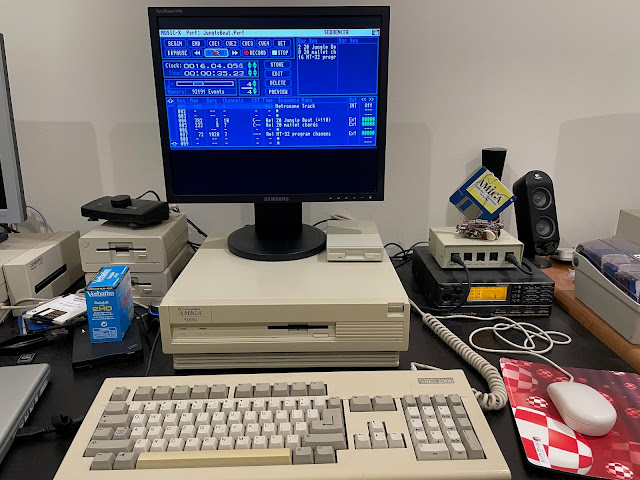
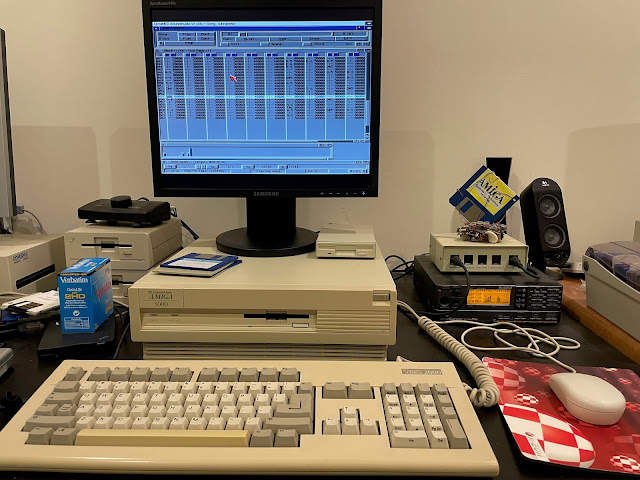
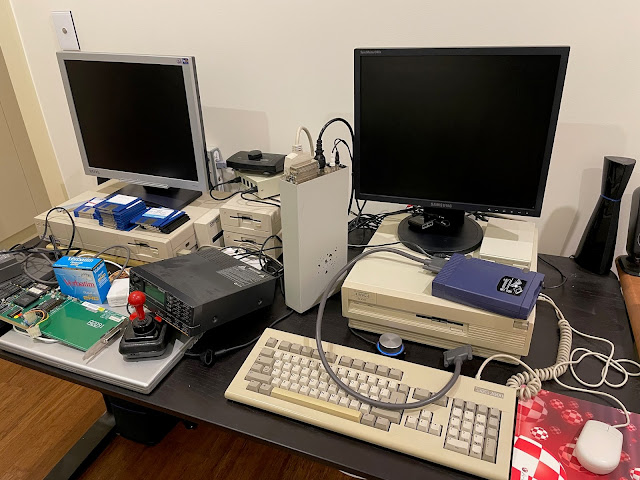
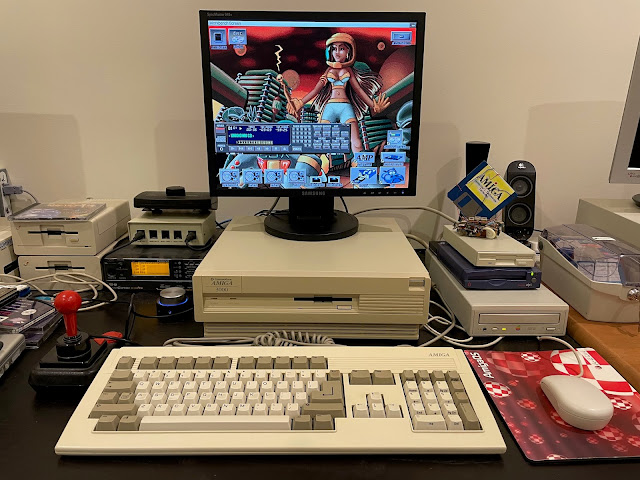
I worked it out in the end, moving the MIDI SC-88 and MIDI breakout box to the left side, and the SCSI external devices and the external floppy drive to the right side - it looks nice in my opinion!
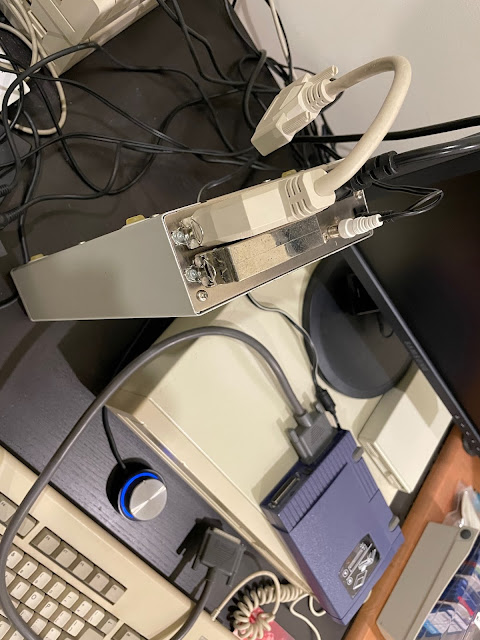
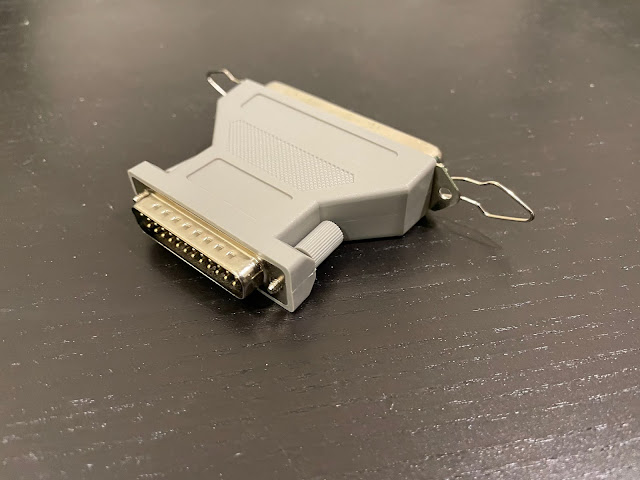
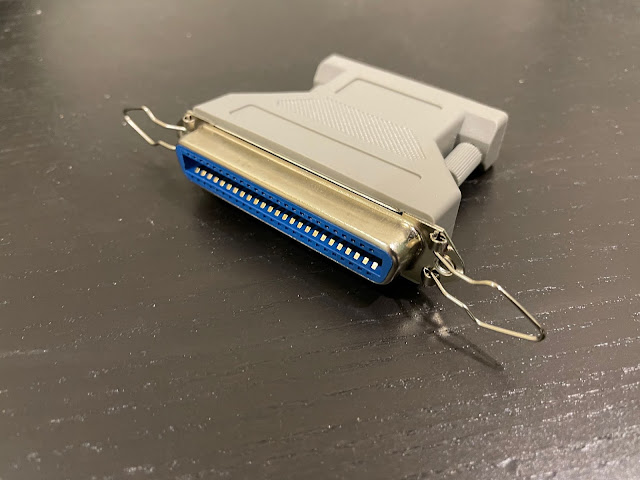
I had to mount the external SCSI2SD on the rear of the SCSI Zip drive, as it needs a DB25 connection. The CDROM drive uses the larger SCSI-1 50 pin connector thingy, and so I needed a converter from the DB25 connector on the back of the Amiga 3000 to the CDROM drive first. This is because the SCSI2SD external device has no pass through, and has to exist at the end of the SCSI chain.

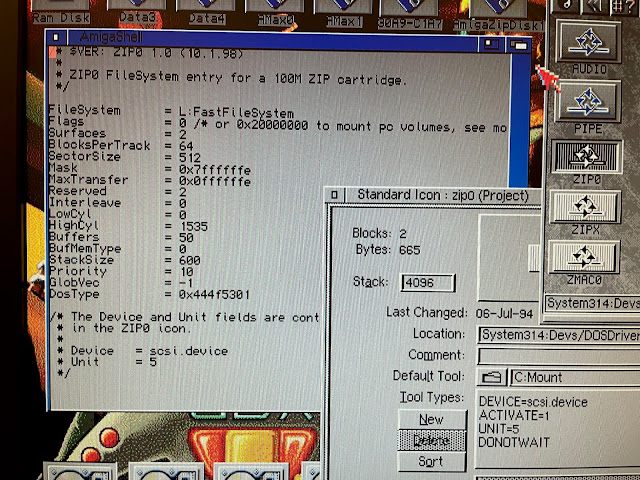
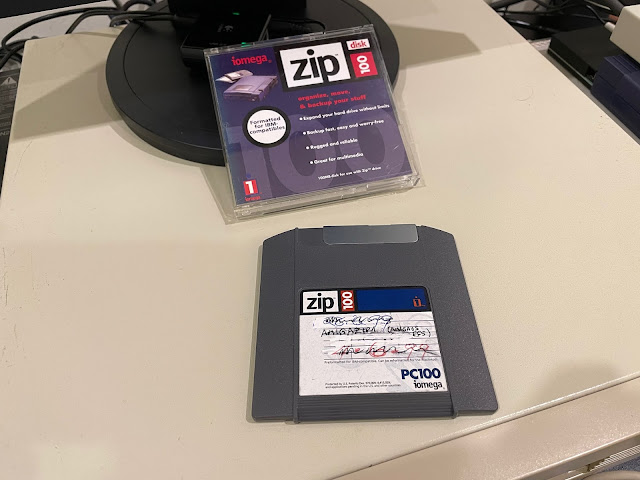
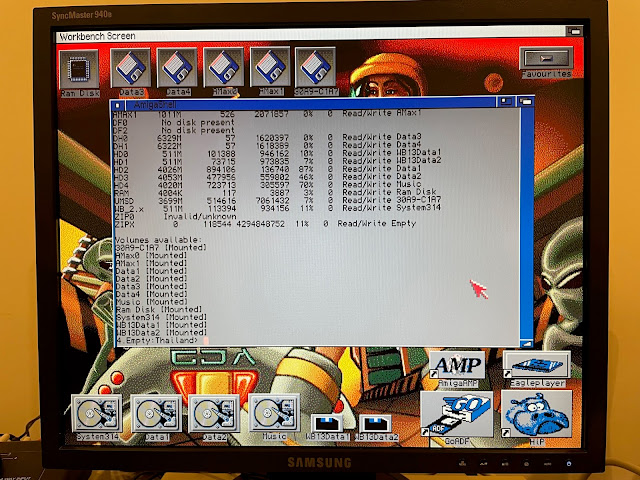
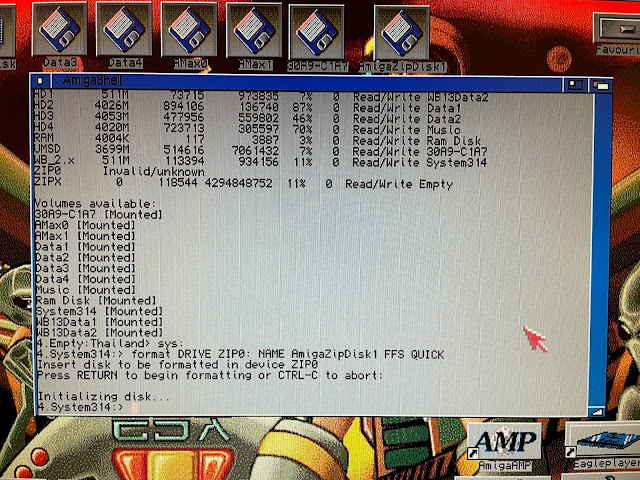
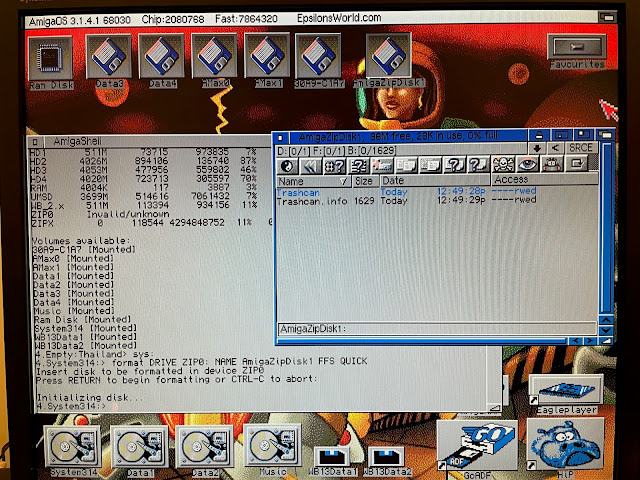
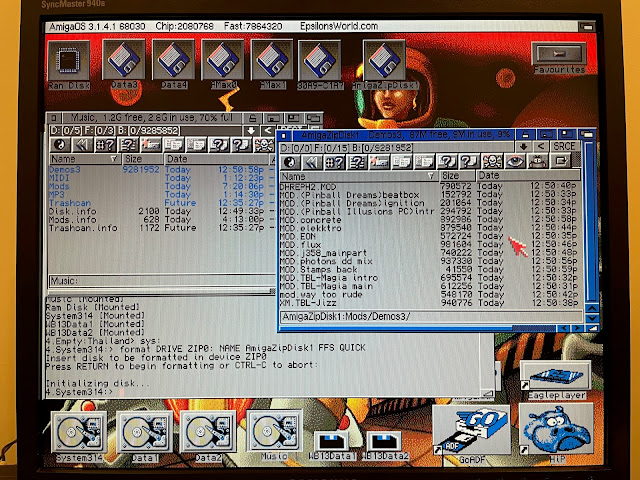
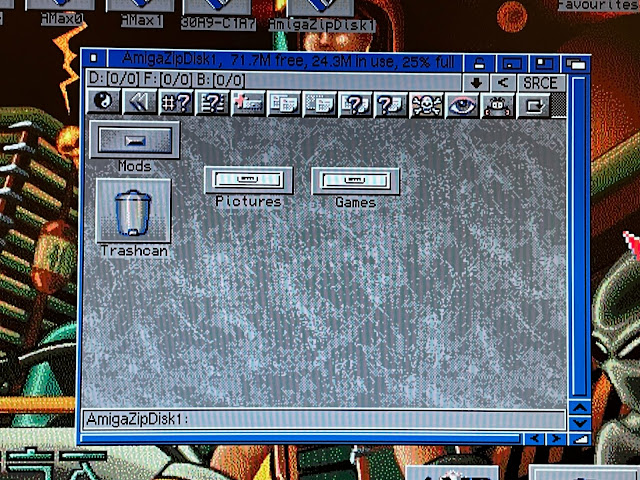
Anyway, I couldn't care less about their data, so I formatted the zip disk as an Amiga formatted disk as below:
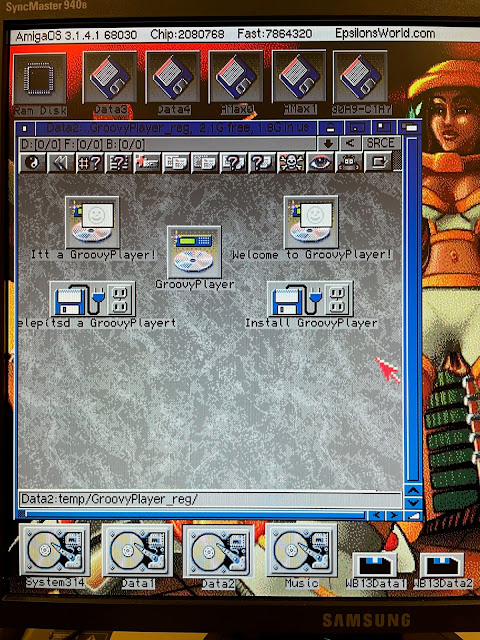
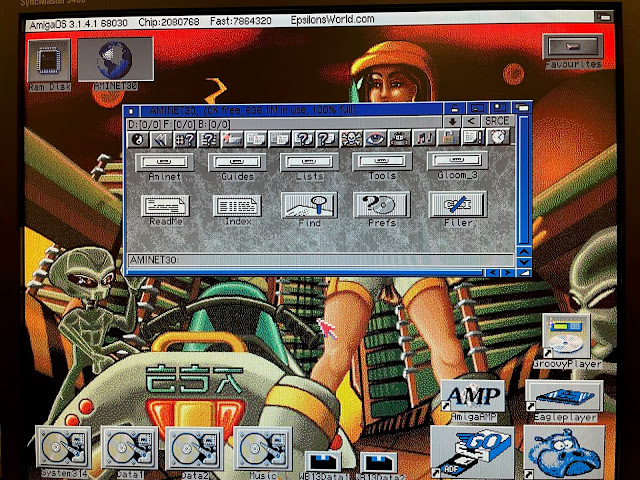
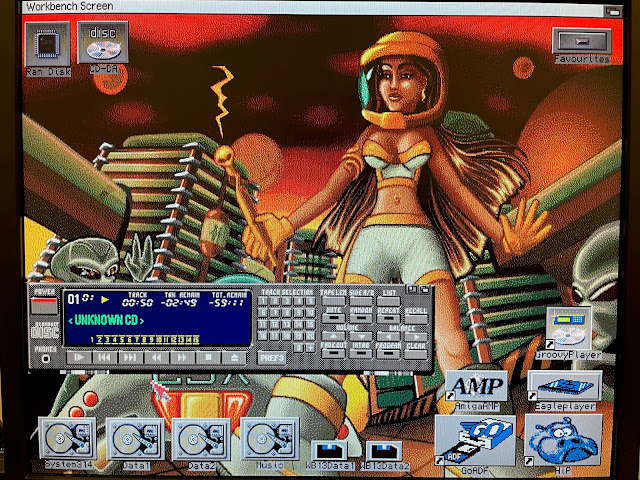
I next installed the CD File system drivers from AmiNet (AmiCDROM 1.5) and also GroovyPlayer, which I plan to use to play CD's on the Amiga 3000 under OS 3.1.4:
I should probably do something under AmigaOS 1.3 partition so I can play CD's under OS 1.3 as well - maybe another time.
I was very proud of my build at this point, backed it up on my PC using win32 disk imager again, and decided to pose for a selfie to celebrate, wearing my new Amiga sponsored Football shirt, used by Chelsea in 1994 English Premier League season.
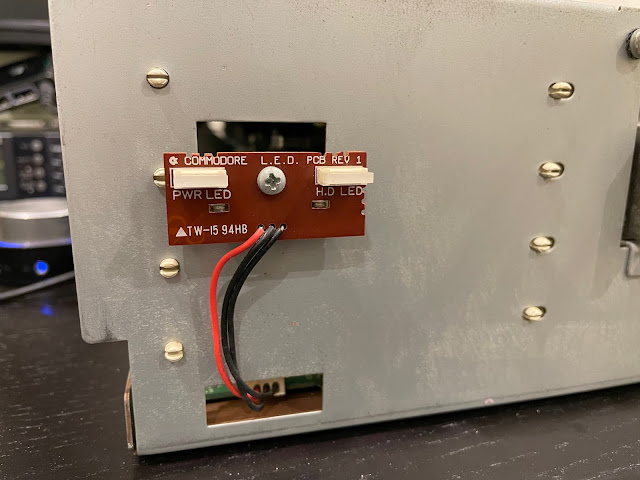
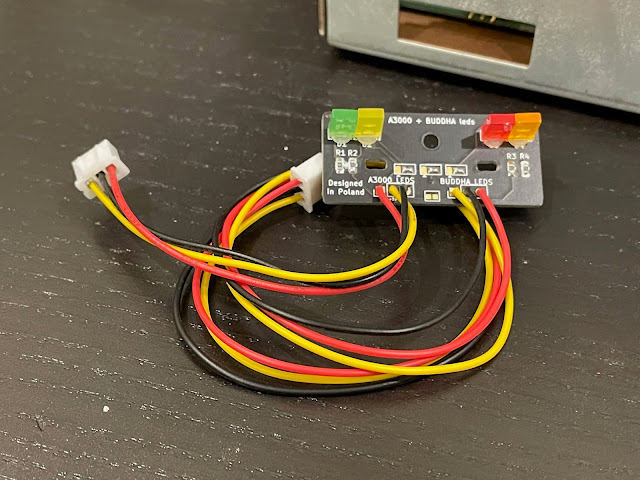
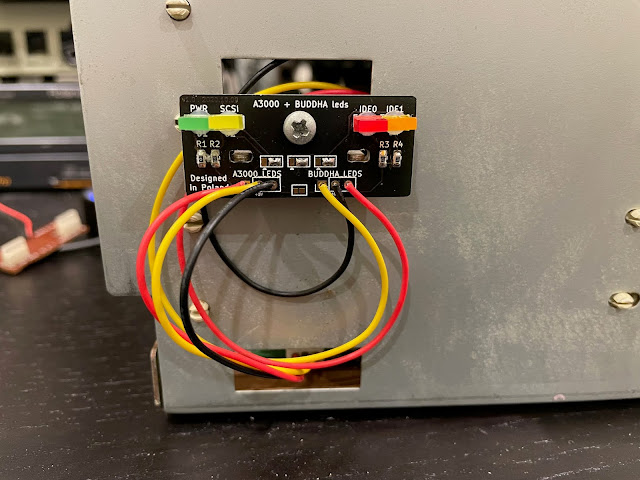
I found that Sordan.ie is selling a replacement LED panel for the Amiga 3000, which I picked up.
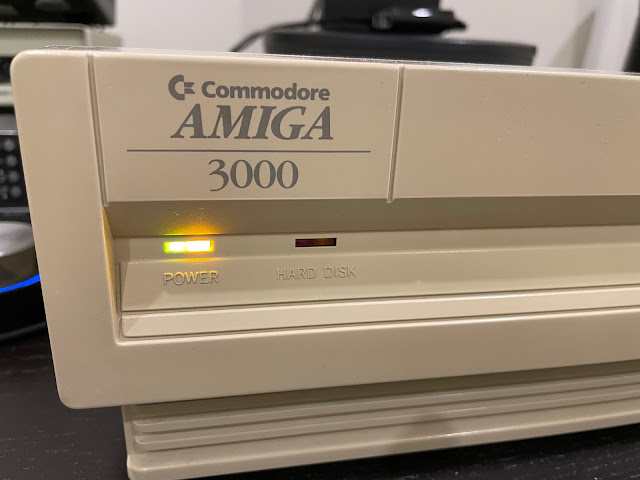
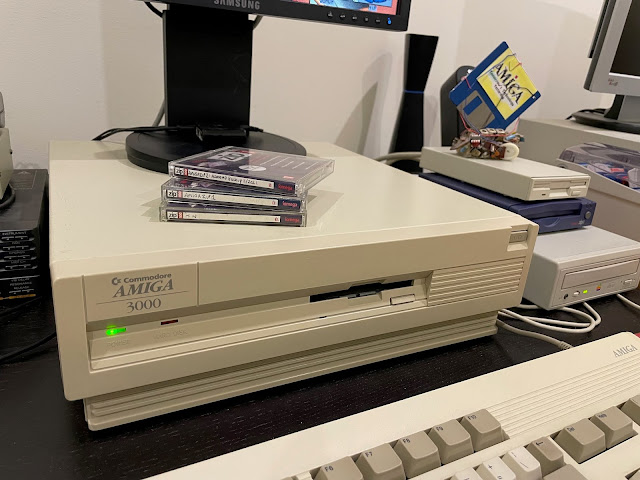
Now I have working LED's with the case on, and I can add further IDE storage in the future (using a Buddha Ide card which I do have) and also see the disk activity for that too. For now though, I don't need that functionality as the Buddha card is not installed.
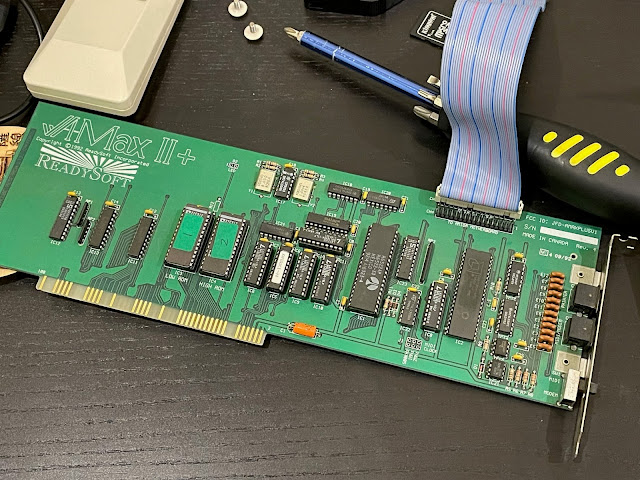
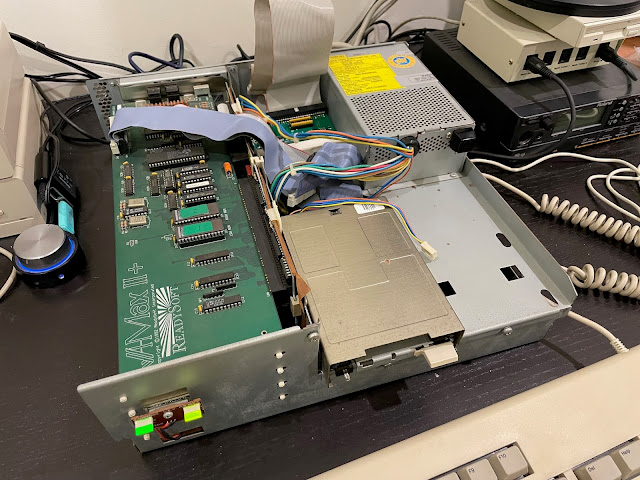
It was originally included with the Amiga 3000 when I bought it, but I didn't use it initially. It has the Mac Roms already installed, and a pass through for the internal floppy drive to be usable by the card when running the Macintosh emulation. I installed it in the Amiga 3000. As it is a Zorro II card, I don't expect any hardware issues having it installed.
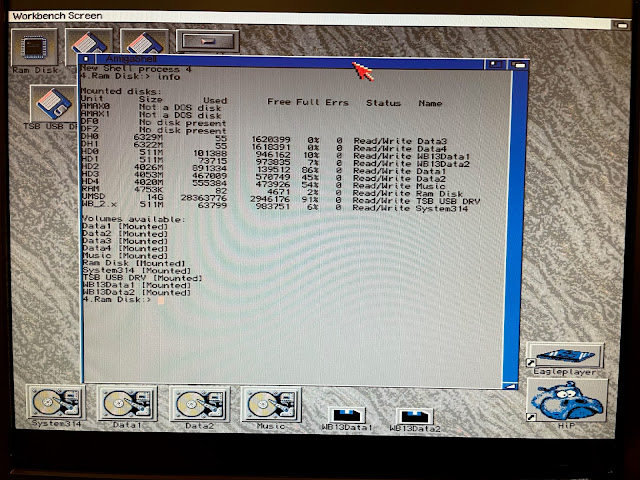
Next, I set to work preparing two 1 GB SCSI partitions for use by AMax when running. To do this, I set up two partitions called AMAX0 and AMAX1. They need to have specific names to be picked up by AMax:
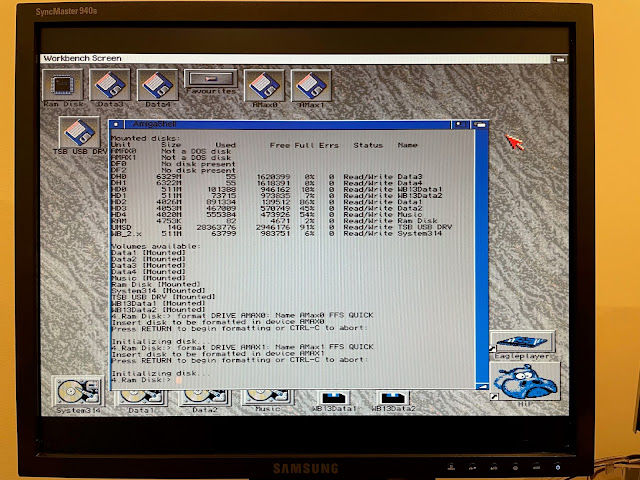
I then formatted them as Amiga FFS, as per the instructions I found on the official Amax website:
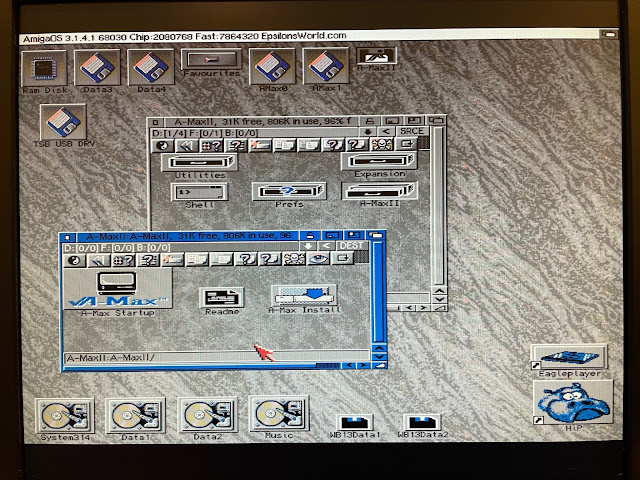
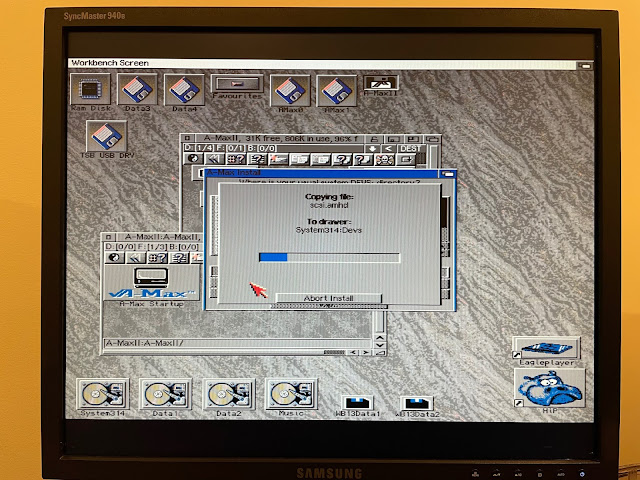
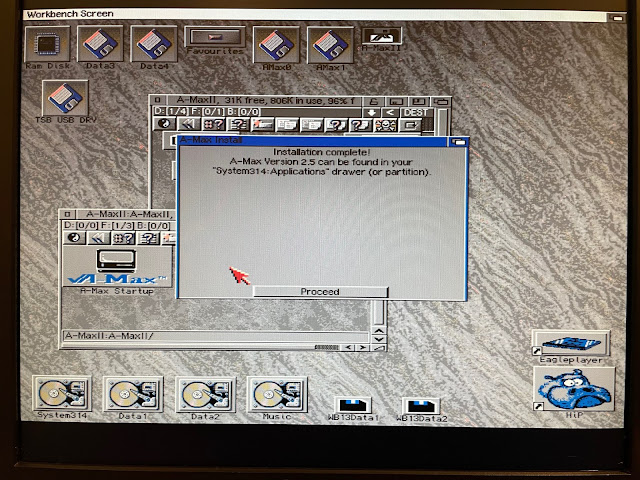
With that done, I downloaded the Amax software from the Amax site I linked above, wrote out the floppy disk images to real floppy disks and installed the software on the AmigaOS 3.1.4 hard disk:
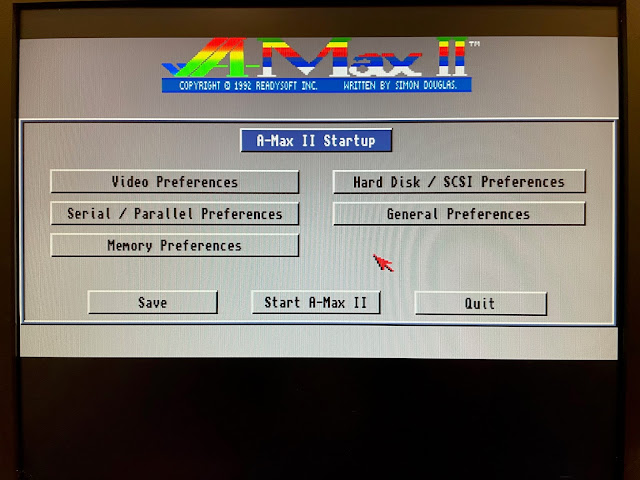
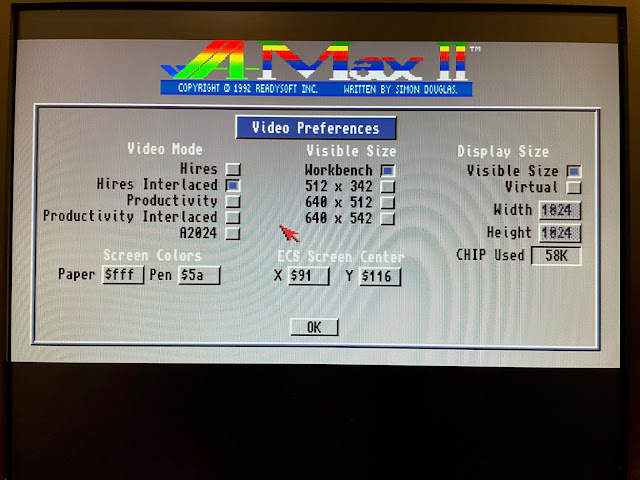
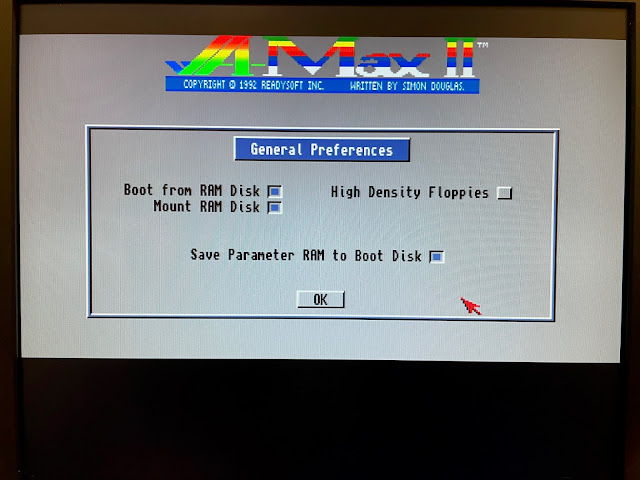
With the installation successfully completed, I then ran Amax II software and there is a few different configuration options, based on what functionality you want to have working in the emulation:
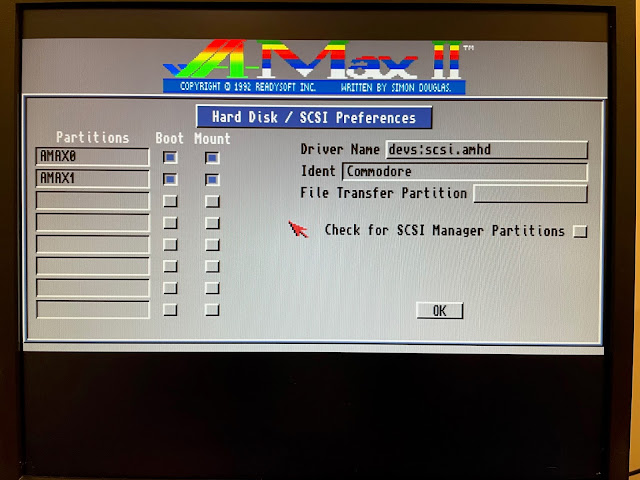
When I select the Hard Disk / SCSI preferences, you can see below it has automatically detected the correctly named AMAX0 and AMAX1 partitions, and set them as bootable and mounted:
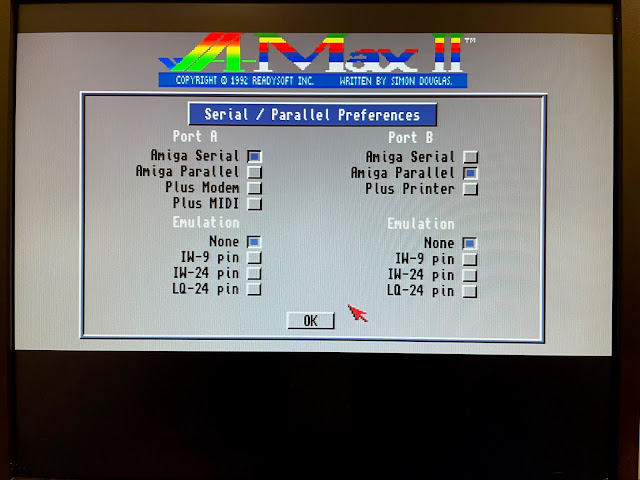
With serial/parallel preferences you can choose whether to pass through the serial ports and parallel ports from the Amiga to the emulation. Useful for connecting a printer I suppose. Might be able to use the MIDI port connected to the Serial port perhaps? Might have to test that later!
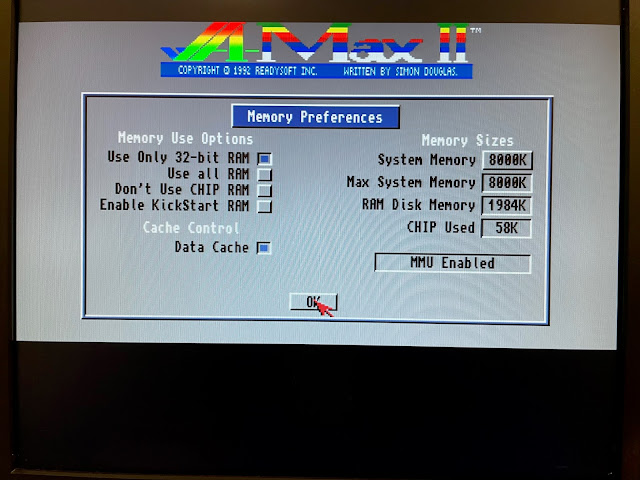
You can also set the memory options. The Amax software doesn't play nice with AmigaOS 3.1.4, so when you finish using it, you have to reboot. So don't sweat making sure AmigaOS has memory available also.
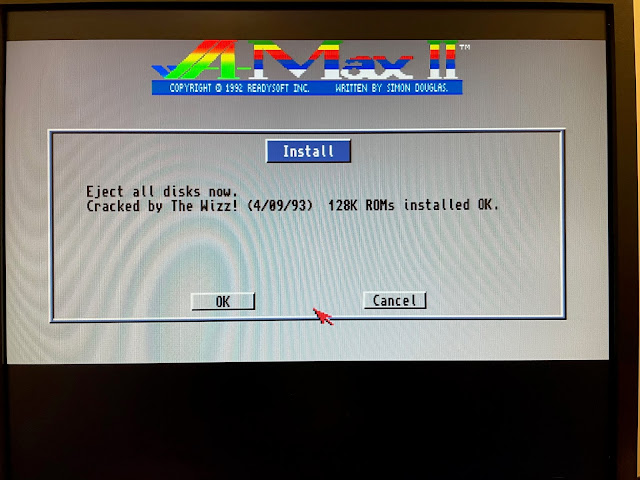
When I selected Start Amax, I get this install screen before starting. Annoyingly the floppy disk supplied on the "official site" are pirated, and cracked. I have the legit roms installed, so I didn't need this...
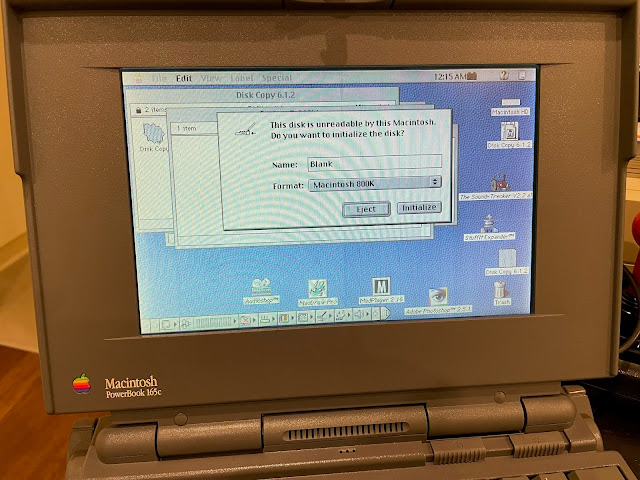
Naturally, this is where I hit a snag. I didn't have a system disk. Or any 800k Mac disks for that matter. The powerbook 165c uses 1.44MB floppy disks for its Mac system disks.
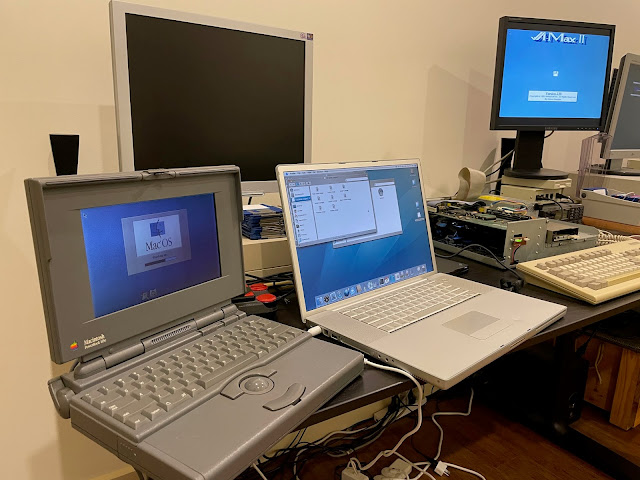
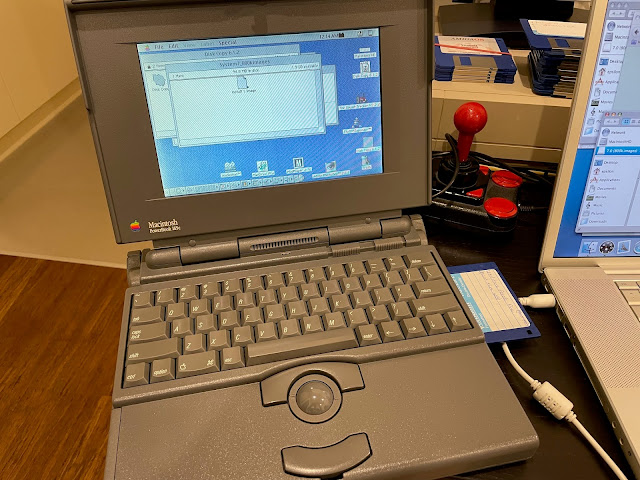
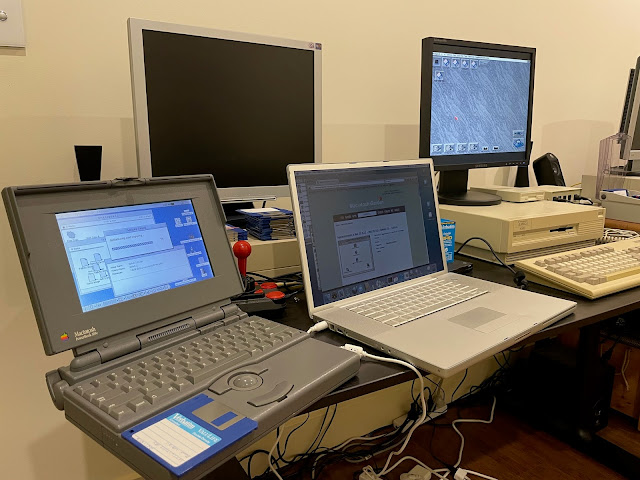
Here is my setup to make this happen:
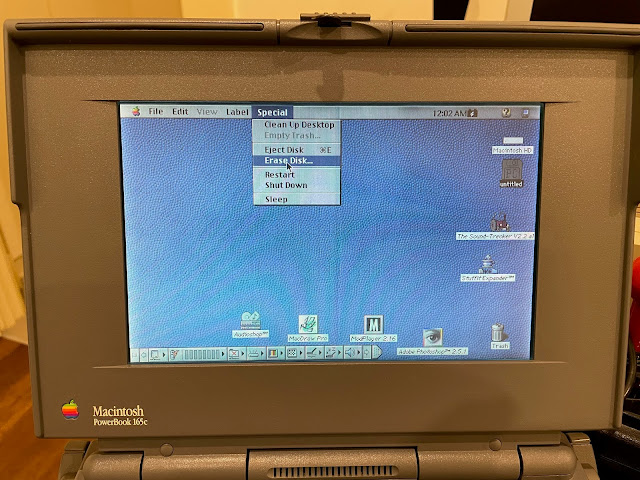
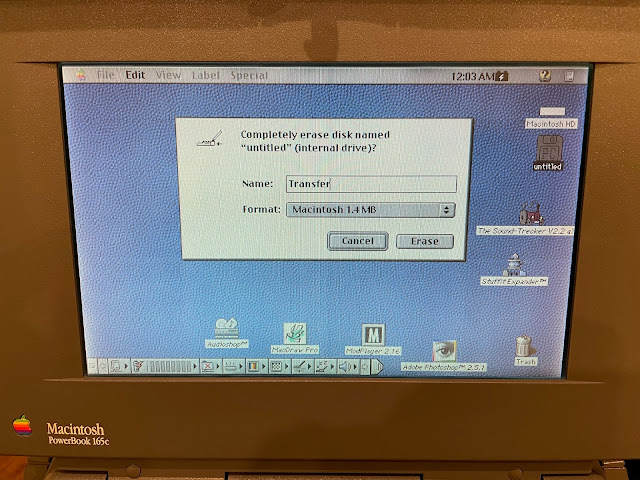
So I formatted a 1.44MB floppy disk on the Powerbook 165c first, using it's Mac floppy drive internally:
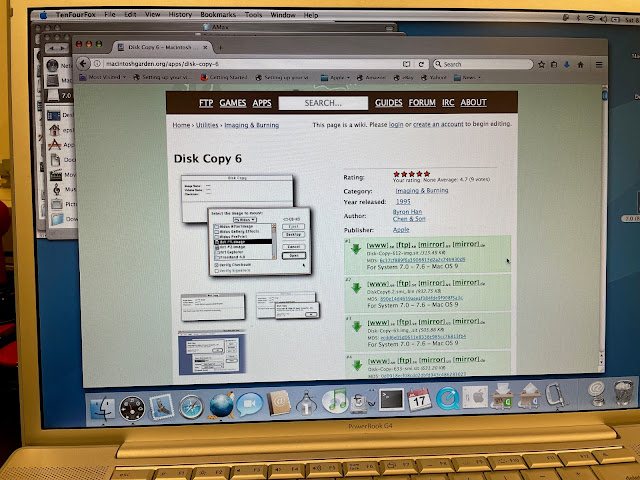
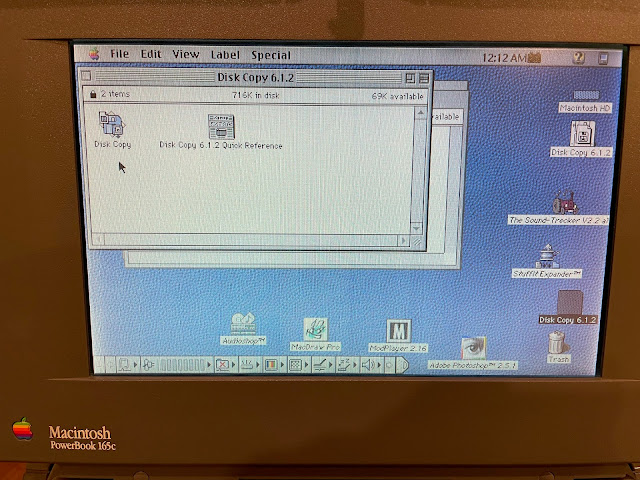
I downloaded some software called Disk Copy 6 via the Powerbook G4. This software is used to write out Mac floppy disk images to disk, and this version runs on my Powerbook 165c:
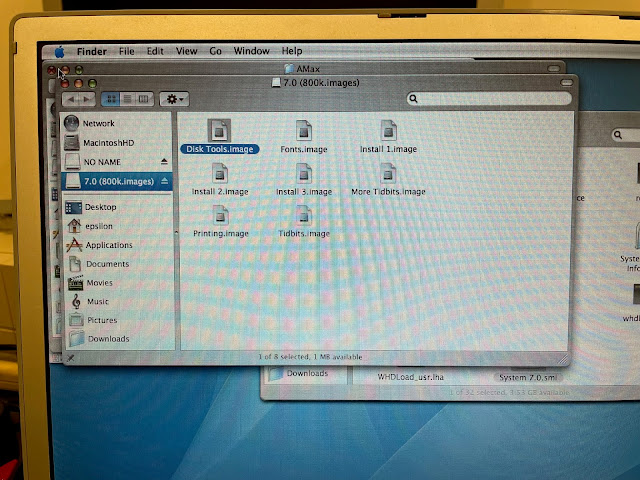
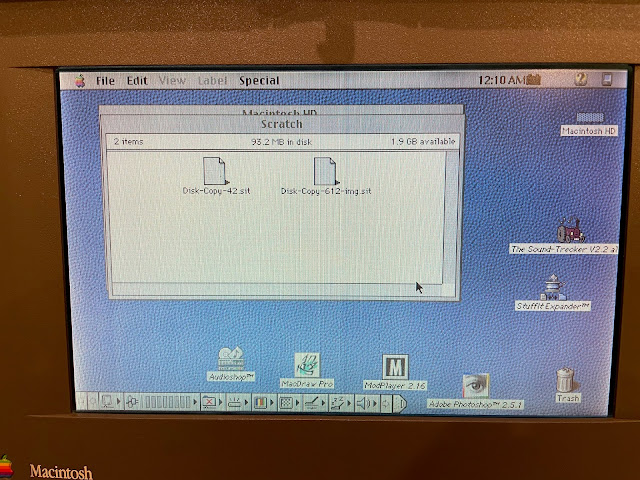
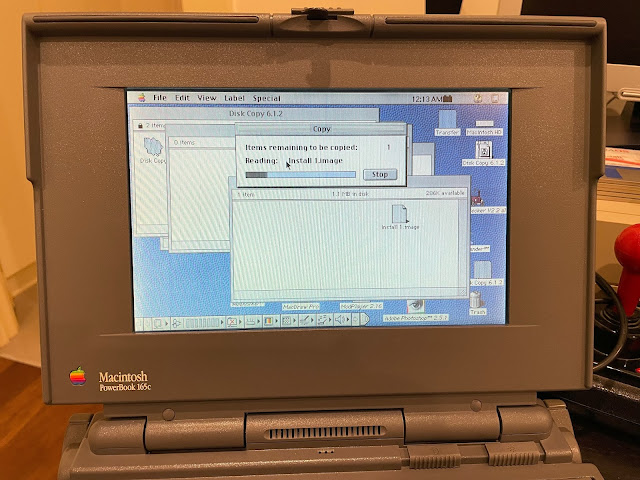
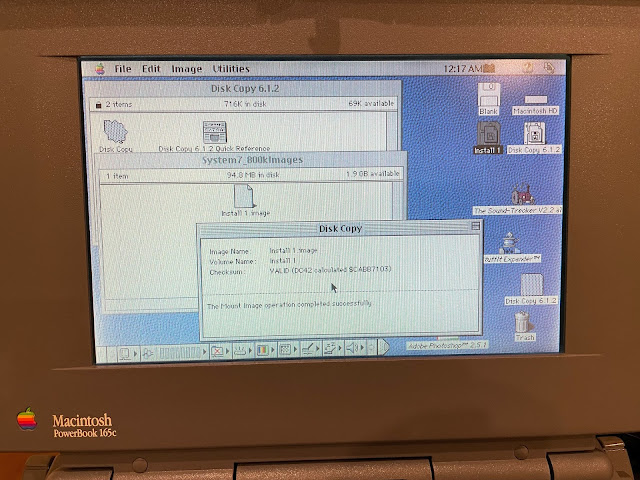
I copied to my 1.44MB mac floppy using a USB floppy drive on the Powerbook G4. I then copy the files off the floppy disk on the Powerbook 165c to a hard disk scratch folder I created, then extract using StuffIt expander and install the software on the Hard disk:

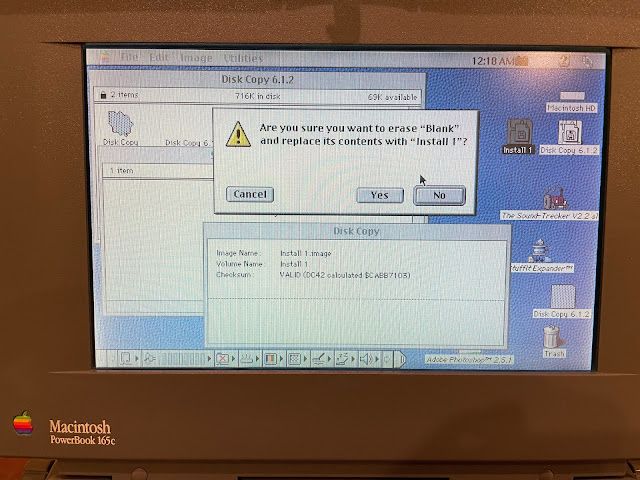
I then use Disk copy to write out the disk image I copied to a 880k Amiga floppy disk, which is only 800k formatted on a Mac:
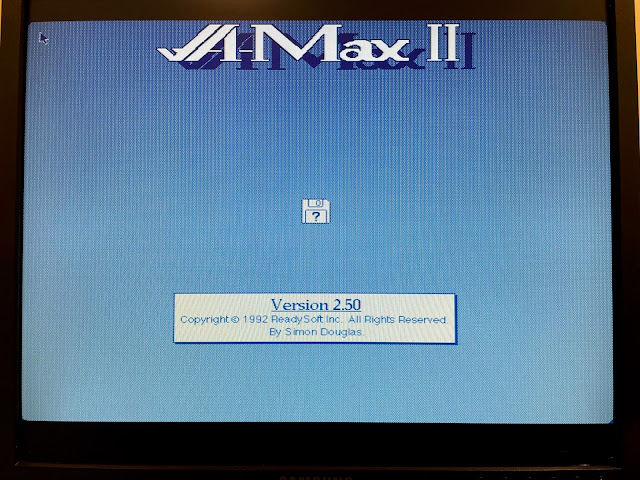
So now, the moment of truth, does it work? I tested it on the Powerbook 165c and it does boot on it, so I know the written out floppy disk works. I put it in the Amiga 3000 floppy drive, it reads and then nothing....
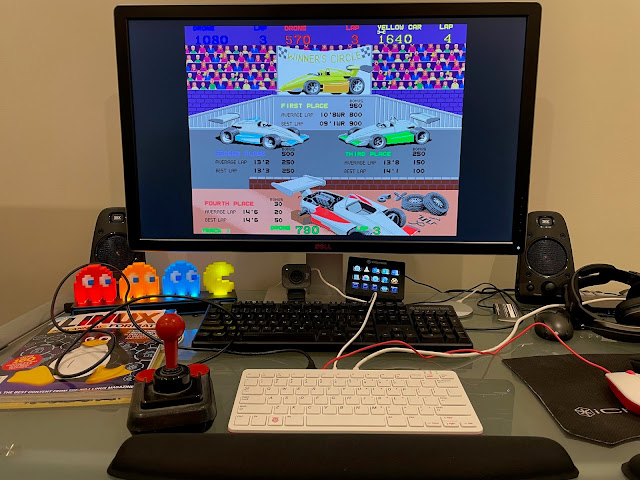
I tried it out on my Raspberry Pi 400 (running AmiKit XE 11.5). It works perfectly and I love being able to play this game on the Amiga finally!
I have ordered the physical boxed version with floppy disks and CD32 disk, and will play this game on the original Amiga system hardware when it arrives. For now I have the digital version in ADF form to play!
Life in Adelaide has been pretty normal for quite a while now, with no local transmission of Covid, no masks and no lockdowns since a short one back in October 2020 for 3 days.
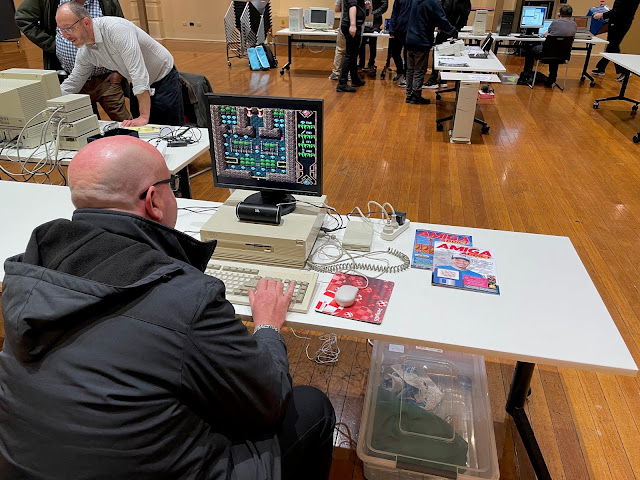
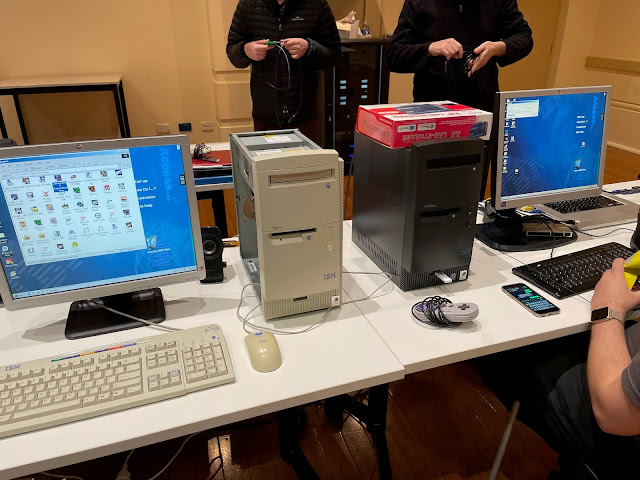
Here are some black and white (creme) IBM PC's from the late 1990's. I have a IBM 300 Pentium 200MMX PC at home I use for DOS PC demos and to run OS/2 Warp 4. Little bit more interesting I think than just running Windows 2000 like the ones below. YMMV :-)
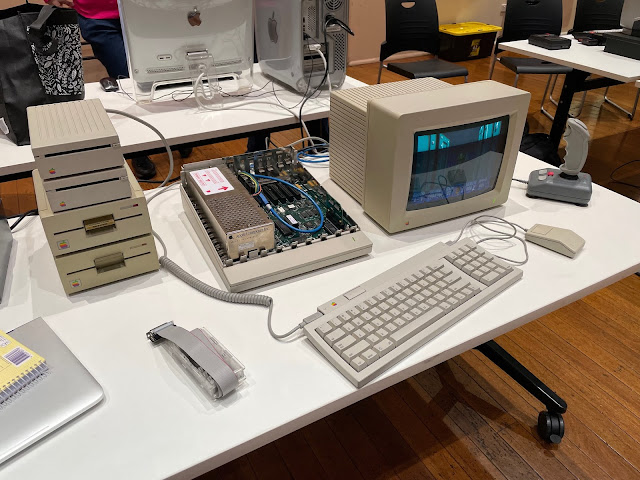
Here is an Apple II, with plenty of floppy drive options available :-) (you can see a PowerMac G4 in the background too)
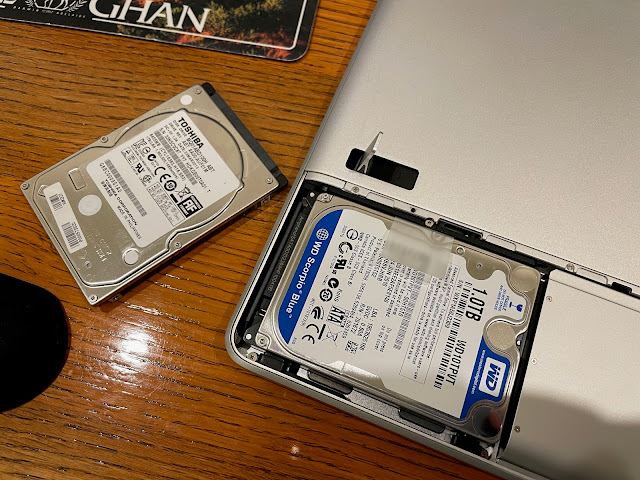
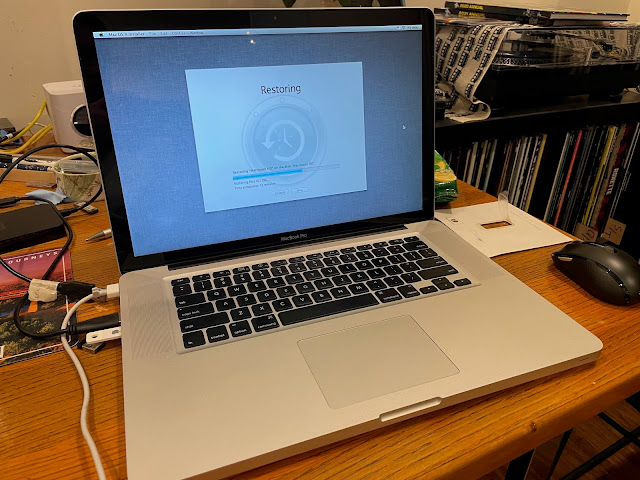
That done, I ran the OS X Lion USB boot disk (yes, Apple used to sell these!) and restored from my Time Machine backup prior to the hard disk crash. The system now runs perfectly again.
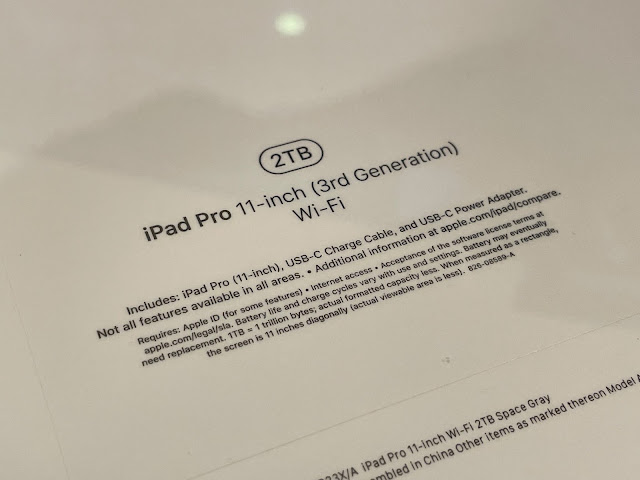
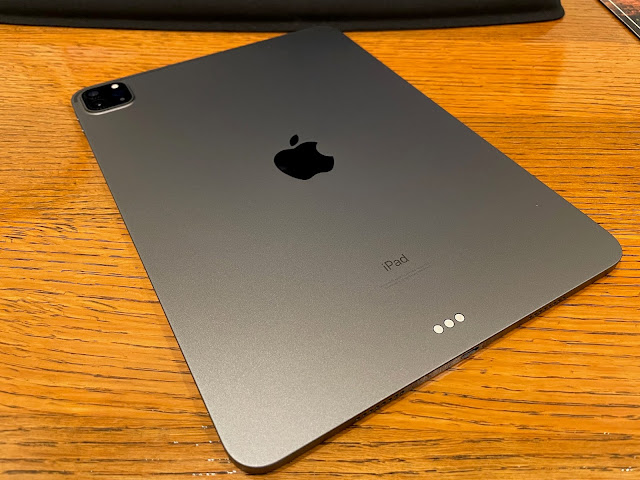
iPad Pro M1

Having 2TB is fantastic - it means I can finally fit all my music, photos and videos when travelling.
This iPad is extremely powerful with the M1 chip in it, which basically makes this iPad Pro the same specs as a MacBook Pro 13" M1 laptop, minus MacOS, but plus the touch display.
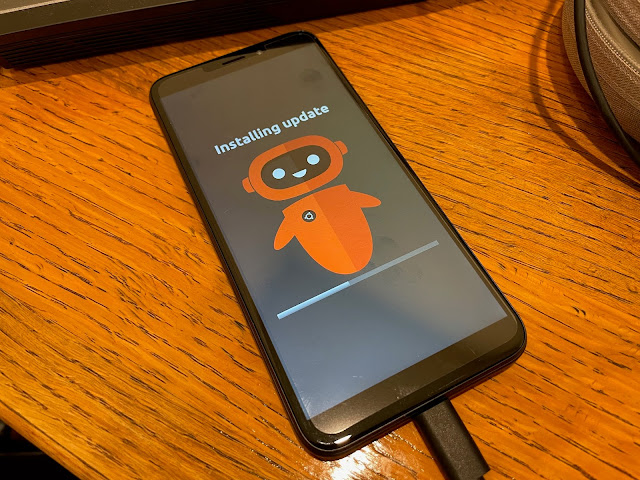
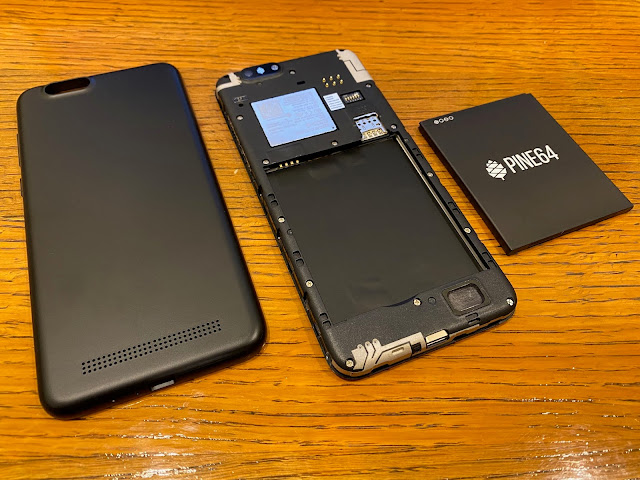
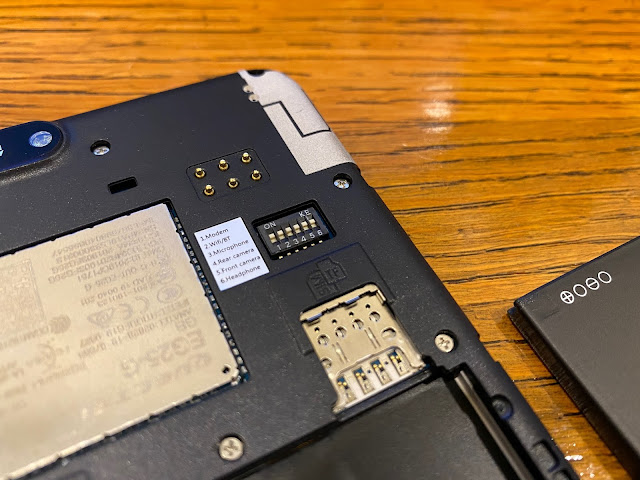
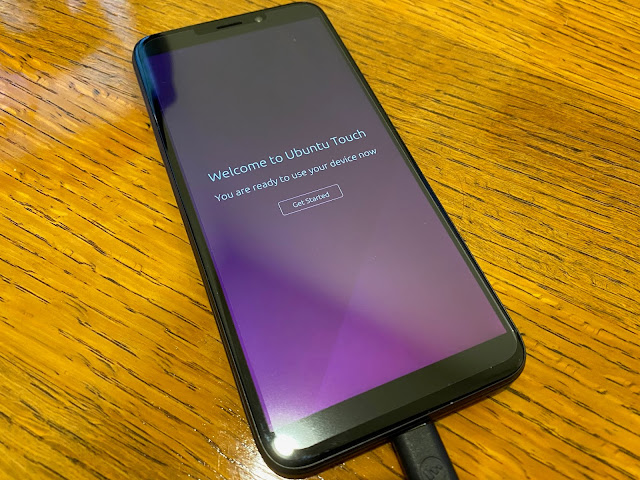
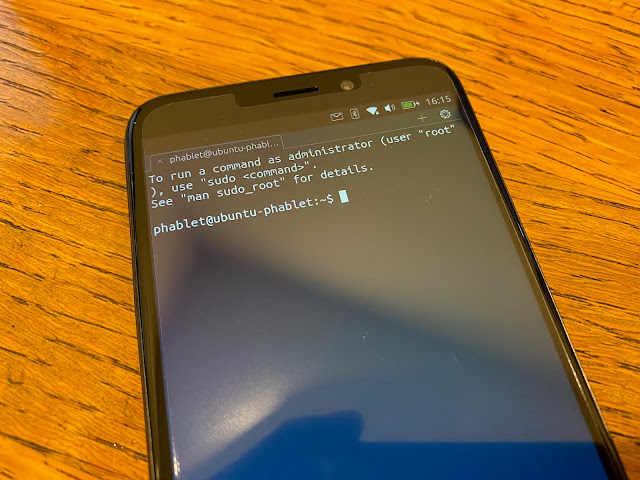
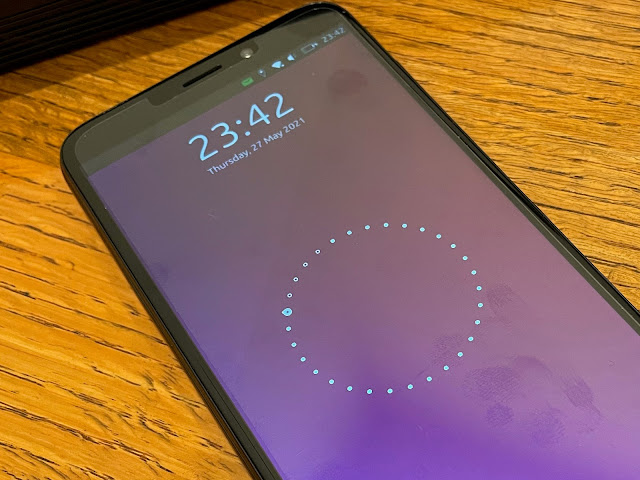
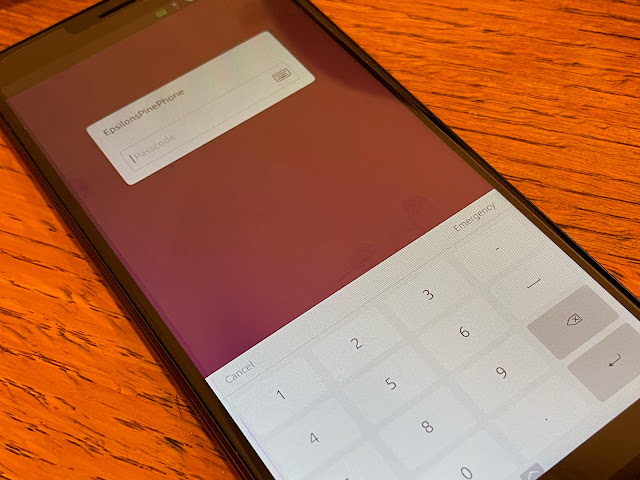
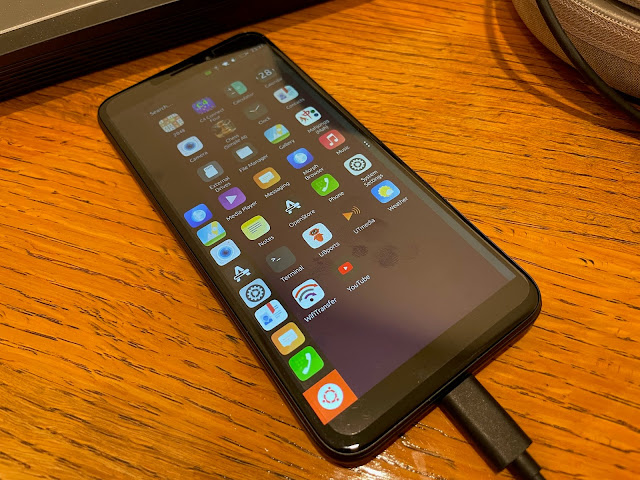
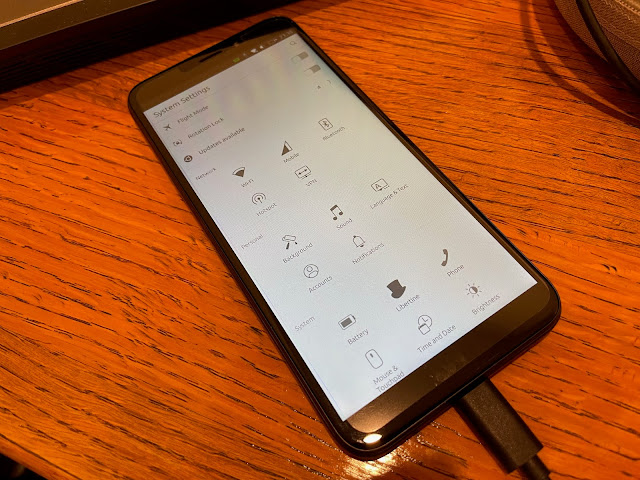
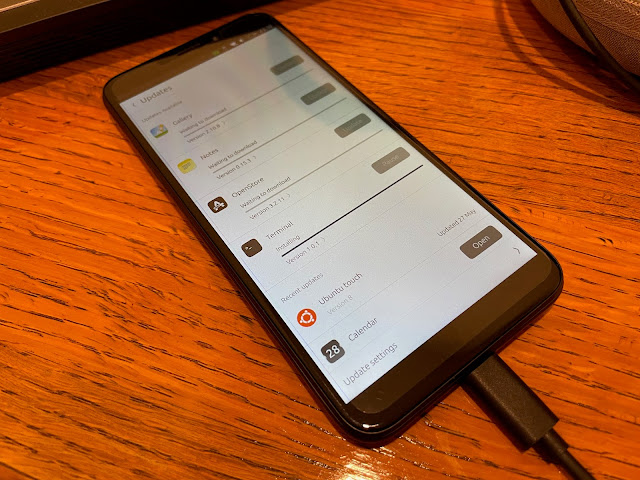
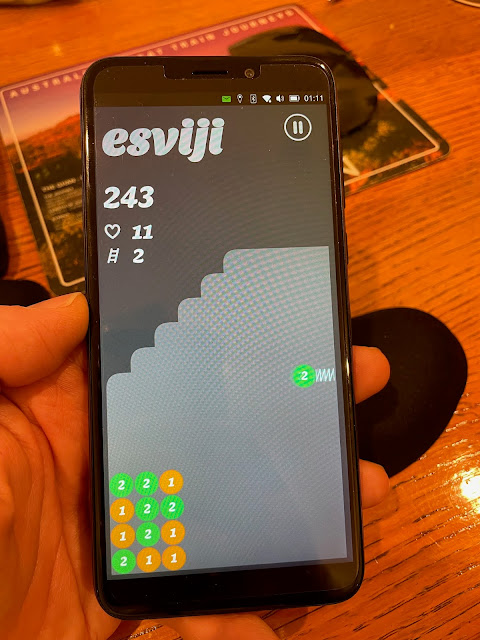
I choose Ubuntu Touch, but there are other OS you can flash and run on Pine Phone if you want to explore.
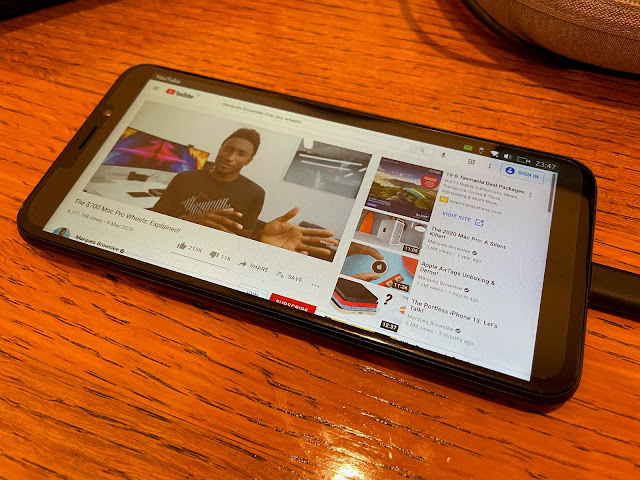
YouTube app is now included in the Ubuntu Touch setup, and works well in my testing, although full screen doesn't appear to work yet.
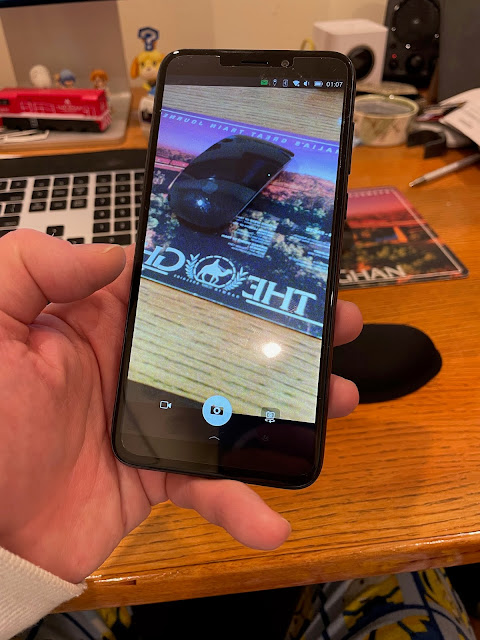
You can use the camera now too, but it is seriously slow to update. It does take photos, but it is reversed image...video doesn't work yet, neither does the front facing selfie camera.

