AmigaOS 3.2 on Amiga 1200
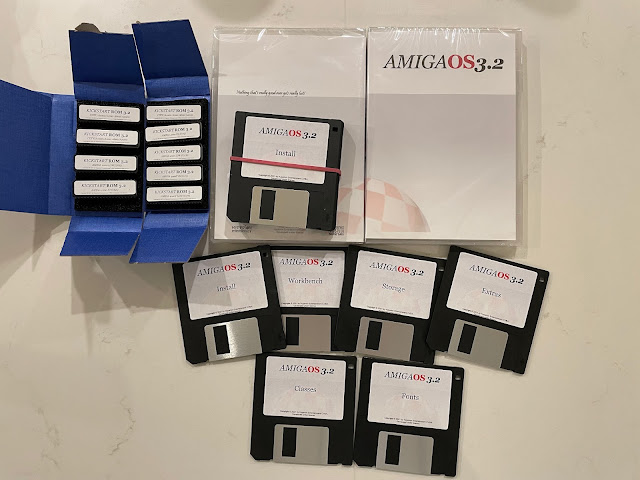
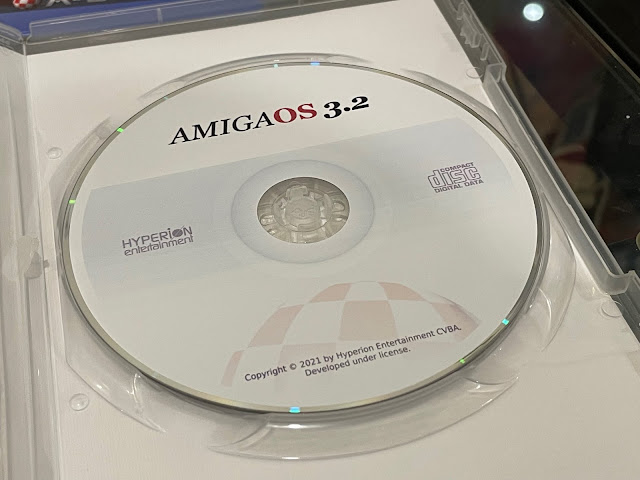
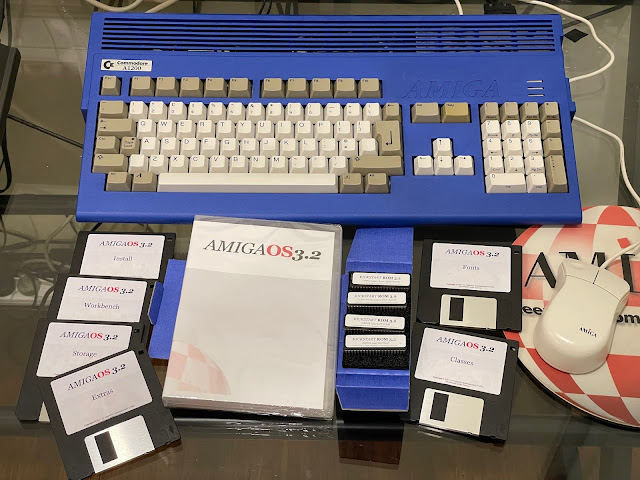
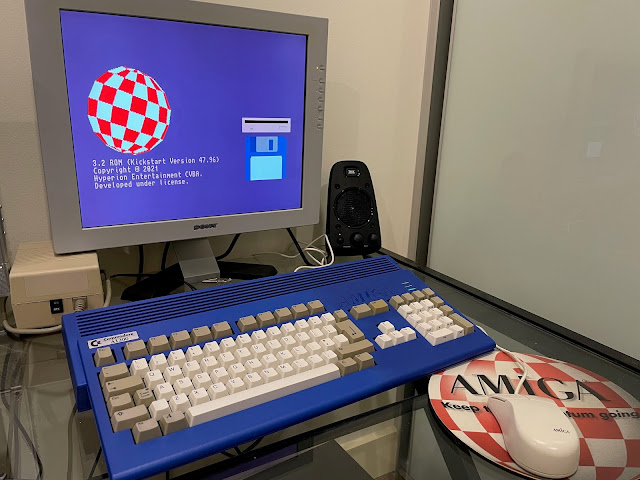
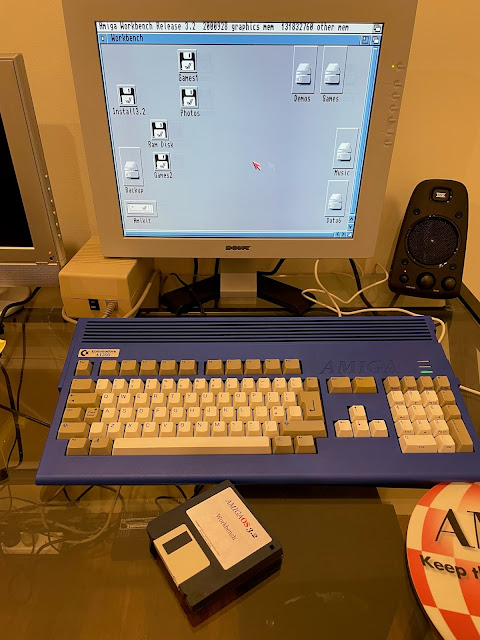
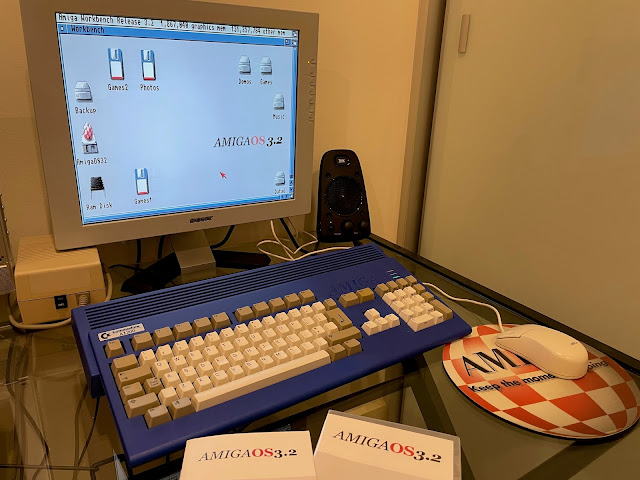
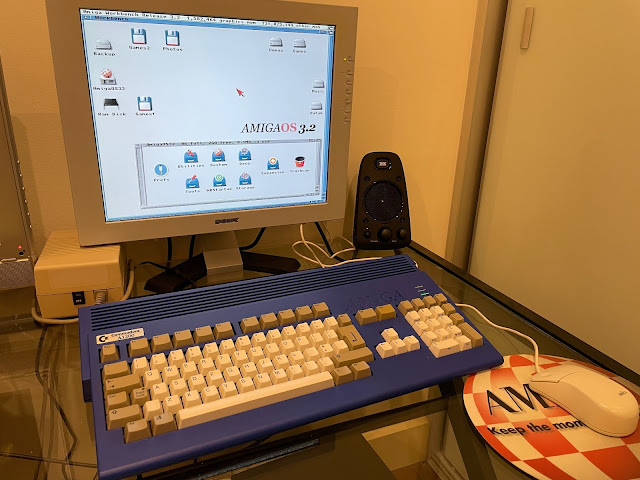
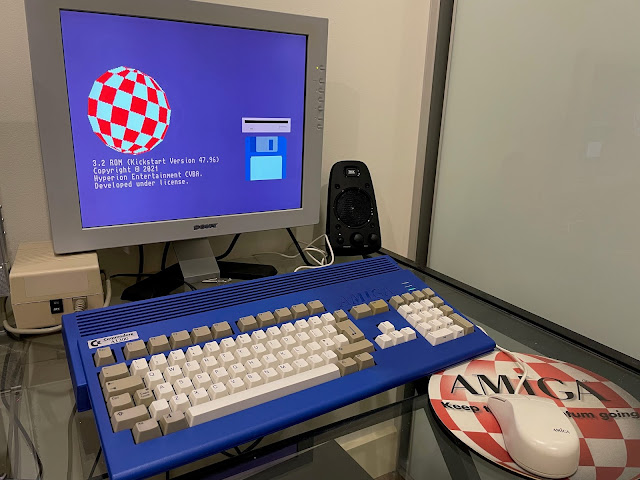
Finally the latest AmigaOS 3.2 from Hyperion Entertainment has arrived in the post for me this week! I decided to try it out on my Amiga 1200 first!
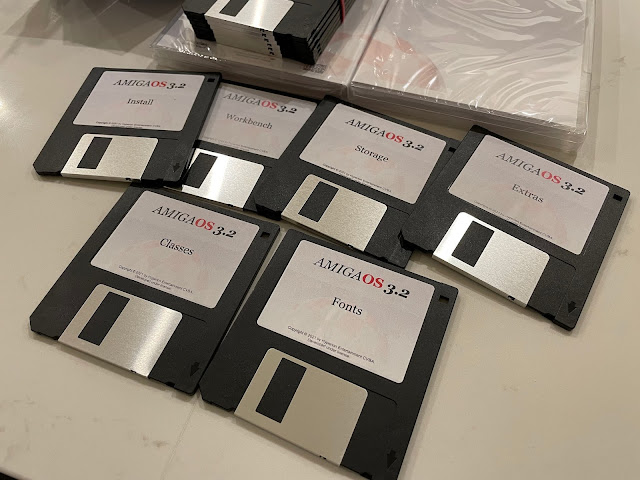
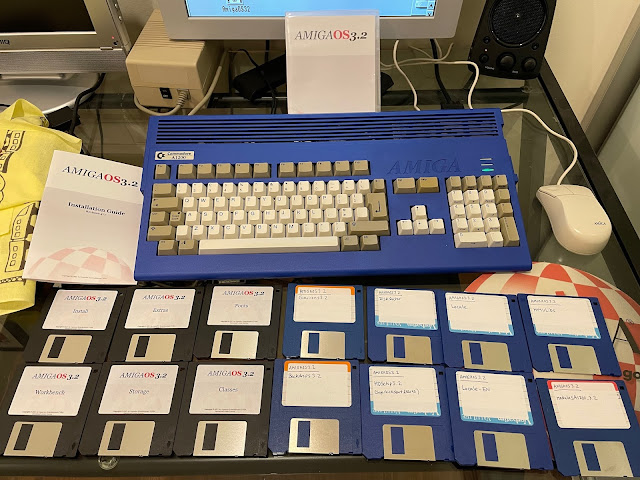
A close up of the included disk sets - Install, Workbench, Storage, Extras, Classes, Fonts:
There are way more disks than this though, and actually, a lot of the extra missing disks are REQUIRED for the installation if doing a disk based installation rather than from CD. It is a little frustrating that when ordering a disk set, the full set of disks was not provided...anyway. More on that later.
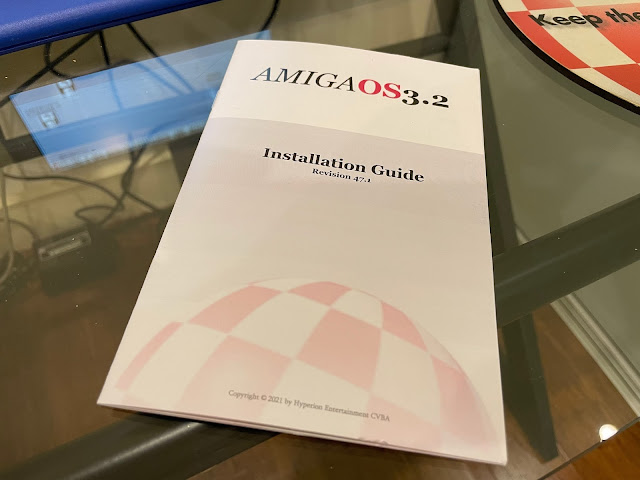
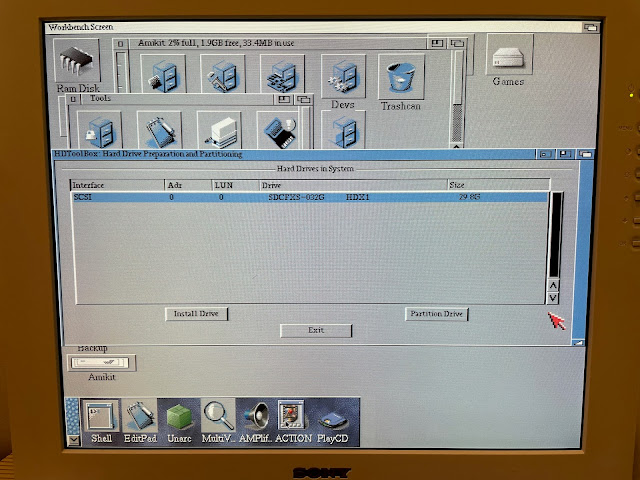
I currently have AmigaOS 3.9 BB2 installed on the Amiga 1200, using a IDE to CF adapter as the hard disk. The CF card is a 32GB CF card, seen by AmigaOS as a 30GB CF:
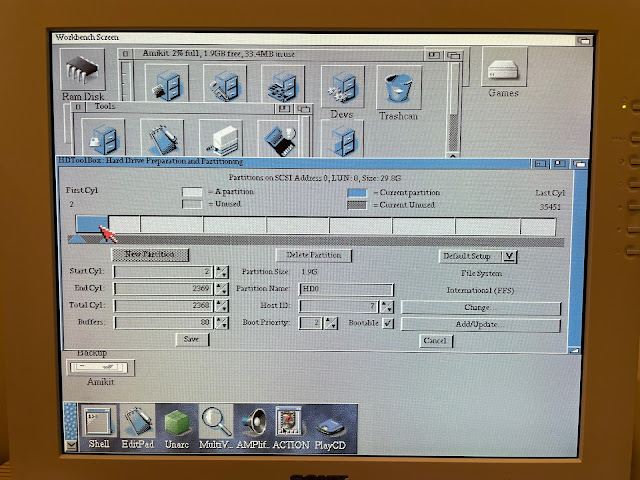
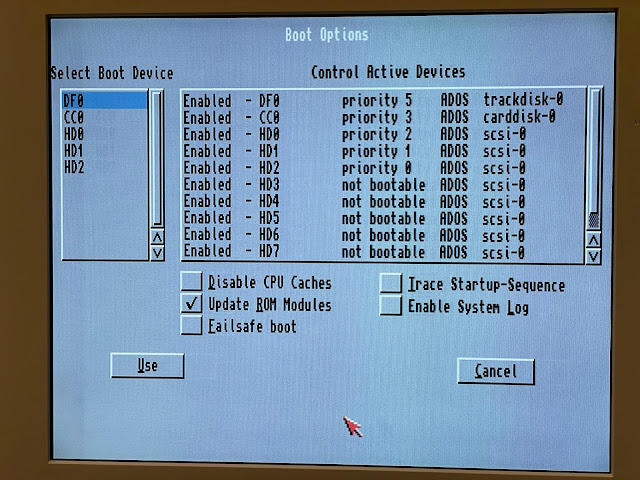
I have partitioned it off into multiple FFS partitions (HD0 to HD8), being careful to ensure no partition is larger than 4GB.
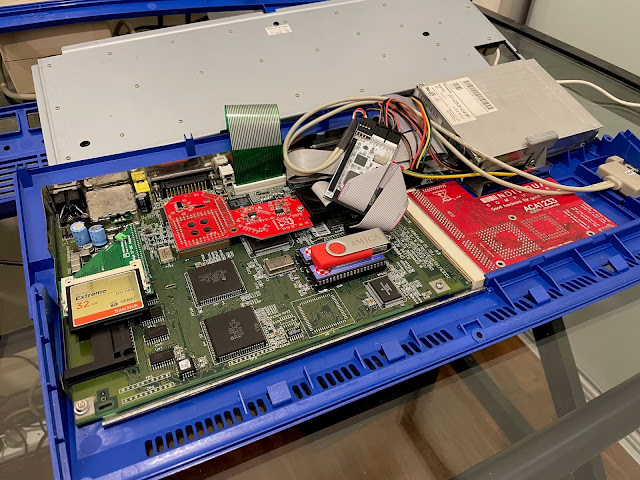
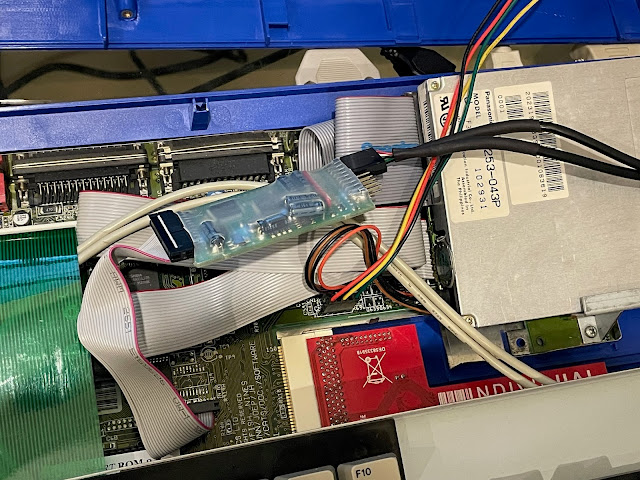
With the case opened, you can see the setup I described earlier, the ACA 030 accelerator, Indivision AGA mk2, IDE to CF adapter and the Rapid Road USB clock port. (I covered my registration serial numbers on the kickstart 3.1 roms with the Gotek USB stick from another Amiga):
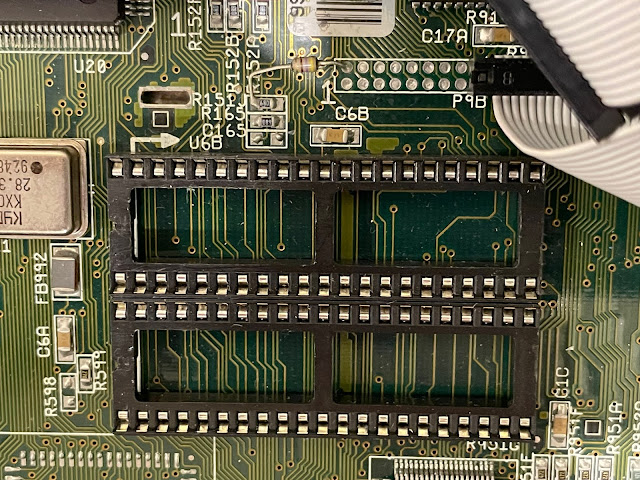
I then removed the two kickstart 3.1 rom chips using a chip removal tool, revealing the sockets. As you may know, for some reason the kickstart socket is one pin longer than the actual rom chips. It is important to put the chips in the right socket on the motherboard, which is labelled above (U6B) and below (U6A), as shown:
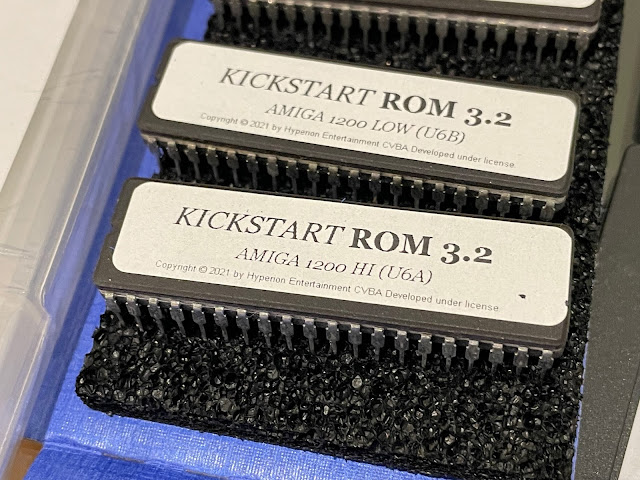
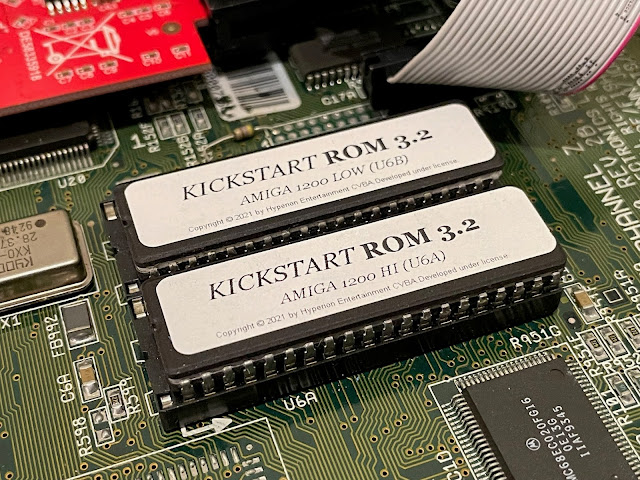
The new AmigaOS 3.2 kickstart roms should be oriented the same way as the chips you removed, and right justified on the socket, leaving one pin free on the left side, as below:
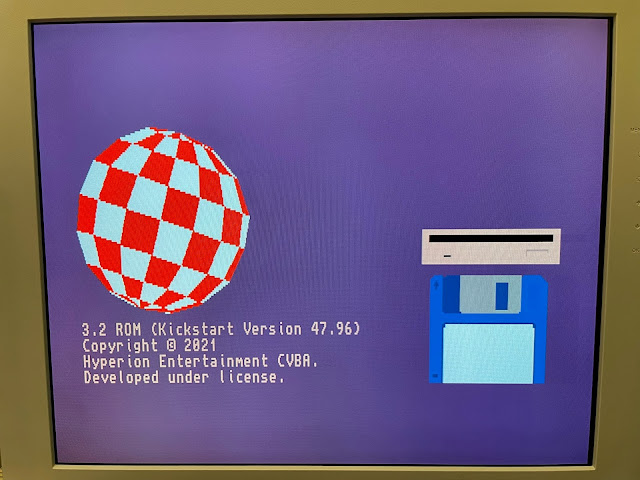
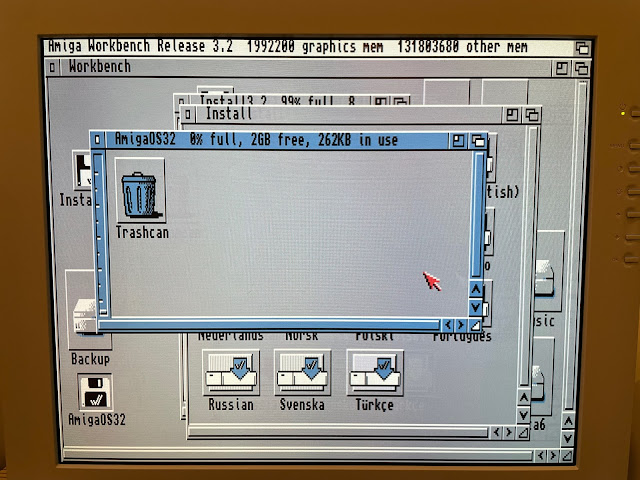
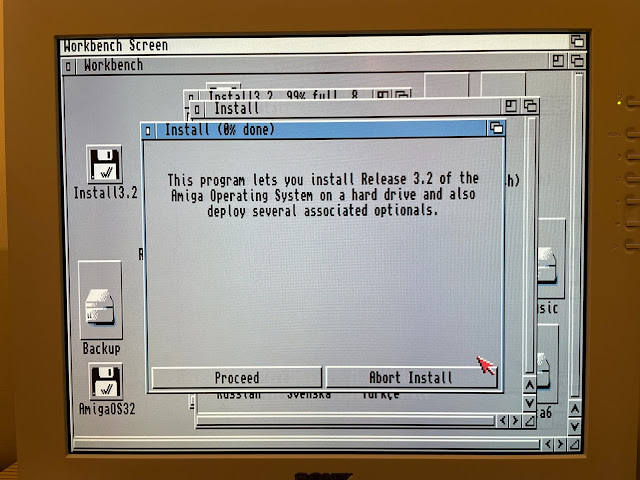
Ok, time to get started with the AmigaOS 3.2 installation itself. As with other AmigaOS, boot from the Install disk to get started.
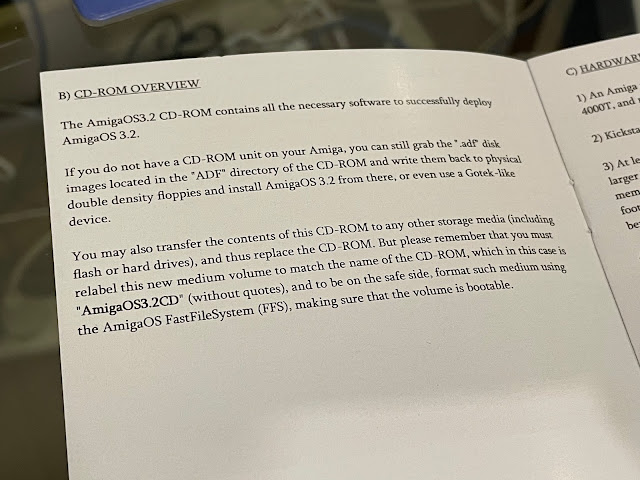
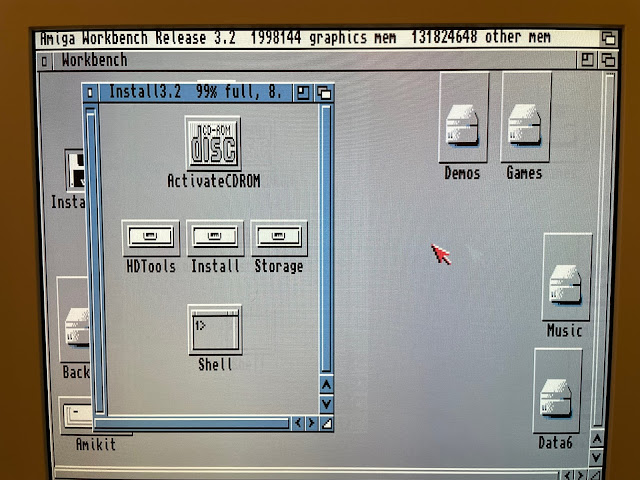
Inspecting the Install disk contents, you can see the ActivateCDROM software for mounting the AmigaOS 3.2 CD if you have a CD drive attached, and the HDTools drawer (HDToolbox for prepping the hard disk - not required here), and the Install drawer, which is where we start the hard disk installation from.
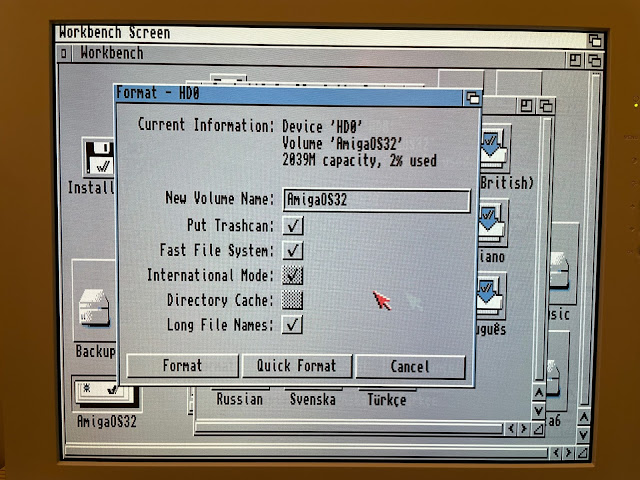
Before I start the installation though, I decided to reformat the Amikit hard disk boot partition ready for a vanilla AmigaOS 3.2 installation. I decided not to do an upgrade as I want to start from scratch. I named the partition AmigaOS32 and enabled long file names. You could also do this in AmigaOS 3.1.4 but I didn't do it then. For this setup though I decided to enable it.
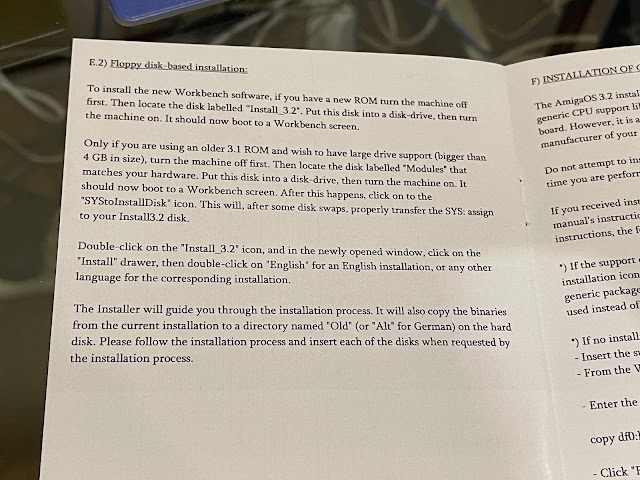
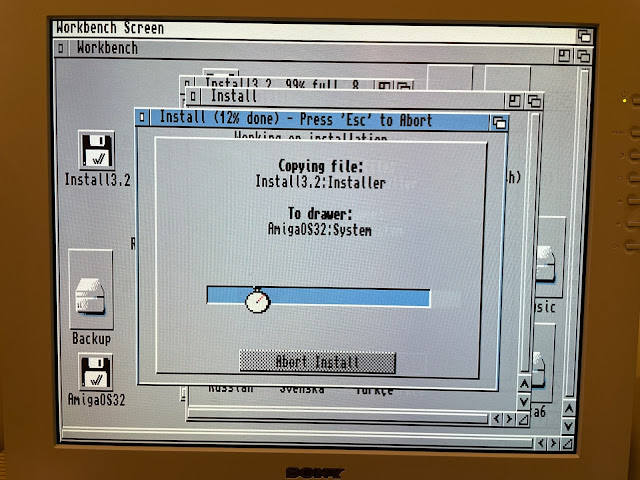
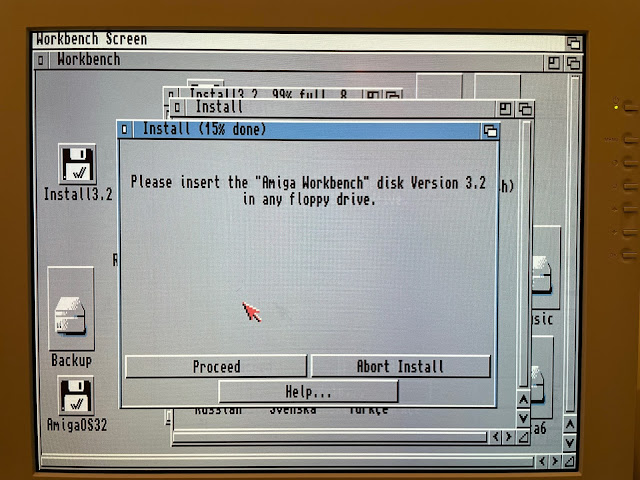
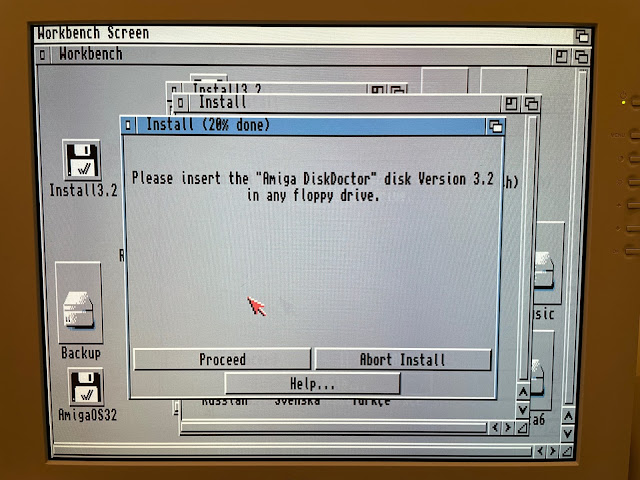
I was provided the first 6 disks of the AmigaOS 3.2 disk set with my purchase, but in reality I also need another 6 disks to be able to do the installation (in US English) on this Amiga 1200.
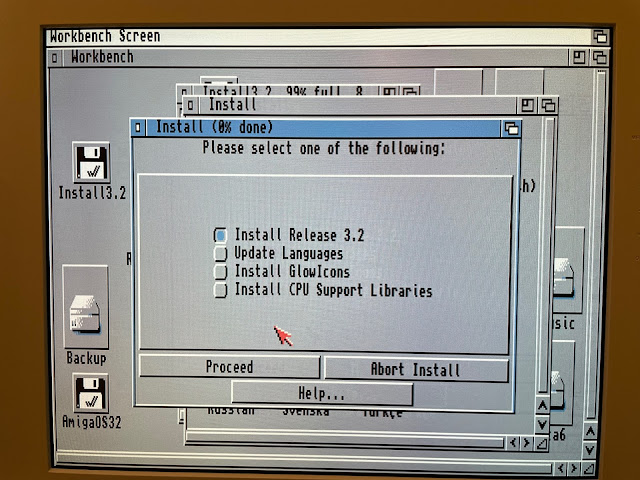
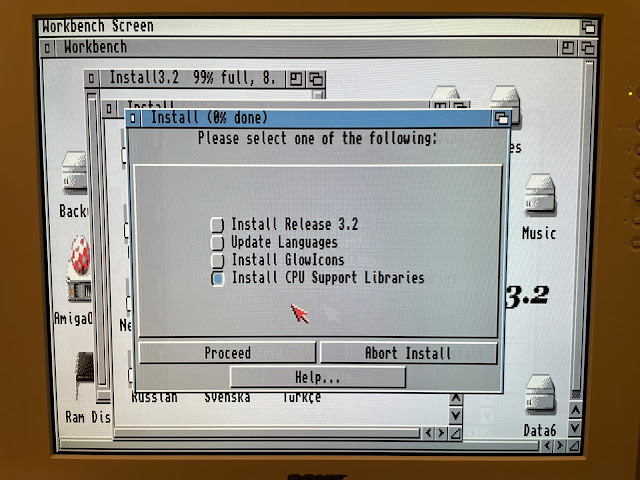
You get the option to install AmigaOS 3.2, add more languages from other Locale disks to an existing 3.2 HD install (Locale-XX), Install Glowicons or CPU support Libraries (MMULibs Disk) to an existing 3.2 HD install.
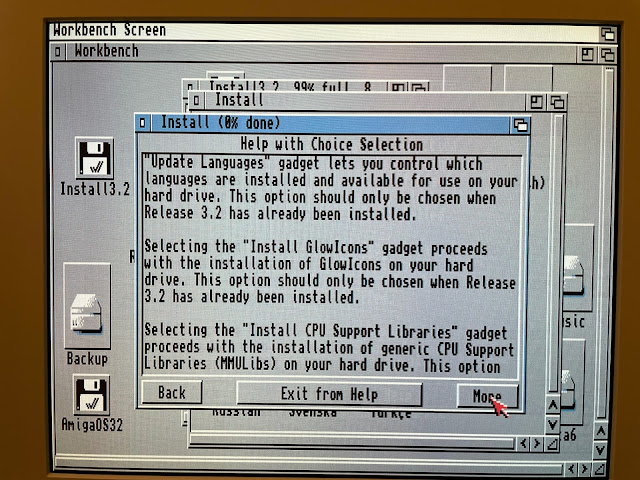
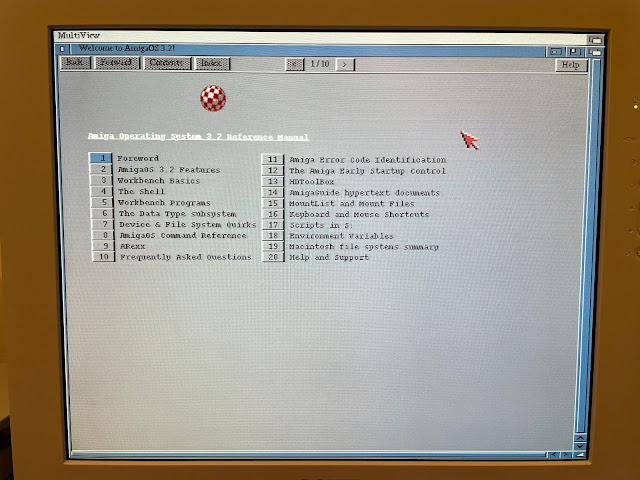
The help guide explains this quite well too. I find often the installer help guides are not that useful, but here they actually are, so please review them as you go if you need help on what to select.
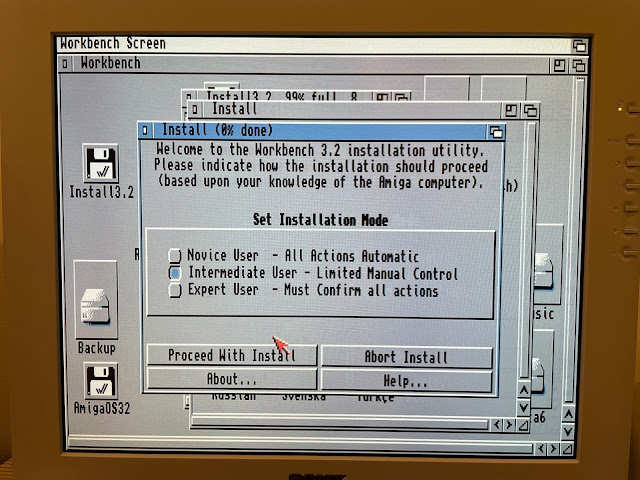
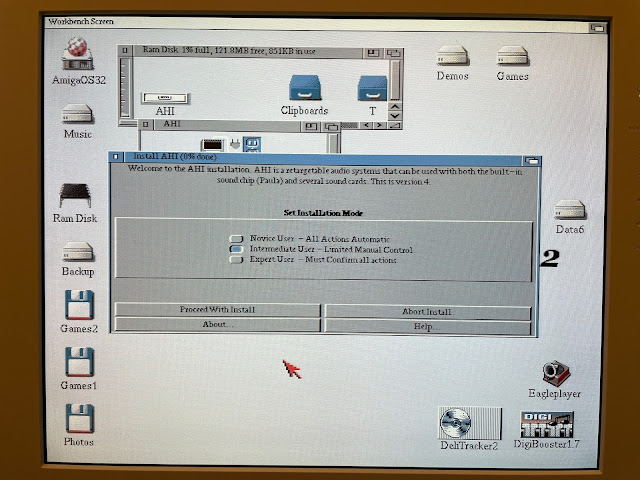
I picked intermediate user for the installation, the default is Novice but I want some control over the installation.
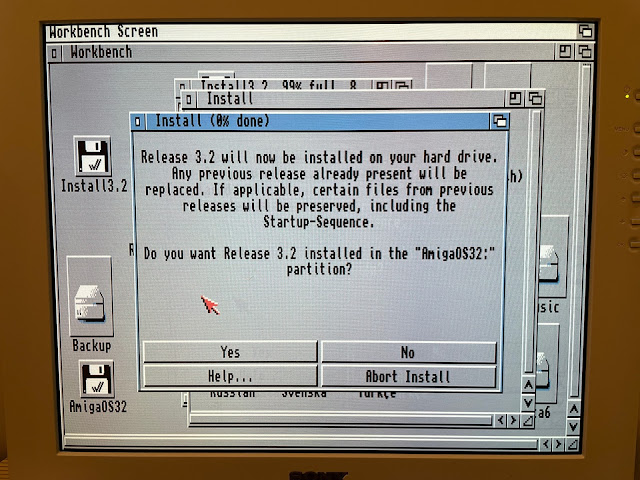
Now the installer checks the hard disk and asks if I want to install to my freshly formatted AmigaOS32 partition. Yes, please!
Which languages you want is prompted next, with all selected by default. If you proceed that way, you need EVERY Locale ADF disk written out from the CD. I only want English (US). So I deselect all the other languages and just leave English selected - that way I only need the Locale Disk and Local-EN disk for this part of the installation:
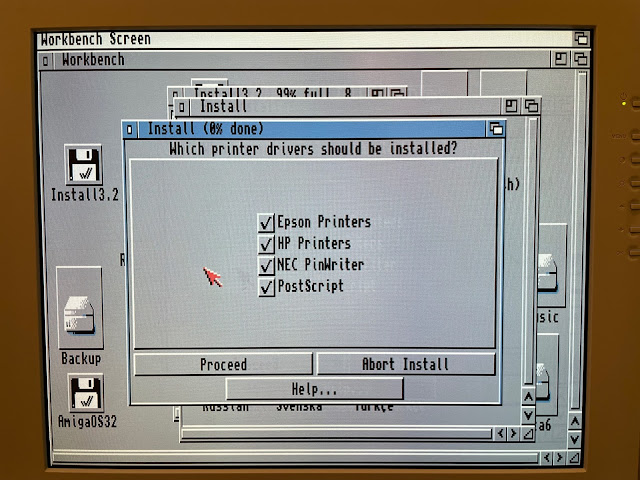
Printer drivers to install are next up, all are selected by default. I don't need them, but left this as-is as they come from one of the 3.2 floppy disks I have.
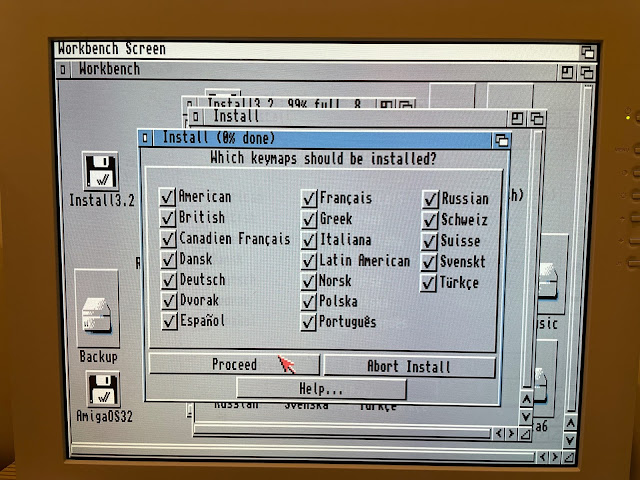
Keymaps are next - again all are selected and again, you need all the Locale disks if you leave it like that. I selected Amercian keymap only, because in Australia the Amiga keyboard is actually the US keyboard.
I am then asked if I want to install the new Glowicons icon set for AmigaOS 3.2! This is wonderful, as in 3.1.4 there was no option to do this in the installation, and had to be done manually afterwards using the Shell. I criticised this a lot at the time, and I am glad they fixed it in 3.2. Note you need the glowicons floppy disk for this.
There are many more glowicons on the CD too, to use for other applications, tools, etc, you might install later on.
I don't know about you, but there is something satisfying about being able to install a 2021 operating system from floppy disk still :-)
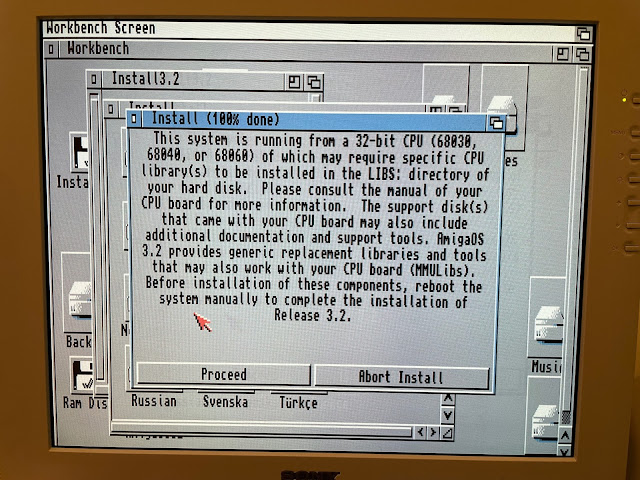
The installer warns me that the CPU is 030 or above and I need to install the MMULibs disk contents after the installation is finished and rebooted.
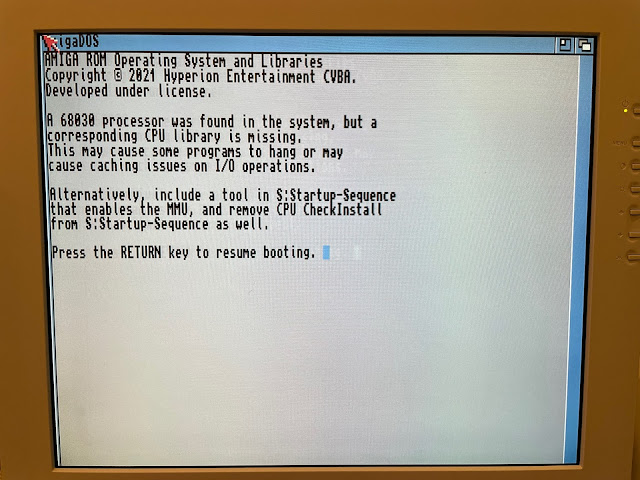
On first boot from the hard disk, AmigaOS 3.2 warns of the CPU issue needing MMULibs to be installed. Press return key to continue booting to the Workbench. We will fix that shortly.
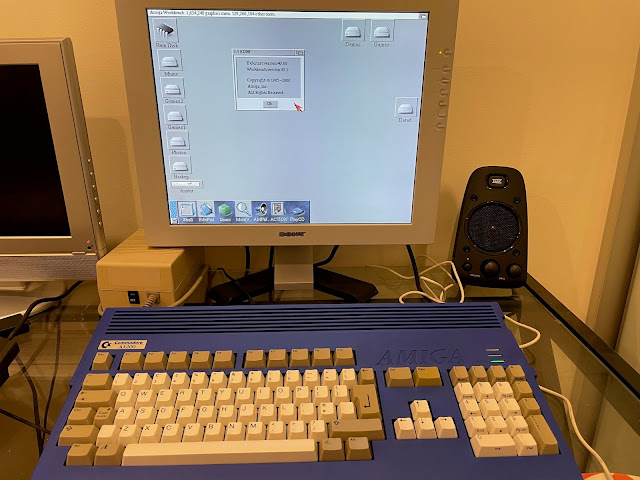
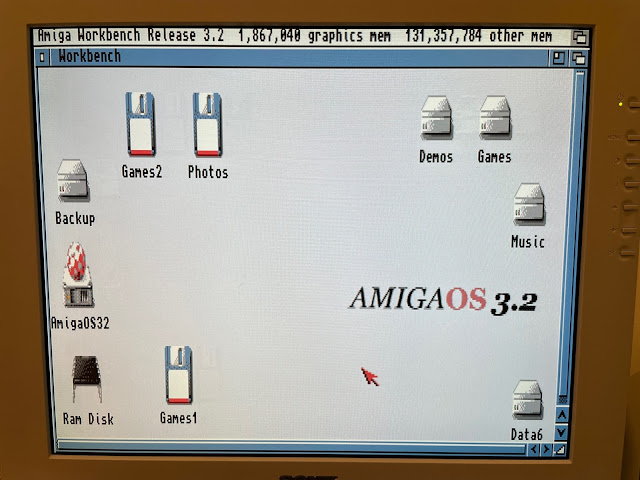
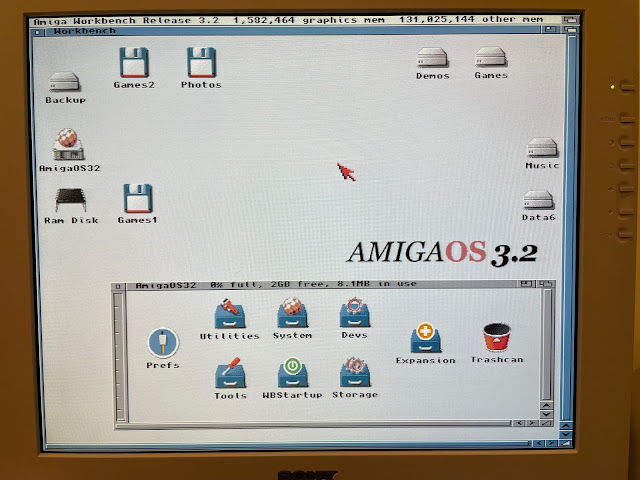
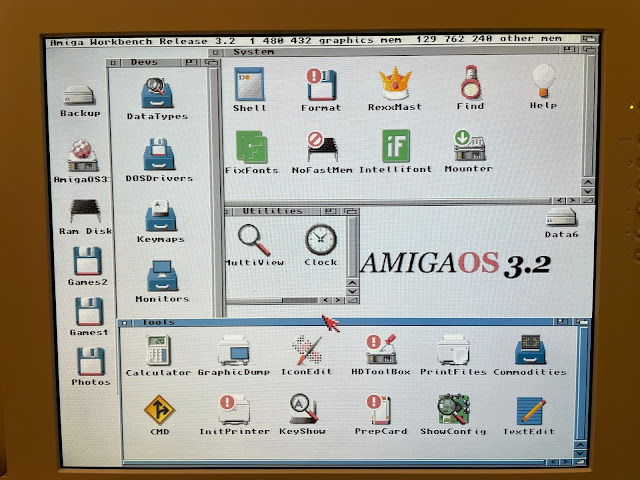
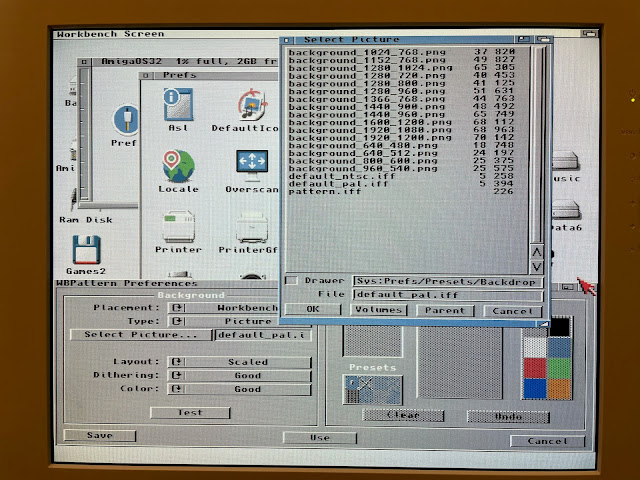
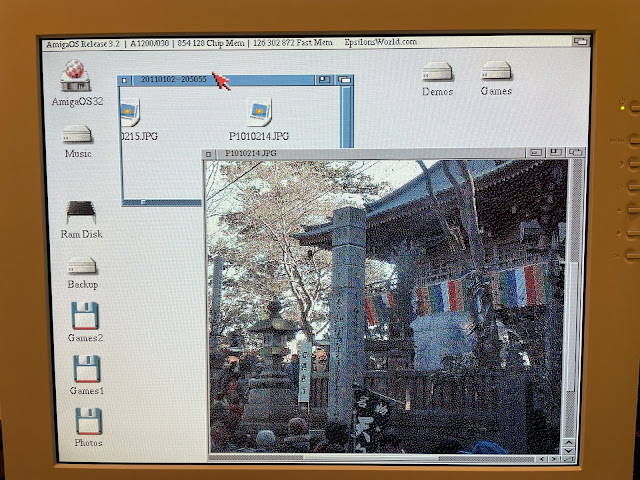
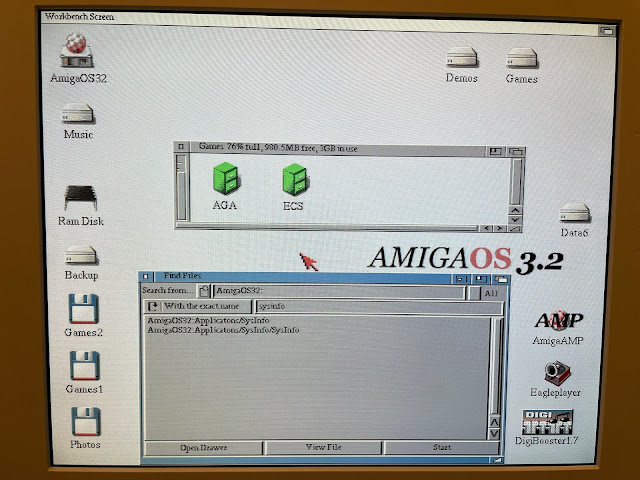
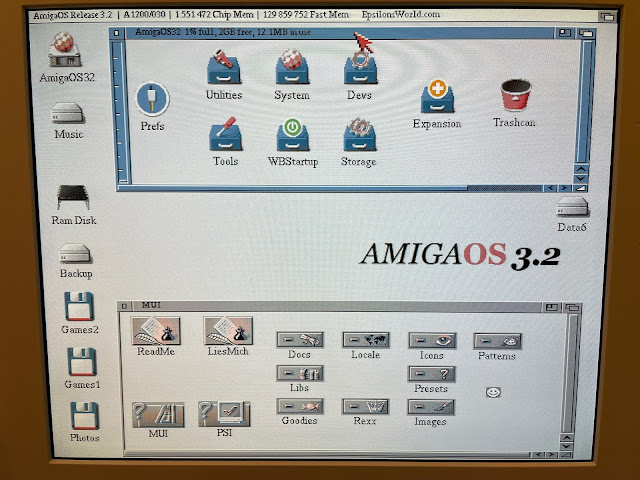
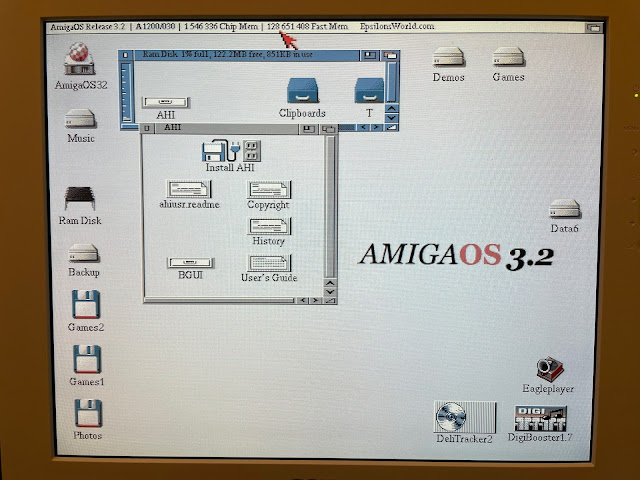
My first look at the new AmigaOS 3.2 Workbench, using the Glowicons and suitable AmigaOS 3.2 backdrop:
There is still plenty to do though on the installation. Next up is the CPU support libraries. I put the Install floppy disk back in the Amiga 1200 and re-run the Installation, this time selecting the "Install CPU Support Libraries" option:
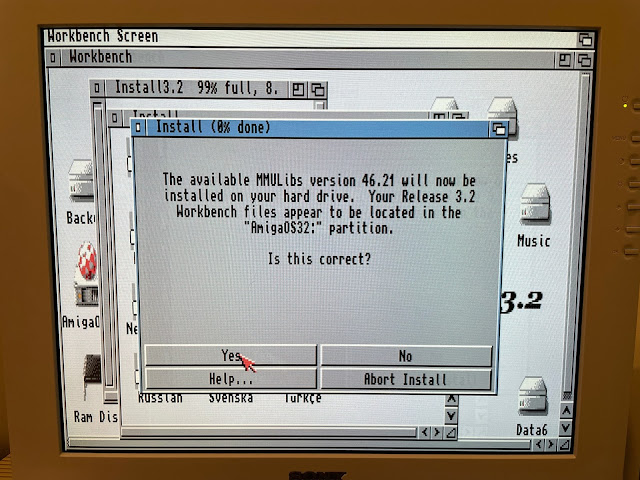
The installer checks where the AmigaOS 3.2 installation is, and locates the AmigaOS32 partition installation:
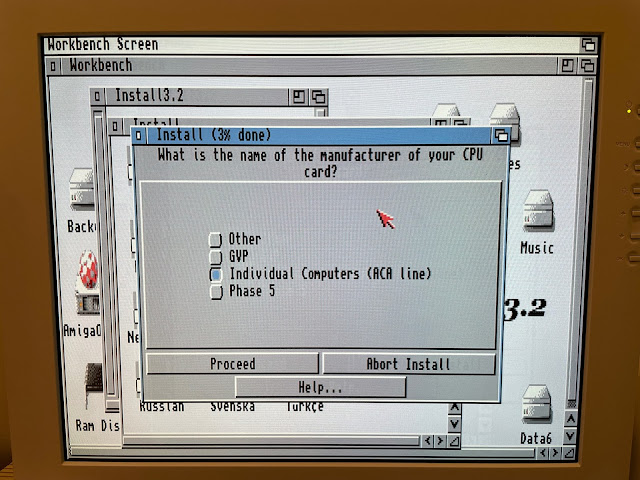
We then need to specify which CPU accelerator maker my card is from. The choices are limited here, GVP, Individual computers (ACA line) and Phase 5 the choices, and a blanket "Other" if you have an accelerator card from somewhere else. In my case I have an Individual Computers ACA1233n card, so I select that option:
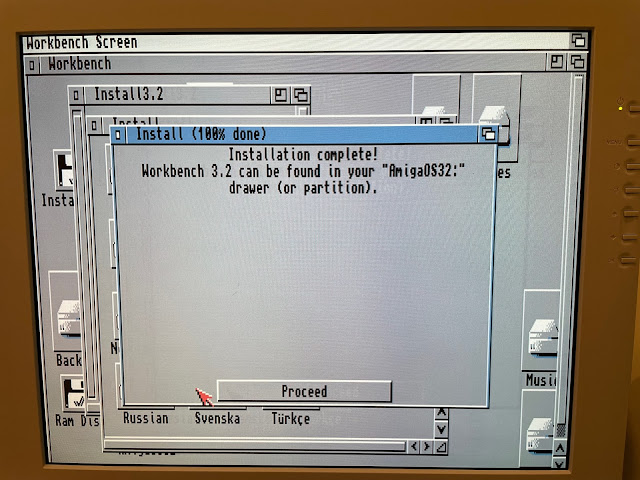
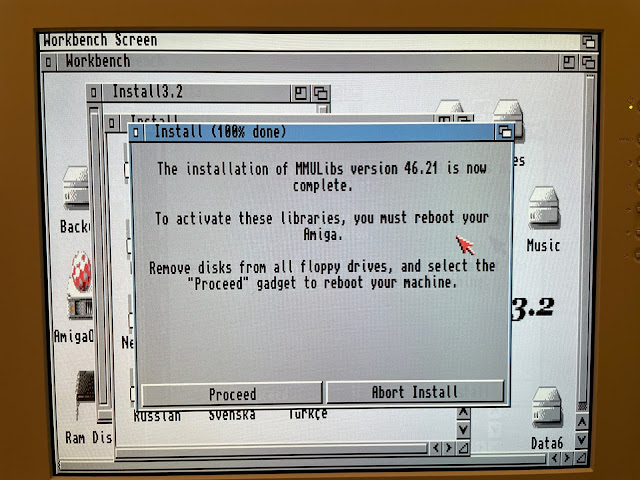
The install prompts for the MMULibs floppy disk, and completes the installation. A reboot is then needed:
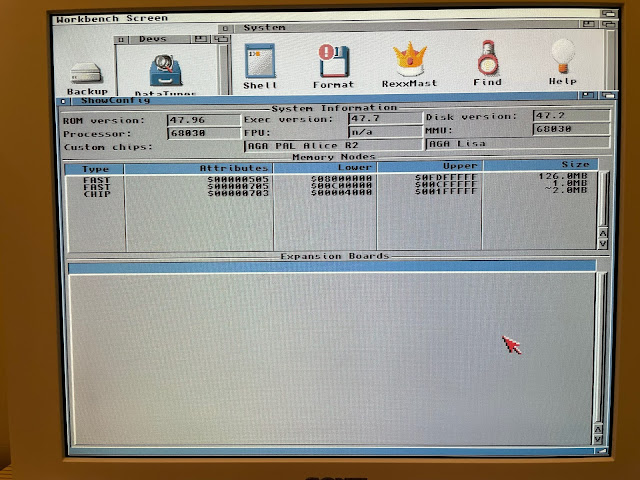
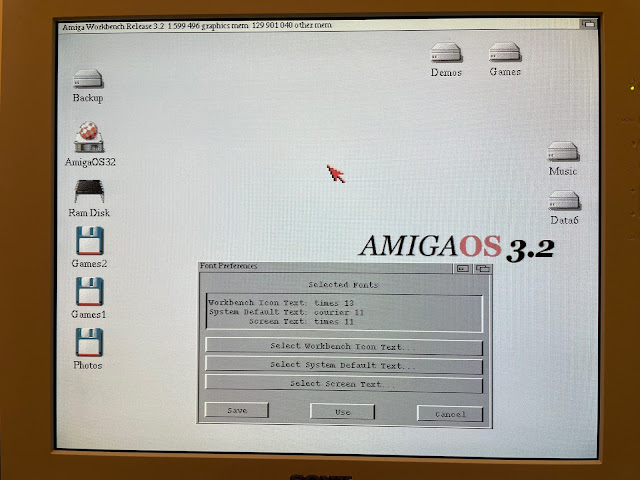
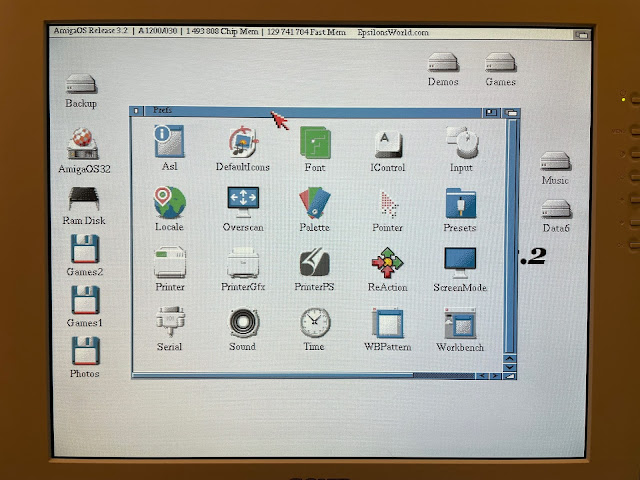
With MMULibs installed, I no longer get the warning message on starting up AmigaOS 3.2 from the hard disk. I also took the opportunity to adjust the screen mode in Prefs to use the High Res interlace mode, as the Indivision AGA mk2 card I have uses a flicker fixer (as well as scan doubler), and I get a bigger Workbench display to work with, and the icons and text now look right, rather than stretched in the standard HiRes non-laced default mode.
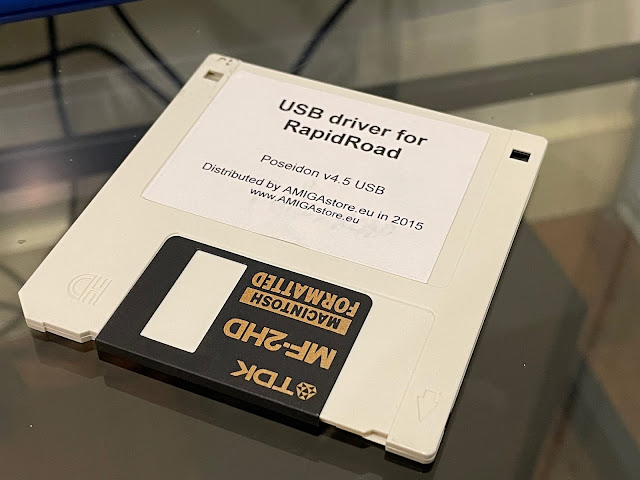
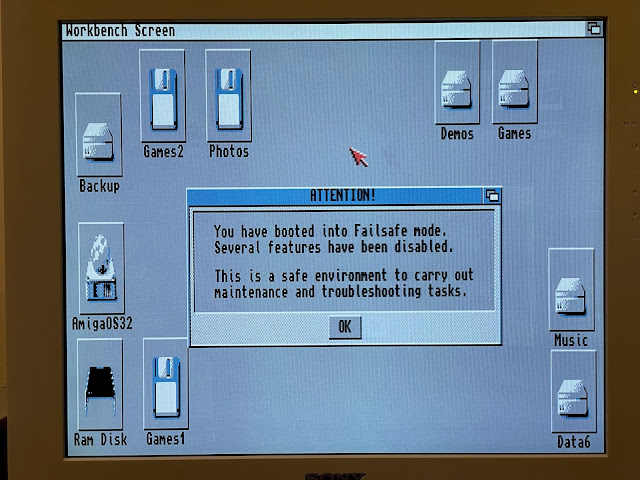
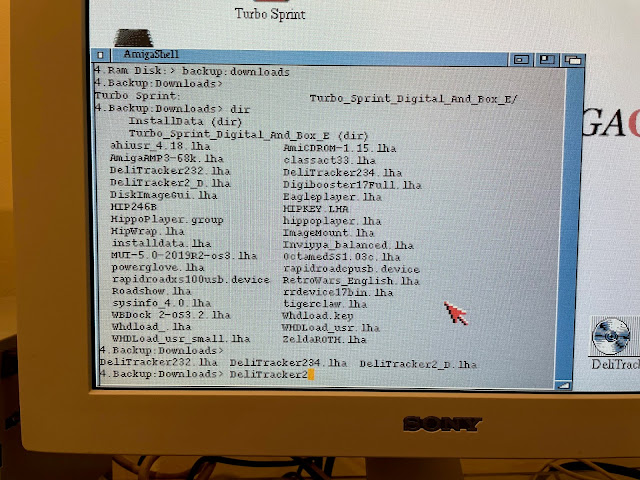
However, on reboot I got an error message saying it couldn't run ENVARC:psdstackloader as it couldn't be found.
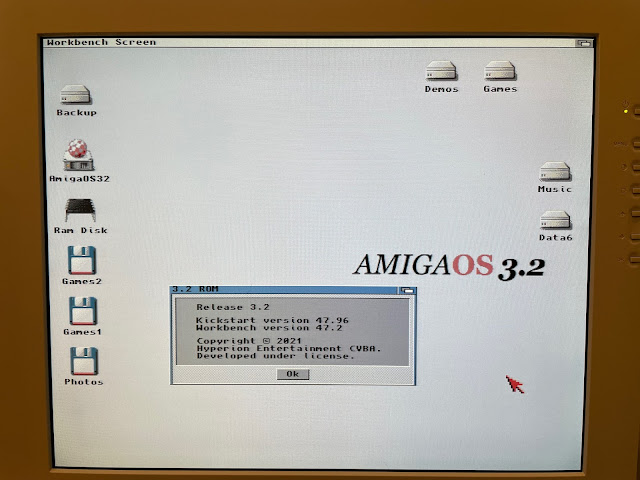
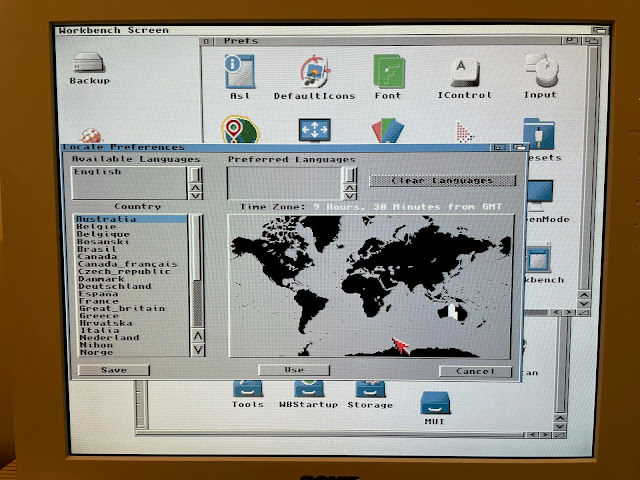
I took the opportunity while in Prefs to adjust the Locale preferences to South Australia, which is where I am:
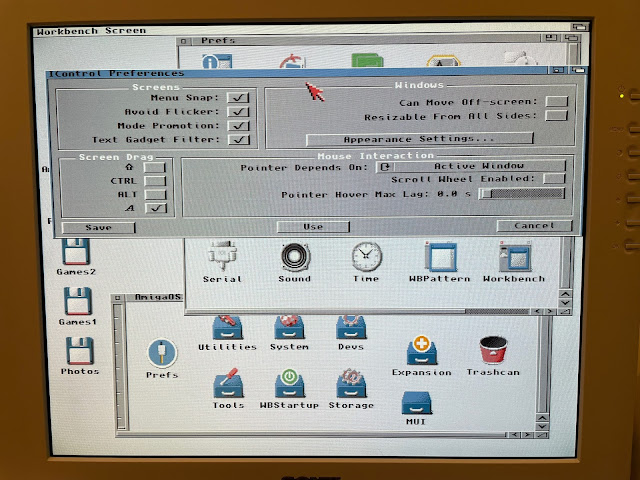
Looking at the Control preferences, you can see there is new options to allow you to move Workbench windows partially off screen, and to allow resizing of windows from any side of the window, not just the bottom right corner as has traditionally been the only way in AmigaOS previously. You can also allow for scroll wheels (if you have a suitable mouse) and keyboard shortcuts for screen drag, along with the usual screen prefs from earlier AmigaOS versions.
Workbench prefs gives you the ability to set MagicWB colours for the Workbench to make it compatible with MagicWB icons that were used a lot in the past. You can also turn off support for NewIcons, another icon format popular in the 1990's.
