ROG Ally handheld Gaming PC has arrived
Pleased to say that my Republic Of Gamers (ROG) Ally handheld PC has arrived as my early birthday present to myself! Let's take a closer look at the setup and also upgrades I did straight away!
Operating System
Processor
Display
Memory
Storage
I/O Ports
Control and Input
Audio
Network and Communication
Battery
Power Supply
AURA SYNC
Weight
Dimensions (W x D x H)
Xbox Game Pass
Security
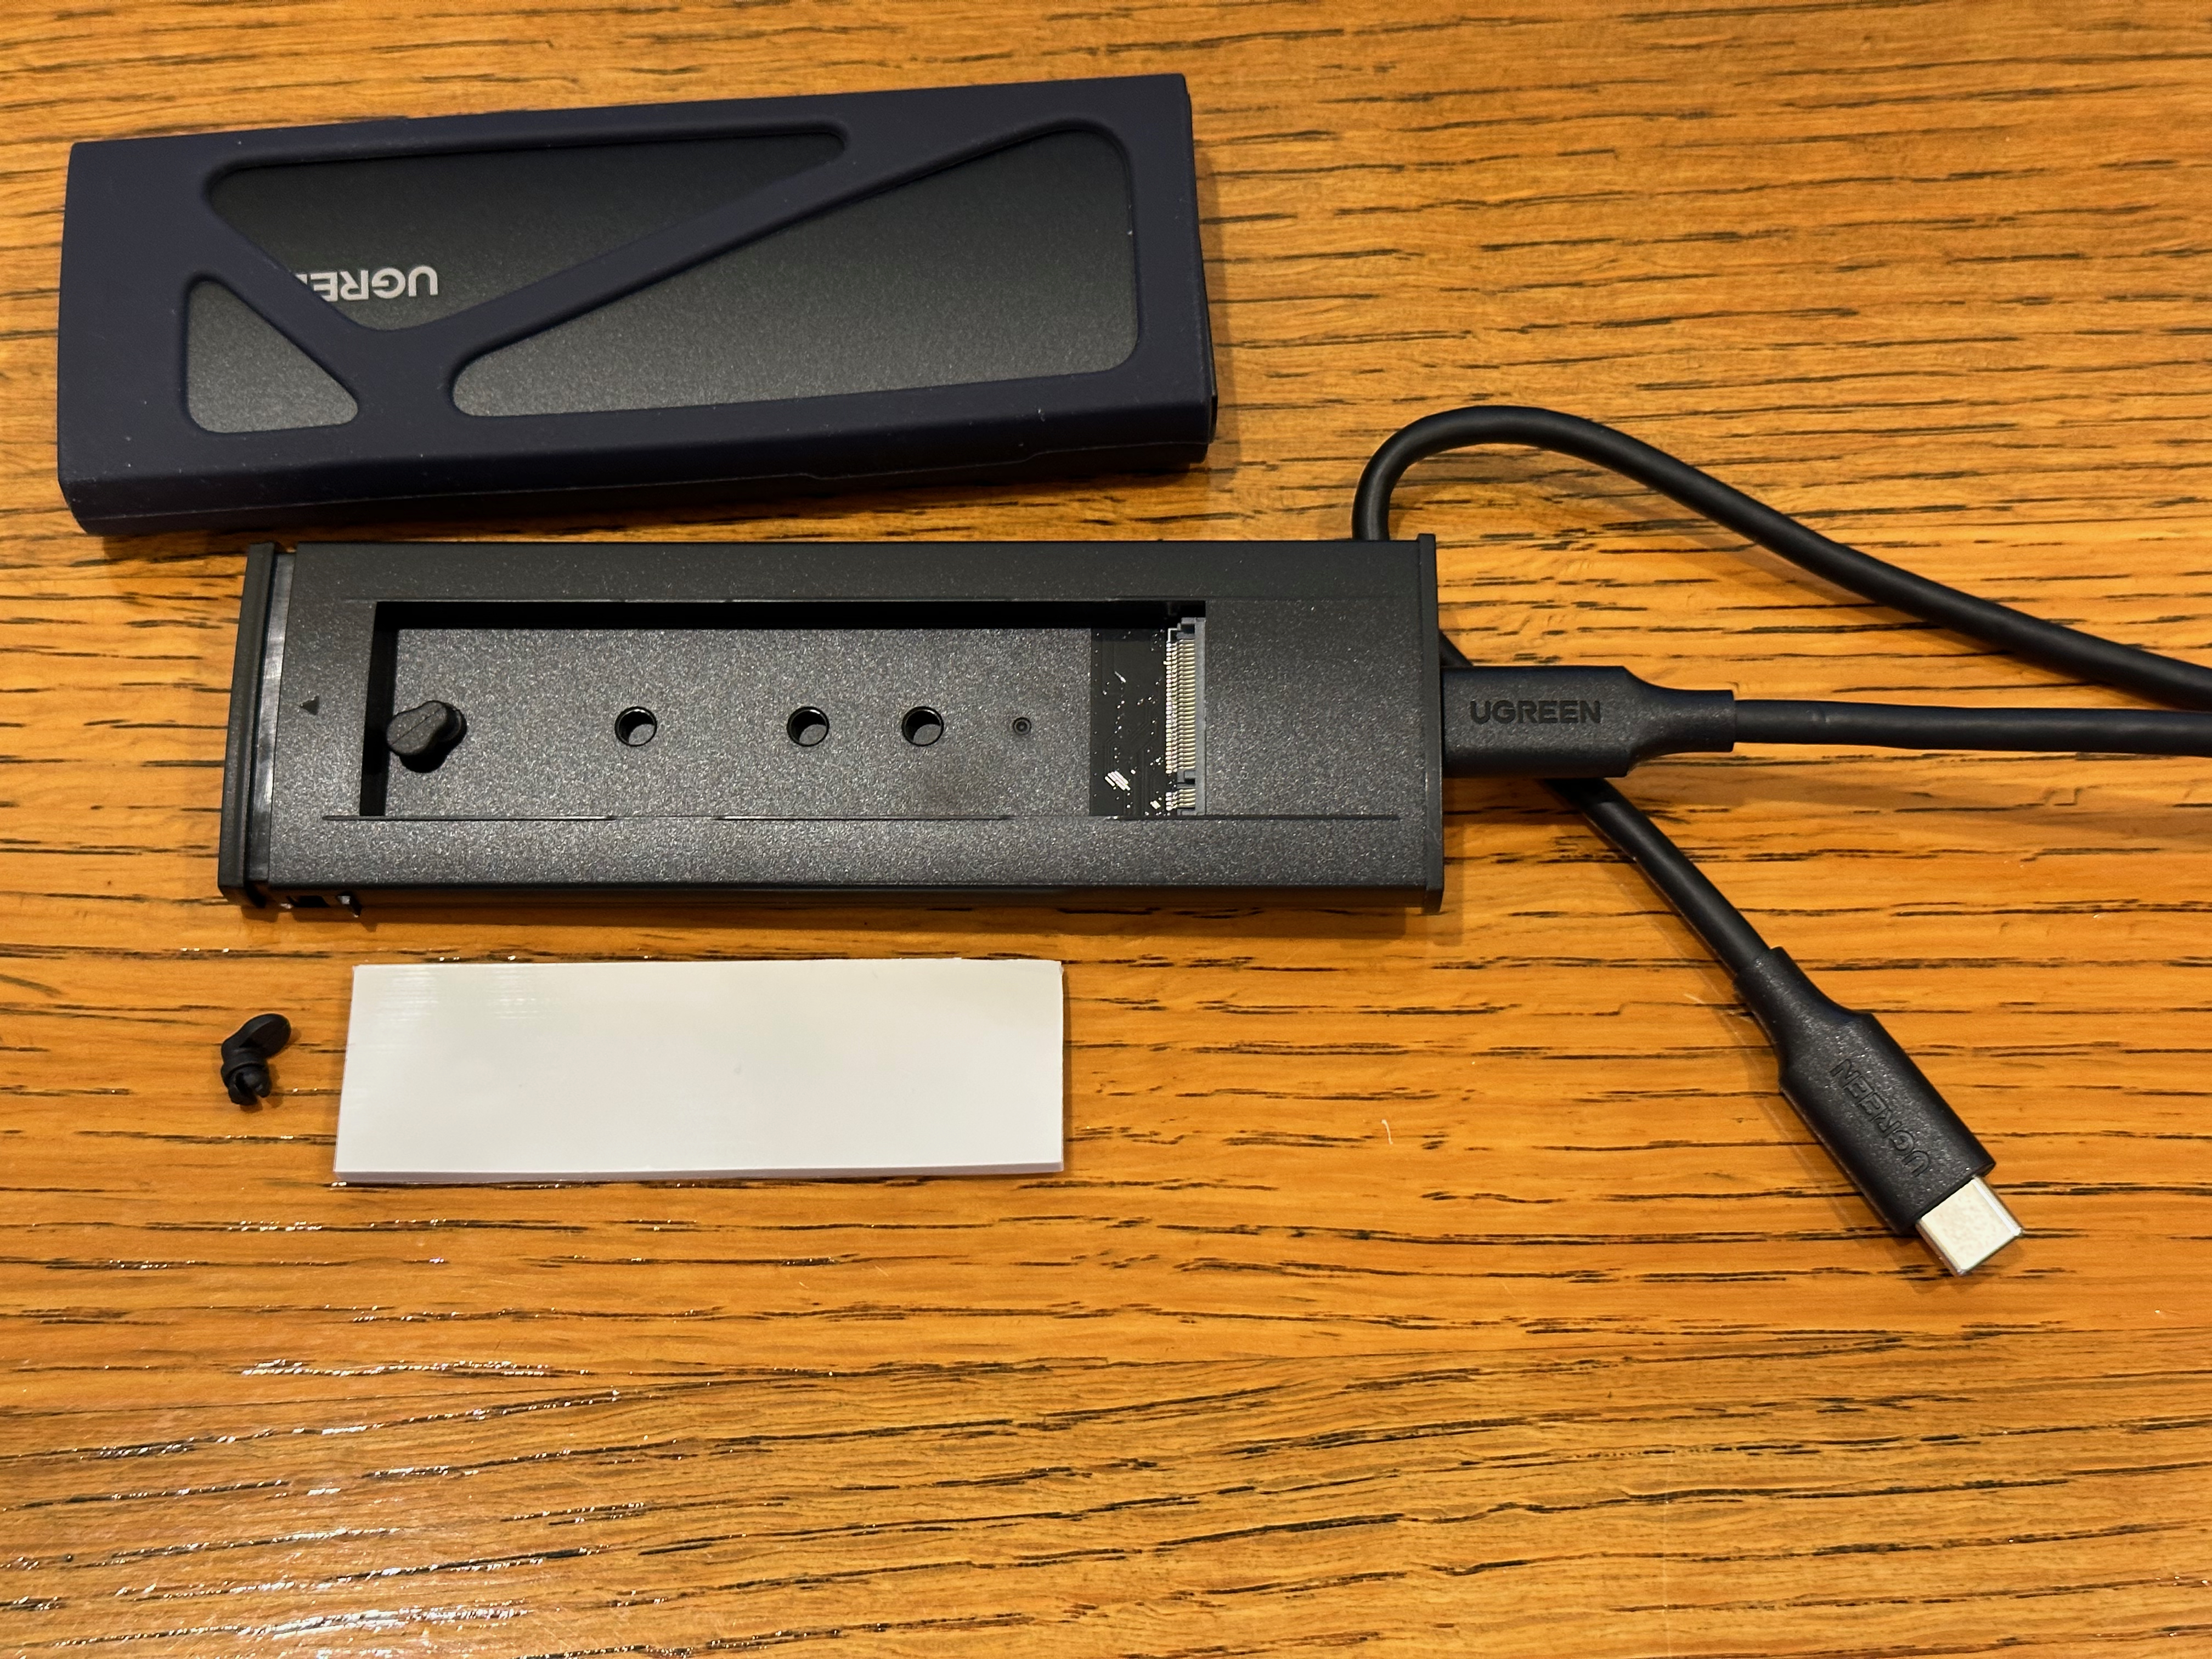
Opening the M.2 NVMe SSD enclosure from Green, you can see it can fit a normal M.2 SSD, and the smaller type used in the Ally. It has different alignment hole to push in the SSD retainer that is also included, rather than needing a screw.

Opening the box there are some quick start instructions above the unit itself:

And some QR codes underneath the top flap for more help. You can see the screen cover also has instructions too:

Here it is, all removed from the box - manual, power supply and cable for charging, and the unit itself.

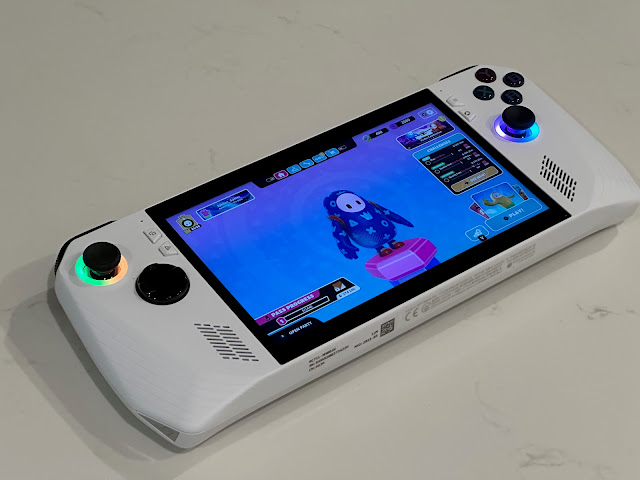
The unit is quite striking in the white colour scheme, I like it better than the black steam deck design to be honest.

Turning the unit around you can see the power button, volume controls, external GPU bridge connector and usb-c power connector, and the MicroSD slot.

On the back of the unit you can see the additional buttons halfway down, located in the right place to reach when holding the unit with two hands, and vent holes on left and right sides.


The dock is simple but does the the job - probably quite useful when travelling and you want a break from holding it, for example are watching movies on a plane/train or listening to music with it.

Unlike many modern devices, the ROG Ally is very easy to disassemble, with six screws to remove at the rear to gain access to the internals.

Once opened, we can see inside the Ally:

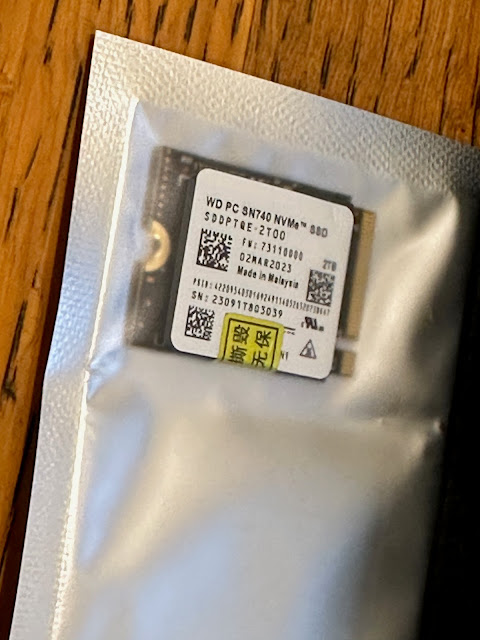
Underneath the black removable cover (sticky on one side) is the 512GB M.2 NVMe SSD:

I need to image this SSD before I power it on, since it contains the not yet activated Windows 11 setup with all the required drivers, customised apps and utilities ASUS prepared to use with the Ally.

I then connect it to the uGreen M.2 SSD to usb converter:

I then connected it to my Alienware PC and use Win32diskimager to image the 512GB SSD to a file on my system. Time for a coffee.


I then connected it to the alienware PC again:


Even though it is a bit dumb since the partition will be overwritten by the image, I need to initialise one partition so I can do it. I use GPT GUID partition type:

I format as one drive. To be honest, it doesn't matter. Just need a drive letter.

Partition created, with F:\ now on my Alienware PC, ready to image to it.

Using Win32disk imager again, I write out the 512GB image from the old SSD to the new 2TB one.

Definitely time for a coffee.

I remove and reinsert the usb to SSD converter to force Windows to redetect the newly written drive - as you can see, it is now called OS, and reflects the original 512GB disk setup:
%20Properties.png)
If I view the 2TB disk in Disk management, you can see the details of the drive as below:

The drive itself is segmented into the usual OS, Windows recovery partition and the remaining space, currently unallocated.

My original plan was just to extend the OS partition to use the remaining space on the drive. There is a change size function in disk management to do just that.

However, it doesn't work - it fails to show the remaining unallocated space as available space for some reason:

In the end after some more mucking around and failures to extend, I decided it was better to have two partitions after all. The OS partition for Windows and the other online game store apps, and the new one for Steam games specifically. I created the new 1.465TB partition:

Now I have the two partitions on the 2TB SSD, ready to go. The OS one contains all the files from the original 512GB SSD for the Ally, so we are good to go.


I then put the black cover back in place, and put the unit back together:

Ok, all done. Ready for first power on.

I walked through the usual Windows 11 first time setup wizard:

I connected the Ally to local WiFi to download updates and proceeded with the installation:

Time to name the computer...

I connected the usual online Microsoft services at this point, which I don't show for privacy reasons.

Almost there:

Installation complete - we now have a working Windows 11 setup on the Ally using my larger 2TB SSD. Very nice.
Being a touch screen, there is an onscreen keyboard for when you need it. If you connect the Ally to a USB-c dock you can also connect a real keyboard, mouse, external hdmi and other devices too.

But I bought this for portable gaming - I have the Alienware PC for when I am at home.

There is a button on the right side of the screen to bring up Armoury crate at any time.

Initially I went to the Game Platform section to download and connect Steam, Epic, GOG, EA, Ubisoft, Xbox and several other online store fronts for buying and launching games. I was surprised Battle.net is not included here - not sure why. I hope they add it in the future.

The software built in help explains the functions of the unit and how to personalise it, which is very helpful for getting up to speed.


One game is included, but naturally I want my Steam game library linked, which has the most number of games I have purchased. The games then appear in Armoury crate library to launch.

Running the setups for Team and other app store applications is a bit fiddly, since the joypad acts as a mouse, and you need the online keyboard for installations.

I got Steam installed though, and quickly got it up and running on the Ally - interestingly it launches in "steam deck" mode on the Ally, which means the joypad works well here:

That said, I ran quickly into a problem using the stripped back Steam deck mode.

So, I switched the Steam app back to normal Windows client mode, so it runs like it normally does as a full windows app. I could then get the option I needed to add another storage location in Steam:

I add the D:\ drive as a new Steam library folder:

I then change the settings so that the D:\ steam library location is the default location.

I can then change Steam back to "Big Picture mode" to navigate and use with the joypads, which is much easier.

Then important work of installing my favourite games now begins.

Having my Alienware PC running with Steam open makes this install process much less painful, since Steam is smart enough to recognise when another Steam client is running on the same network.

I have to say that it took much less time than I expected because of that!

I then tried out some games launched from Steam - they look fabulous and run great on the Ally - the screen is great and the games run flawlessly:


I hit a problem quickly though - the joypad controls didn't work as expected. I tried another game with the same result:


To solve this on the Ally, the games have to be launched from Armoury crate, not from Steam or other app stores directly.

This is important information, and I think ASUS should have made the requirement to do this clear from the beginning!


Forza Horizon 5 also works perfectly. I am really impressed with the speed of the games running on the Ally.


It also looks amazing to play such beautiful games on the go...


There is a patch for the BIOS to resolve some bugs which I applied:

I read that some people stated it impacted the speed of the games after doing this patch, as it does some optimisations for the battery to maximise its life. That maybe true, but I didn't really notice it using the default settings of the Ally.
I know you can tweak the speed of the Ally to maximise battery life at the expense of the detail in the games. I didn't want to do that, so left it as it was delivered.

What is a problem that I expected, is that the battery life is just under 2 hours. If you have an Alienware laptop you would probably get something similar on the go.

I hope that ASUS release a rear mounting solution for connecting a usb-c power bank for easier on the go playing.

I got to work installing MAME for Arcade games, Amiga emulators and Vice for C64 emulators too!

There are many more plugins available as shown:


Megadrive, PlayStation and others too:


Here is the C64 running on the Ally.

I also added the Weather plugin to Kodi, just because.

In summary I am really glad to have the ASUS ROG Ally for portable gaming in 2023. Being able to play all my favourite Windows games on the go, that normally need high end heavy laptops or gaming at home is wonderful!