AmigaOne A1222 Plus Goes Wireless
It's been a while since I've updates this blog but hopefully the wait was worth it. (Open pictures in new page for larger view)
Introduction
If you have read the earlier posts in this blog, you'll be aware that the goal with my AmigaOne A1222p is to create a one power cord plugin portable system. The last piece to accomplishing this goal was to eliminate the need for a LAN cable to connect to the internet. To accomplish this I have tried two different Wireless to LAN adapters, both of which accomplish the goal with some pros and cons for each device. The main criteria for the devices is that they had to be fairly small and be powered from a USB port. I'll introduce you to the devices, show you how to set them up, and comment on their performance. Let's get started.
Wireless to LAN converters tested
I tried the two different 2.4GHz wireless to LAN converters.
(NOTE: These devices will only work at 2.4GHz.)
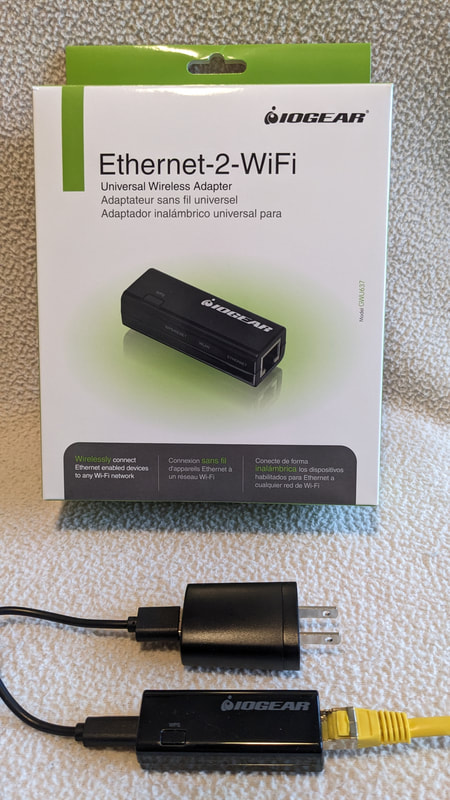 IOGEAR GWU637
|
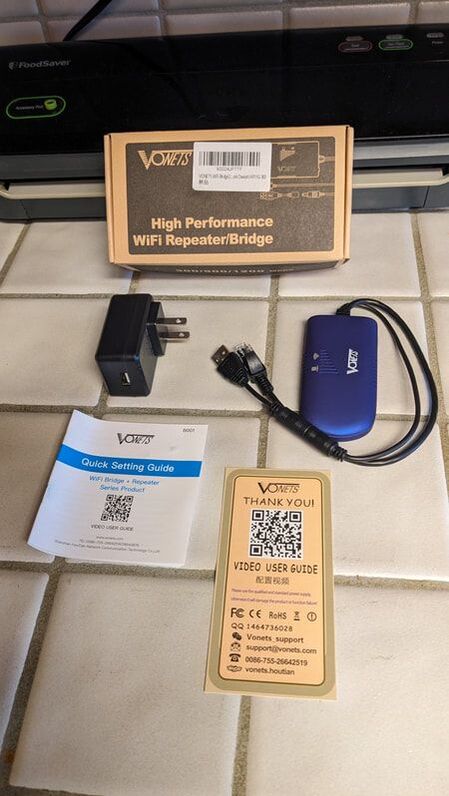 VONETS VAP11G-300
|
Specifications, Functions and Features
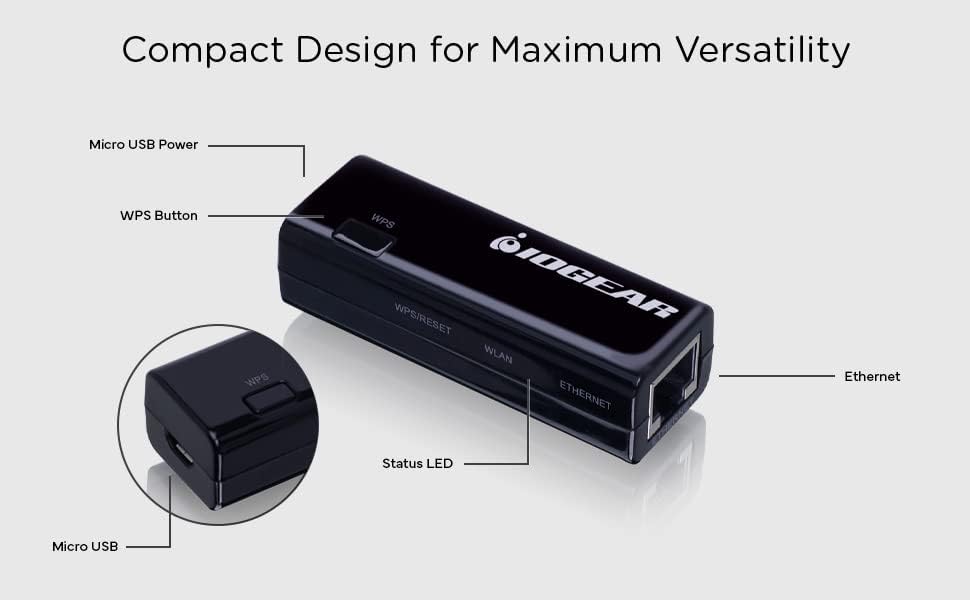
Wireless bandwidth: 2.4GHz, 300Mbps (theoretical value).
Operating Range: Up to 100m Indoor, Up to 180m Outdoor (ideal)
WiFi Protocol: 802.11B/G/N, 802.3, 802.3u
Encryption Types: 64-bit or 128-bit WEP / TKIP / AES / WPA / WPA2
Connections/Ports: Micro USB port for power, RJ45 port for WAN/LAN
WiFi Connection: Supports Wi-Fi Protected Setup (WPS)
Hardware Features:
Voltage DC5V 500mA
LED Status instruction
Ethernet port state
WPS Button
Package Contains:
Ethernet-2-WiFi Universal Wireless Adapter
110V to USB Power Adapter
USB A to USB Micro Cable
Ethernet Cable (3ft)
Quick Start Guide
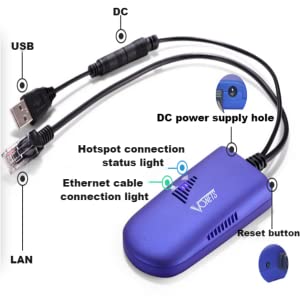
Wireless bandwidth : 2.4GHz 300Mbps (theoretical value).
Operating Range: Up to 80m small data, 50m video transmission.
WiFi protocol: 802.11B/G/N;
Encryption: WEP , WPA, WPA-PSK, WPA2, WPA2-PSK
Connections/Ports: 1 DC2 Power cable with optional USB A adapter
1 cable with RJ45 connector.
WiFi hotspot: Memory up to 100 hotspots.
Hardware Features:
Support wide voltage DC5V-15V (5V/2A, 12V/1A)
LED Status Indicators
WiFi state/Hotspot connection state (blue light)
Ethernet port state (light green for success)
Reset Button - Long press 5 seconds then release
Package:
VAP11G-300 Ethernet to WiFi adapter
US 110V to 5V/2A USB power supply
DC Power to USB plug adapter cable
(Ethernet and power cables permanently attached.)
LED Status Indicators
Quick Start Guide with QR Code for full Users Guide
Connecting and Setting Up
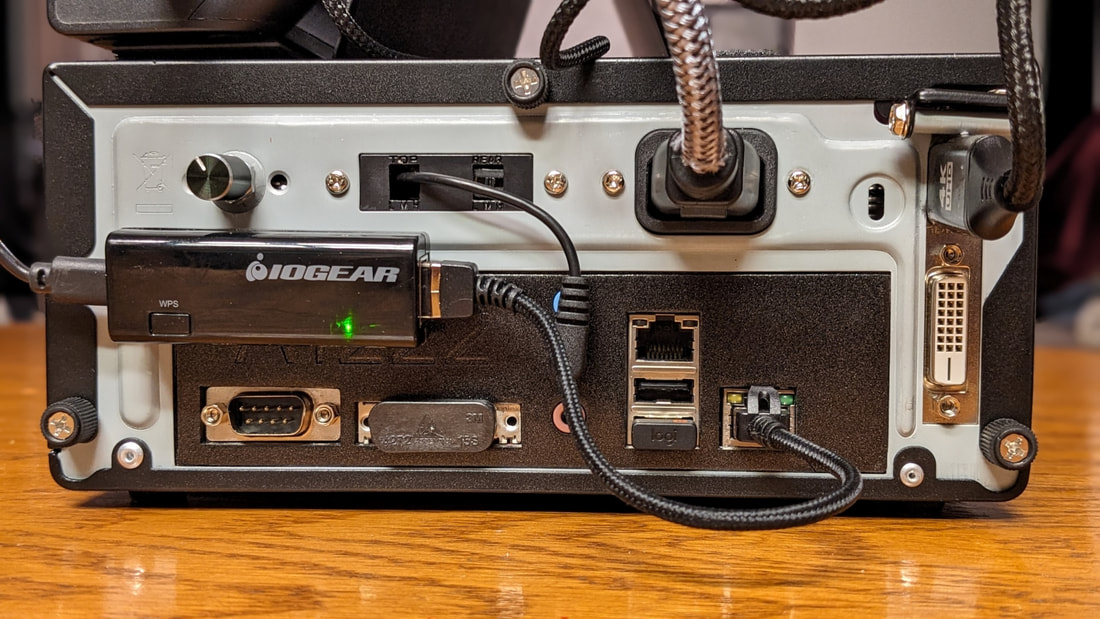
1. Connect the power by plugging micro USB end of the supplied USB cable to the micro USB connection on the end of the device. The other end can be connected ot the USB port, or to the 110V power adapter.
2. Connect one end of the ethernet calbe into the ethernet port found on the opposite end of the device. Connect the other end of the ethernet cable to the ethernet port on the A1222p.
Connecting to the WiFi:
The IOGEAR has two methods for connection. It has a WPS button for a, theoretical, quick and easy connect or it can be setup through an internal webpage using a browser.
Connecting via WPS:
1. Make the physical connections to the IOGEAR as outlined above.
2. Make sure the A1222p is powered off.
3. Press the WPS button on your internet wireless modem.
4. While it's WPS button on the IOGEAR device.
5.Once the connection LED's light up, power on the A1222p.
(NOTE: In practice I found that I could connect this way with one wireless modem but not a different wireless modem.Your mileage may very. If it won't connect use the internal webpage.)
Connecting via the internal webpage:
1. Make the physical connections to the IOGEAR as outlined above.
2. Power on the A1222p.
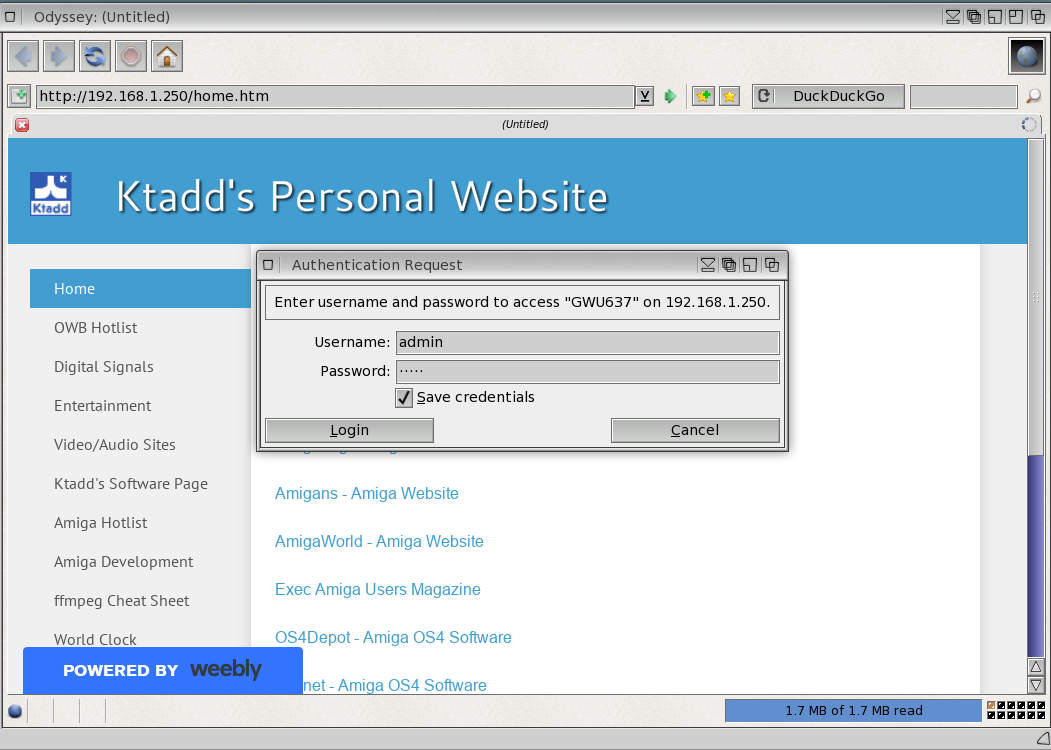
3. Using Odyssey web browser, enter 192.168.1.254 in the address bar.
(Note: pictures show 192.168.1.250 because I changed default.)
4. Enter default User Name: admin & default Password: admin
5. Click on "Login" button.
(Note: if you get an error, try reloading the page and it should load.)
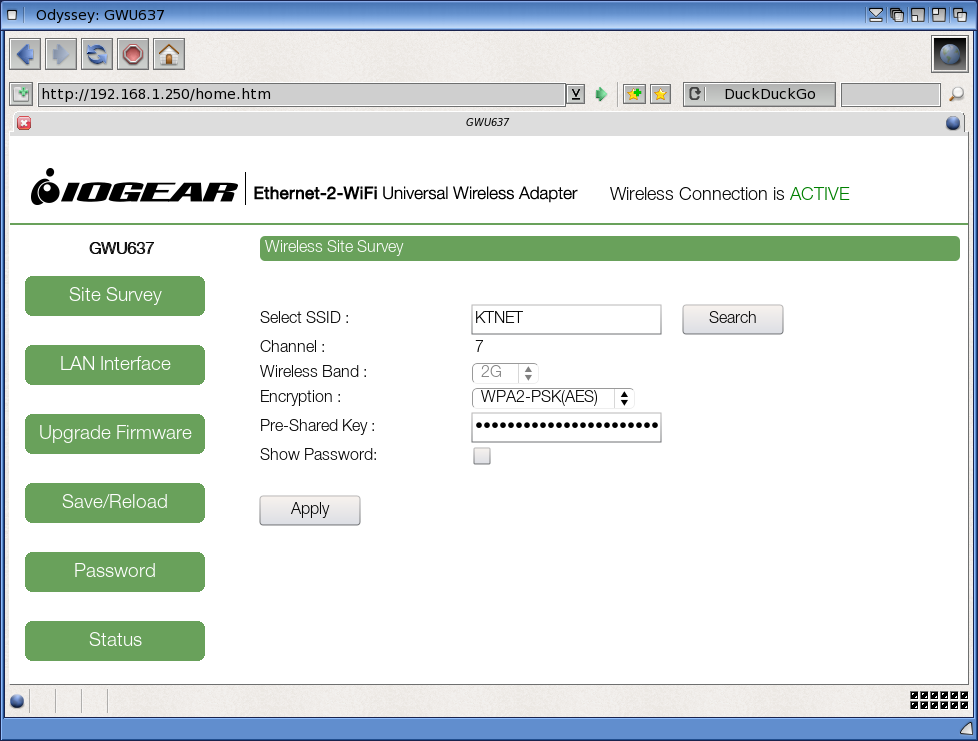
1. Enter the SSID of our wireless modem.
2. Enter the Encryption type to use.
3. Enter the password for you wireless modem.
4 Click the "Apply" button. The setting will be saved and you can click the "Finish" button on the resulting webpage.
5. The adapter will reboot for about 90 seconds and the Wireless Connection indicator should change to active.
6. At this point you can click on the green buttons for other settings pages and make any desired changes. They all should work.
7. Verify your wireless connection is working by viewing an external website in Odyssey.
Connecting via the internal webpage:
1. Make the physical connections to the Vonets as outlined above.
2. Power on the A1222p.
3. Using Odyssey browser, enter 192.168.256.256 into the address bar.
4. Login using the default User Name: admin & default password: admin.
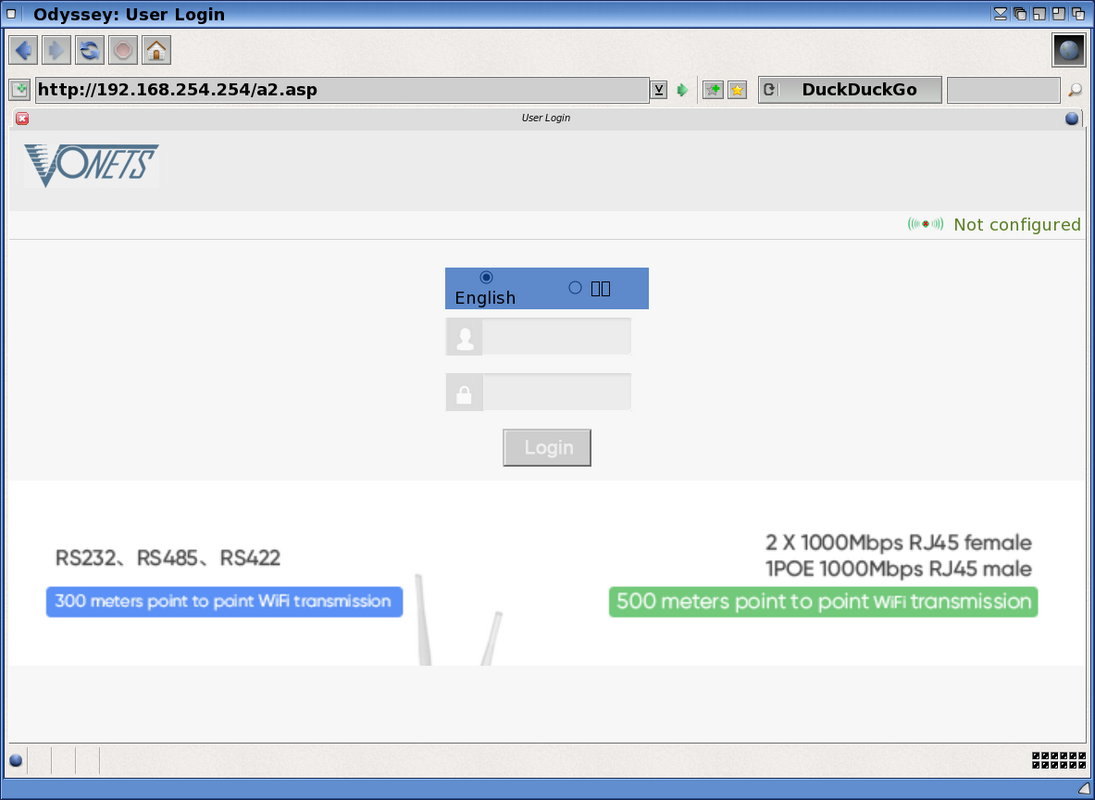
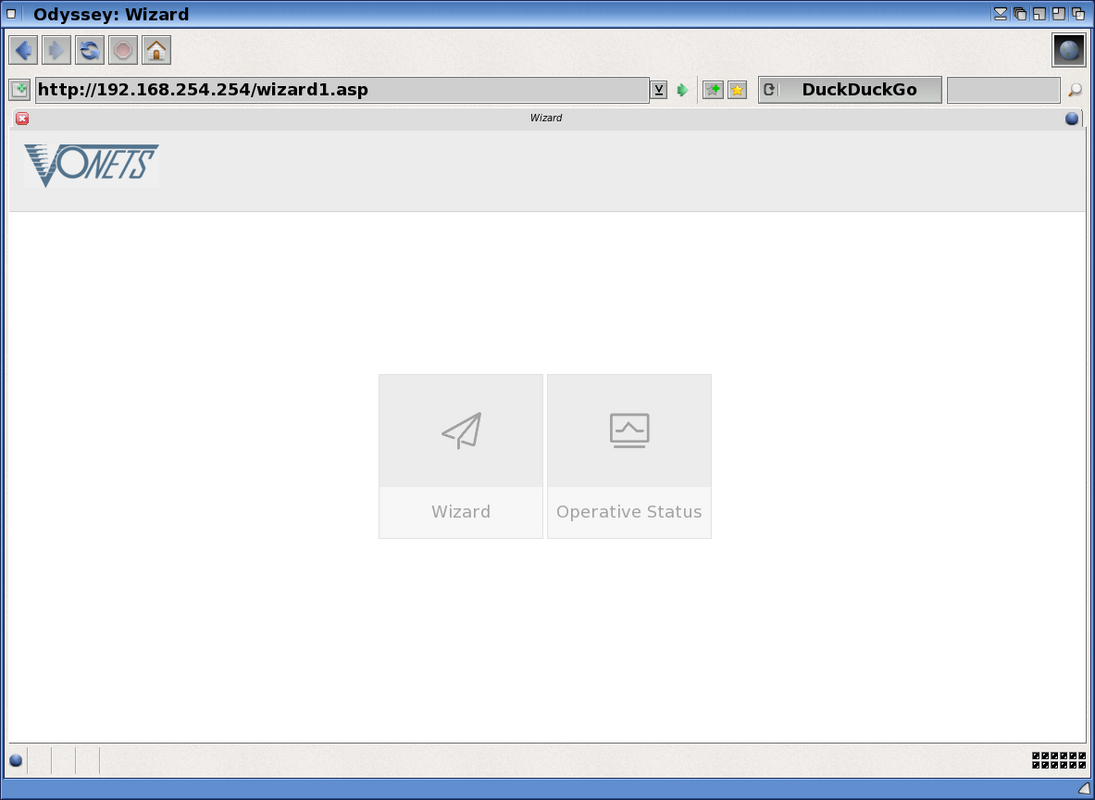

8. Enable the security parameters, In my case, I disabled the DHCP server because I have my IP address hardwired. The settings shown in the picture below work. I have hotspots disabled since I am only using the WiFi to LAN features.
9. After choosing your settings. Click "Apply".

11. Verify your wireless connection is working by viewing an external website in Odyssey.
Performance and Summary
Having gotten both devices connected and using them for many months I can say they both seemed to serve their purpose. I did find that the IOGEAR would sometimes lose connection when the computer was turned off for a period of time. This rarely if ever happened with the Vonets device. Other than that, both devices worked well and I had no issues downloading, viewing webpages, streaming videos or making connections from one computer to another. In terms of performance I couldn't really put them through their paces because I only have a 100M connection. Hey it's only $30 US a month and does everything I need it to do. I can say that I haven't had any dropped connections during use with either device and the speed between devices seems the same.
Pros and Cons:
So, what are the pros and cons of each device and which one am I using in my setup.
Pros of the IOGEAR:
WPS feature makes connecting very easy when it works with the modem.
The cables not permanently attached, so different lengths can be used.
The device is smaller which can be useful if attaching to the computer. As seen in the above picture, The IOGEAR attaches to the back of the A1222p without covering the serial port or internal monitor connector.
Performance once connected seems good.
Cons of the IOGEAR:
Can drop connection if unplugged for a period of time, requiring reconnection at times.
Seems to run hotter than the Vonets. Possible long term reliability issues.
Does not scan for hot spots. Must manually enter SSID for different connections.
Is more expensive than the Vonets. ($47US)
Pros of the Vonets:
Maintains connection information, even after being powered off for a long period of time.
Can be powered by a DC supply from 5V to 15Volts or USB port..
Scans for hot spots and allow choosing from a menu in the config page.
Can also be used as a WiFi extender/bridge if desired.
Performance while connected seems good.
Less expensive than the IOGEAR ($27US)
Cons of the Vonets:
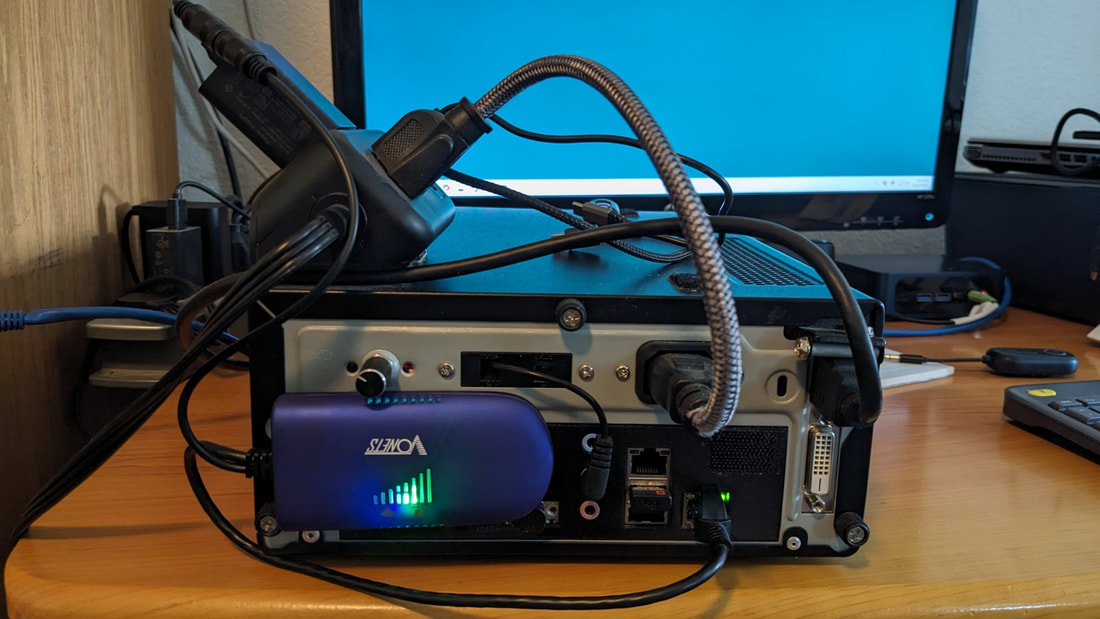
Cables are permanently attached to the device, so could be to short for some applications. May require extender cables. They are just right for mounting on the A1222p in my setup.
Device is a bit larger than the IOGEAR and covers the serial connector and internal graphics display connector when mounted. See picture above.
Conclusion
I chose the Vonets because I rarely, if ever, have to reconnect to the WiFi after the computer has been turned off. I can just power on and it automatically connects assuming I'm using the same WiFi hotspot. It also automatically scans for hotspots and allows selecting from a list when changing locations and connecting to different WiFi hotspots. This helps to offset the WPS feature of the IOGEAR.
I'm very happy with this setup and this was the final step in allowing my A1222 Plus to be a truly portable system requiring only a single power cord to be plugged in when moving locations.
If you enjoyed this blog, please leave a comment below to provide motivation for future blog entries. Would you like to know how I use an external blue tooth speaker with my A1222p?