Rys MkII USB, 500GB SATA HD and AmiKit Real 8.5 on Amiga 4000T
This past weekend I set myself the goal to get a SATA hard disk working on my Amiga 4000T, so I could transfer the data from my almost full 127Gb IDE hard disk. I also finished the AmiKitReal 8.5 build and installed a new Rys MkII USB adapter for using standard USB mice on the Amiga 4000T.
The hard disk part in particular turned out to be quite a challenge and thought I would share what I did to try to get it working.
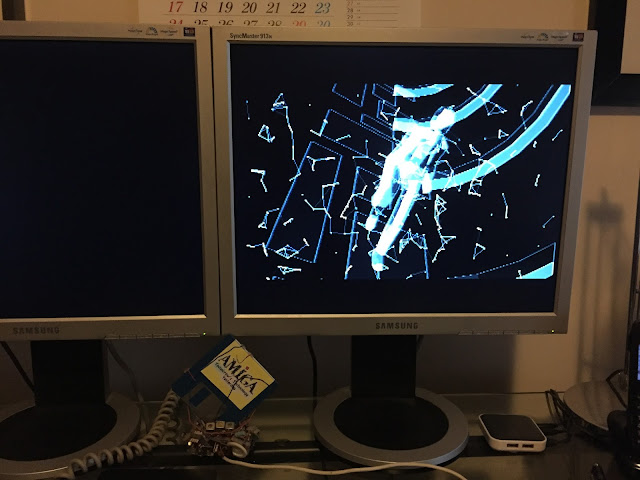
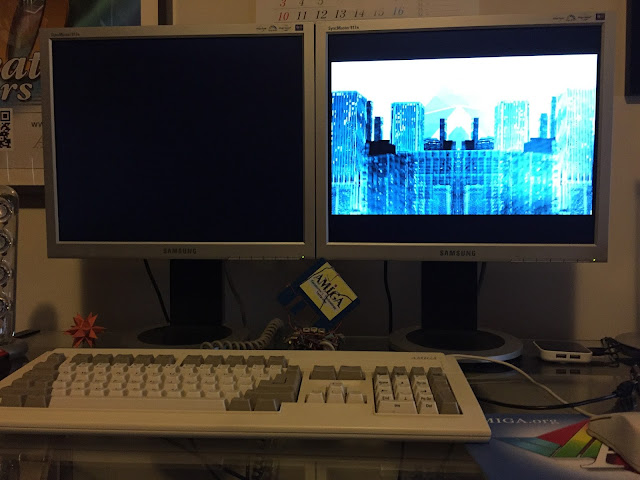
Before that though I enjoyed some of the fantastic Amiga AGA demos released at the Easter Revision 2016 demo party.
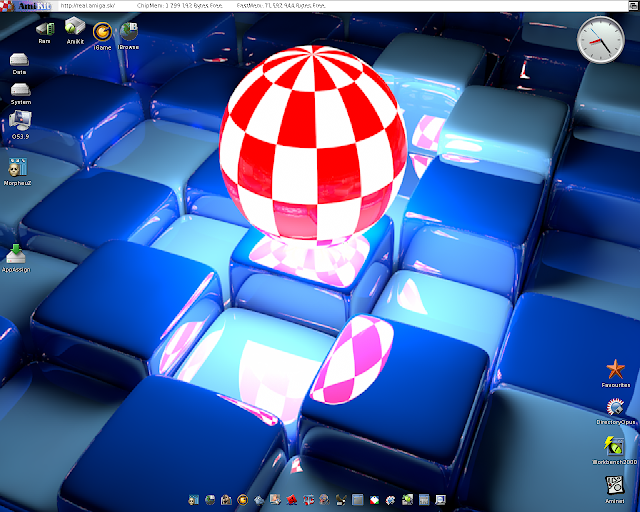
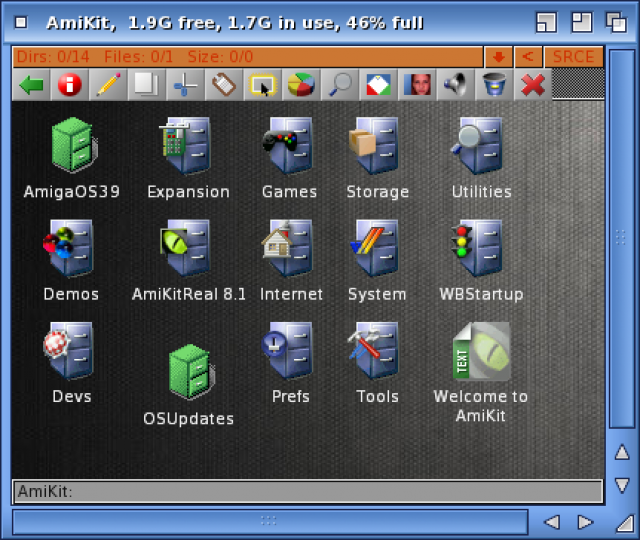
Having finished demo watching, I finalised my AmiKit Real 8.5 setup on the Amiga 4000T after getting it working nicely from the SD Card (covered in Part 1 and Part 2 in this blog)
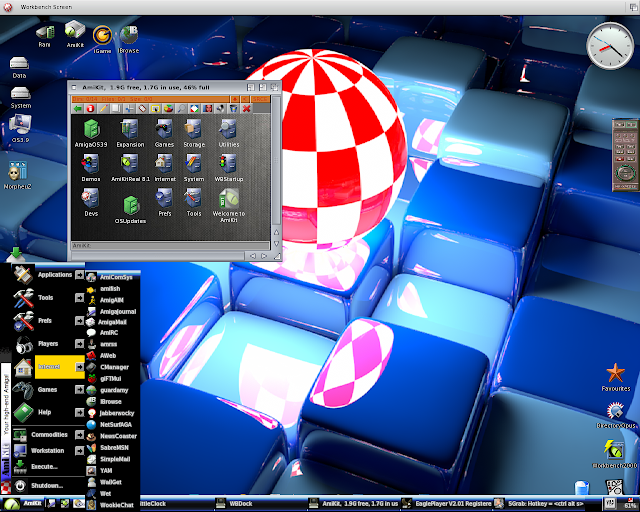
I tried out the Workbench 2000 AmiKitReal customised start menu/taskbar functionality and the AmigaOS4 theme too (click to expand any images in this post):
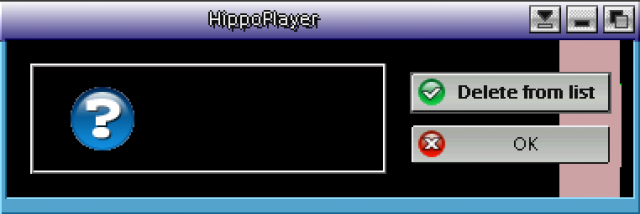
I was however still having issues with the requesters like below:
Makes it kinda hard to tell what the error or message is!
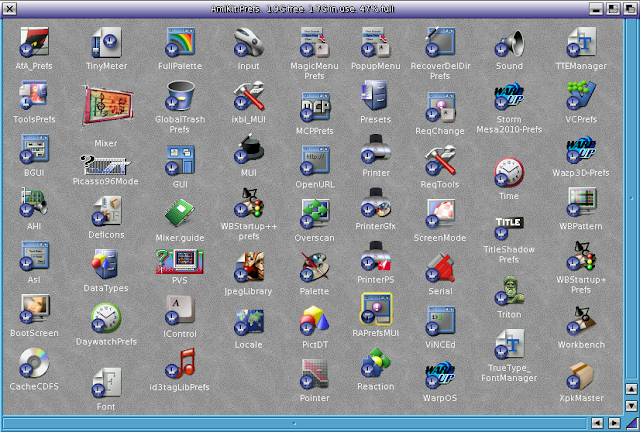
In AmiKitReal 8.5 the requester are patched by a program called ReqAttack. The preferences for this program (called RAPrefsMUI) are in the Prefs drawer, and from there we can fix this display problem.
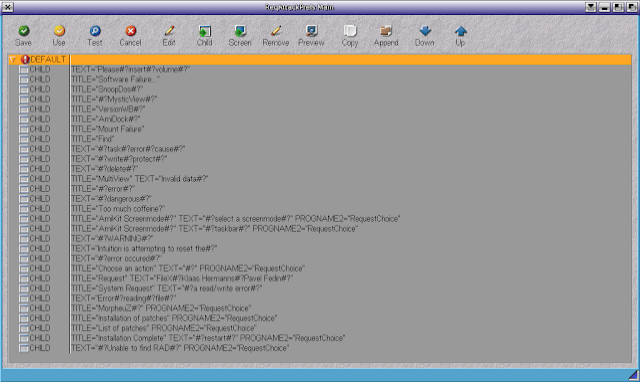
Once the RAPrefsMUI is open, you get a view like below:
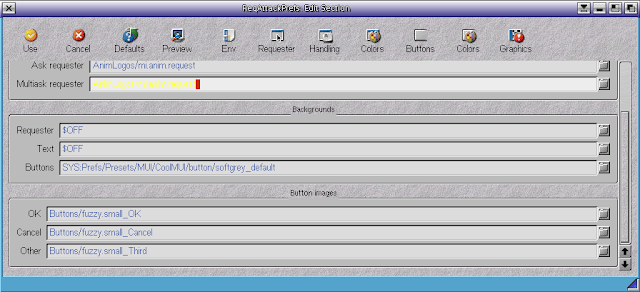
For the DEFAULT and each CHILD requester defined, I needed to click on each of them in turn and click Edit individually and change two fields in the Graphics tab - Requester and Text to $OFF as shown below:
I use the Preview to show the requester is now displaying correctly:
Once all done and Saved, all the requesters now display correctly!
I want to thank the author of AmiKitReal 8.5 for kindly responding to my questions on the EAB forums and via PM to get some of this stuff sorted out.
I also needed to adjust the AUX in volume in the Mixer prefs as it was too loud and distorting. As a reminder my Amiga 4000T Paula audio out ports are connected via cable to the internal AUX in port on the SoundBlaster 128 PCI card so I can have one audio out source with all the audio mixed together.
I use AHI support for SoundBlaster 128 output where Amiga applications support AHI for better quality sound output.
With that fixed, next I installed Cubic IDE so I could use my favourite full IDE to edit files with syntax highlighting and compilation options built in. I also installed the latest Hollywood 6 plugin for Cubic IDE, as shown below.
I then installed DiskImage and DiskImageGUI so I could mount add, dos and iso CD images on AmiKitReal.
MorpheuZ is the tool that allows you to easily change AmiKitReal parameters and from here you can also install the newer DOpus 5.91 and MUI4 rather than the default MUI 3.8 and DOpus 5.82.
Here is Genesis TCP/IP up and running on AmiKitReal 8.5, which I configured earlier using the Genesis wizard to use the PCI Realtek 8029 Ethernet card with the FastEthernet.device driver from the Elbox PCI bridge board software I installed earlier on:
With the internet now running, I checked AmiKit Live Update:
There are no more updates to install so my installation of AmiKitReal 8.5 is done! Success :-)
Having achieved this, I was ready for the next step - getting a SATA hard disk working on my Amiga 4000T.
To do this I needed to buy a SATA to IDE converter, which is a Startech one - I bought it from a vendor in Australia and soon it arrived for me to try out:
Close up of the converter, showing the SATA connector side:
On the other side of course is the IDE connector, Jumpers to set Master/Slave/Cable Select and power needed to power the drive with a passthrough molex connector to make it easy to connect:
Closer view of the IDE selector jumpers:
I connected it initially to a 1TB SATA hard disk, a considerable step up from my 127GB IDE hard disk, which should give me plenty of space to work with on the Amiga 4000T for the foreseeable future:
Here it is connected to the Amiga 4000T:
The Amiga 4000T as I have it setup has a Buddha Zorro card with two IDE ports on it, and the Amiga 4000T onboard IDE and SCSI ports.
The original configuration of the machine before I started working on the SATA hard disk installation was that the SD Card to IDE converter ran in one of the two Buddha IDE ports, the 127GB IDE drive from the second Buddha IDE port, and the CDROM from the onboard Amiga 4000T IDE port.
Initially I unplugged the Amiga 4000T IDE port and connected the SATA drive in it's place.
I quickly hit trouble with the 1TB hard disk - I hadn't used it before, and when I powered on it was overheating and clicking badly. Clearly a defective disk - which was a shame.
I changed it for a 500GB SATA hard disk I had laying around, which had no such problems:
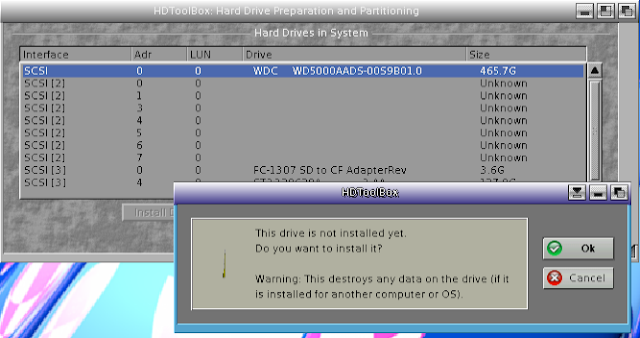
After booting into AmiKitReal from the SD Card as usual, I then ran HDToolbox to prepare the new hard disk. Happily it was detected straight away, with the correct hard disk size reported:
The SATA to IDE converter works in the Amiga 4000T :-)
After saying I wanted to install the drive, I reviewed the Drive geometry settings read from the drive, which looked ok.
It warns me that this install of the RDB to the sata drive will wipe out everything on the disk:
I then clicked on Partition Drive to set it up how I wanted it. Initially the HDToolbox has automatically created a number of 8GB partitions which I need to get rid of first:
Having done that, I set to work.
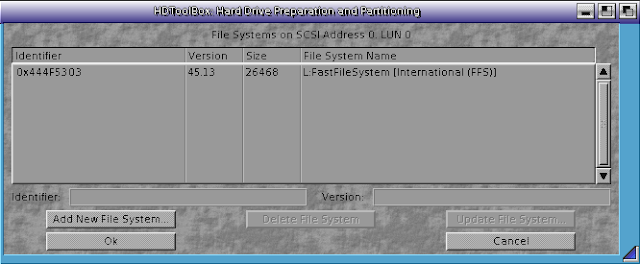
I create a single 4GB FastFileSystem Partition. For the larger partitions though I need to use SmartFileSystem, and accordingly I need to Add the filesystem to the hard disk through HDToolbox Add/Update option in the window shown above. I then see what filesystems are currently supported on the new hard disk - initially only FastFileSystem:
I click on Add New File System and selected L:SmartFileSystem from the AmikitReal system drive. If you don't have AmiKitReal installed you can download SmartFileSystem from the SFS archive on Aminet here.
Now we have both SmartFileSystem (SFS0) and FastFileSystem supported on the new SATA hard disk:
I then click OK and go back to Editing Partitions on the new disk to add two more FastFileSystem partitions (all three FastFileSystem partitions are bootable).
Next is defining the larger SmartFileSystem partitions - done by selecting Custom File System and entering the Identifier field value as 0x43465300 as below:
Make sure you change the File system block size field from 1024 above to 512, as below:
Also make sure the MaxTransfer field is set to 0x0001FE00. Then click OK.
You can see my hard disk is now taking shape:
I then continue adding SmartFileSystem partitions, ensuring they are a maximum of 127GB to ensure no addressing issues.
The last hard disk partition is a bit smaller, also SmartFileSystem though:
So my SATA hard disk has WDH0, DH1, DH2 (all FFS), and then also DH3, DH4, DH5, DH6 partitions (all SmartFileSystem).
After saving this, it asks me to confirm the changes:
It then prompts for a reboot:
On reboot in the early start menu I can now see all the new hard disk partitions I created, plus the SD Card (DH0) and 127GB hard disk partitions too (HD0, HD1, HD2).
The disks then appeared correctly on the Workbench. That done, I then started the very long task of transferring 120+ GB of data across to the new hard disk...this process took nearly 3 days to complete with the Amiga 4000T running 24 hours a day until the copy was done!
This speaks volumes for the quality and stability of the AmiKitReal 8.5 installation, which stayed up and working well throughout.
With the copy completed I rebooted the Amiga and umm, hit more problems...the SFS partitions were not visible on the SATA disk, two of the FFS partitions were ok, and one was not...
When I ran HDToolbox to check the SATA disk I was greeted with the user friendly Error 224 reading drive description when selecting it!
How is this possible? It was working perfectly until it was rebooted and nothing changed on the partition map for the disk so I was at a loss. Rebooting it again made no difference either...
In the Mounter it said the hard disk had a bad checksum - oh great...I have to start again?
At this point I had no idea how to fix this, and a bit frustrated at having wasted almost 3 days for no result. I decided to put the 127GB IDE disk back in to get my working system back and leave the SATA hard disk upgrade for another time! It was interesting though!
As a final step I wanted to try out the brand new Rys MkII USB mouse/joystick adapter for Amiga systems which allows me to use a standard PC USB mouse or joystick with the Amiga 4000T.
It is made by Retro 7-Bit in Poland - their website for the Rys MkII is here, containing updated firmware (can be loaded on the device from any Windows PC) and full documentation in English too.
I ordered mine from AmigaStore.eu here and it promptly arrived, ready for me to try out! I believe it is now also available from other vendors too.
Here is a closer look at the device - USB connector side:
Amiga mouse/joystick connector side:
This device needs no software on the Amiga to work, and has a built in USB stack within the device. Very cool. I have seen that people have used wireless USB mice as well! I don't have any of those to test though unfortunately.
The Retro 7-Bit website linked before shows the tested usb devices if you want to make sure your device will work with the Rys MkII.
My concern was that the mouse wouldn't work on Early boot menu (holding down both mouse buttons on boot), but it worked just fine as below with a Microsoft USB mouse!
Here is the Rys MkII plugged into the A4000T mouse port with a standard Competition Pro joystick plugged into the Joystick port.
I am not sure yet how to use the scroll wheel yet but will work on that. The wheel driver I used to use with the Cocolino PS/2 mouse converter in previous years doesn't seem to work right with the Rys Mk II, scrolling everything up and down when in focus and moving the mouse left to right or up and down!
I ran out of time though so I will look at it again another time.
