FlowerPot AmigaOS4
Today I decided to take a look at the recently released Flower Pot (AmigaOS 4 simplified installation for Mac and Windows), from the creators of AmiKit X which I also looked at recently.
The big thing in the past few years of Amiga emulation has been the introduction of Phase 5 PPC accelerator support under WinUAE classic Amiga emulation (and FS-UAE under Mac/Linux). This has made it possible to run AmigaOS 4.1 Final Edition Classic under Windows, Mac and Linux.
However, setting this up is not so easy to do yourself. I have covered in this blog many times in the past about the installation of AmigaOS 4.1 Classic under Amiga Forever, WinUAE and FS-UAE, but it is still not the easiest thing to get up and running.
Flower Pot has been specifically created to make the process of setting up AmigaOS 4.1 Final Edition Classic under emulation much simpler, to get people up and running quicker!
The payoff for this is that finally we can run AmigaOS 4.1 Final Edition on a laptop and take it wherever we want, instead of being tied to PowerPC desktop/tower systems that are not portable.
With the new Update 1 for AmigaOS 4.1 Final Edition, the memory restrictions of the real Amiga have been lifted, opening up a much more usable amount of memory for running programs under emulation, making the emulated system much more usable.
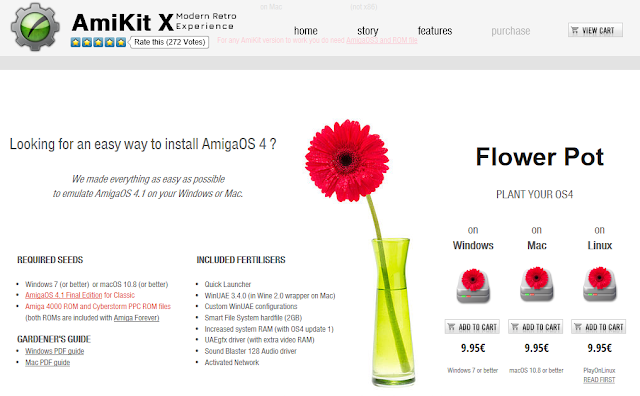
You can purchase Flower Pot by itself for EUR9.95 for your preferred target platform - Mac, Windows or Linux.
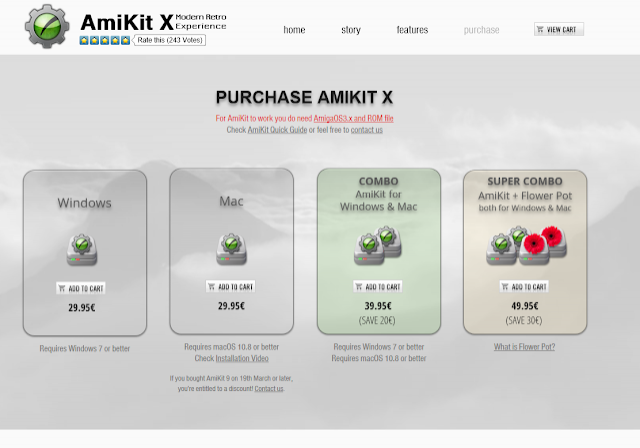
You also can purchase it from AmiKit's website as a combo with AmiKit X as below:
You will need to purchase the Amiga kickstart roms, available with Amiga Forever 2016 from Cloanto or obtained from your real Amiga.
Note that you also need to purchase AmigaOS 4.1 Final Edition Classic from Hyperion Entertainment, and register an account on Hyperion's website with the product registration number so that you can download the Classic version ISO and the update 1 lha archive as below, needed to open up the memory restrictions under emulation.
With that done, I ran the Flower Pot MSI installer for Windows to get things underway, running on a Core i7 Alienware R3 laptop system with Windows 10 Pro installed. Although they are available, I will not be covering Mac or Linux installs for now, sorry. I will focus on Windows 10 here.
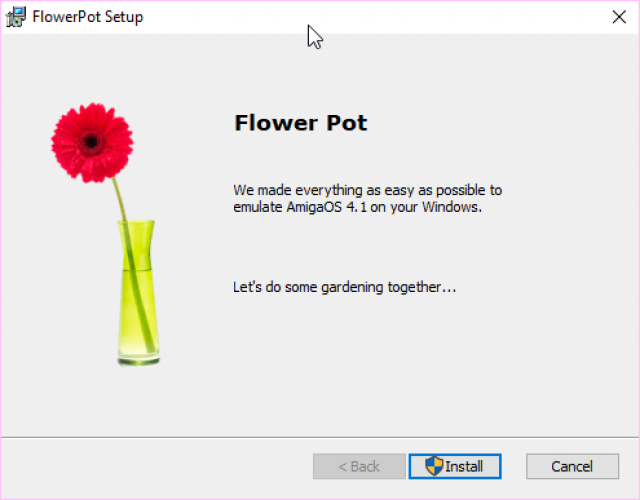
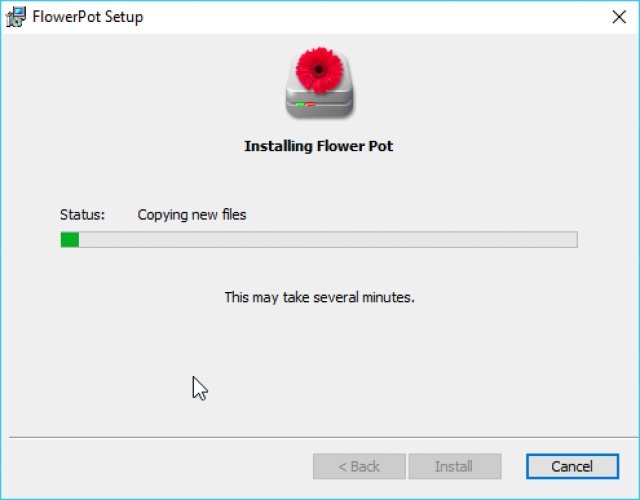
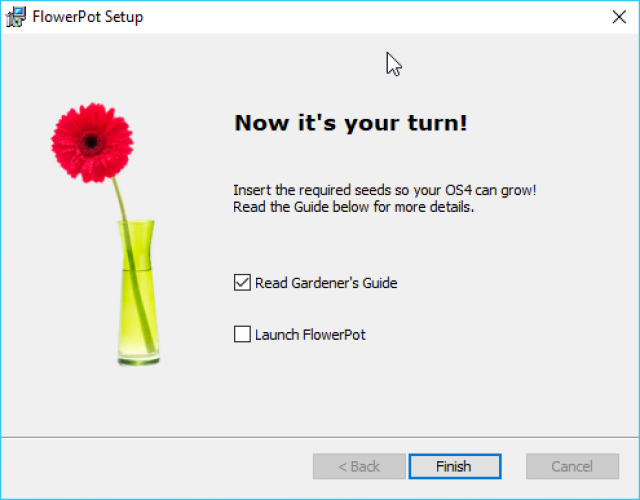
There are not any real options in the installer - it is easy to step through.
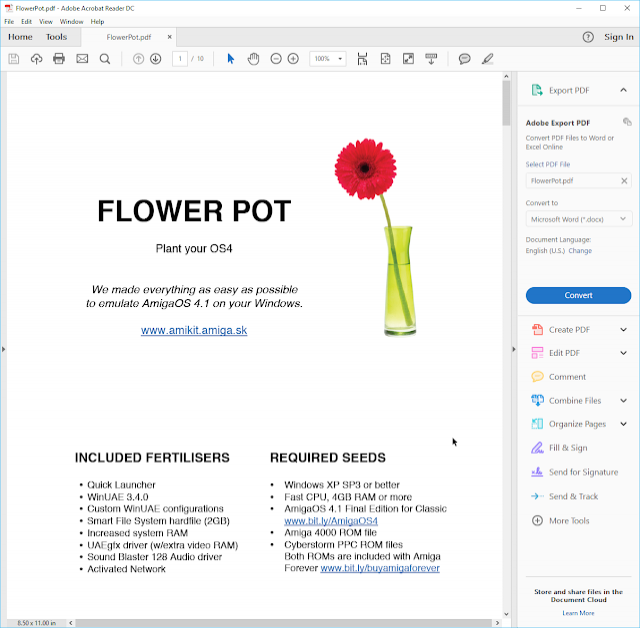
The installer finishes and directs you to read the Gardener's Guide, which explains the next steps needed to get Flower Pot up and running with AmigaOS 4.1 Final Edition Classic.
Here is the Gardener's Guide:
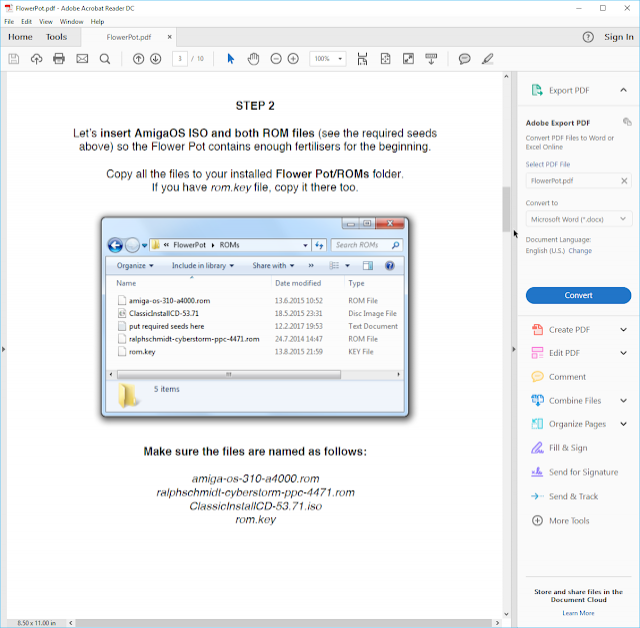
Step 2 is where the manual is left a little lacking to be honest. It says you need to copy kickstart rom, ISO and Cyberstorm PPC rom files to a specific location under the Flower Pot folder, but it doesn't tell you where to get them from!
In the case of the kickstart rom, rom.key and cyberstorm ppc rom files, if you have Amiga Forever 2016 installed on Windows 10, then it is located in the c:\users\public\documents\amiga files\shared\rom folder as below:
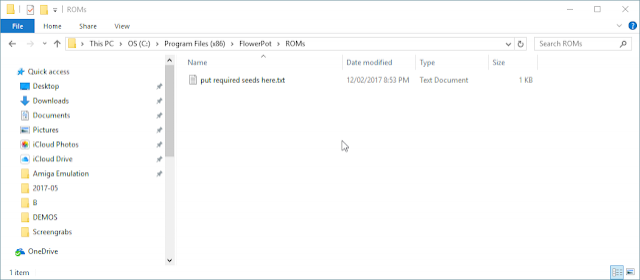
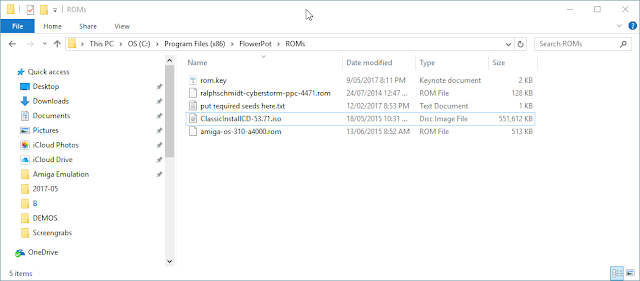
Copy the highlighted files into the Flower Pot Roms folder, located in the default installation path as below:
Here are the files copied across, along with the AmigaOS 4.1 Final Edition Classic ISO, downloaded from Hyperion Entertainment's website as covered earlier. Naming is important, so don't change the names of any of the files.
The steps are all covered well in the Gardener's Guide manual from here on:
Following along I run the Flower Pot program from the desktop:
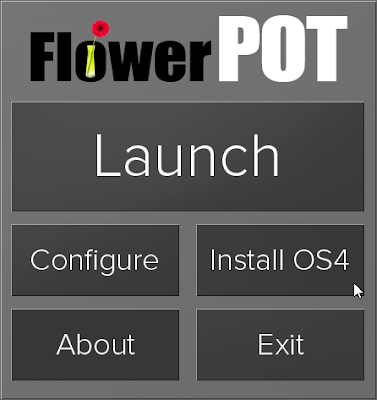
This gives us the Flower Pot launcher as below. We can't launch yet since we still need to install AmigaOS 4, so select Install OS4 to get started with that, assuming you did the steps above first.
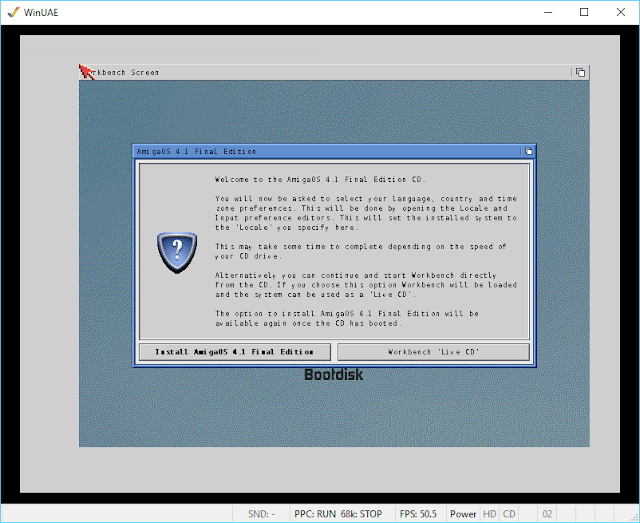
WinUAE then launches, and automatically starts booting up AmigaOS 4.1 Final Edition from the ISO.
It then prompts if you want to boot into the live CD Workbench, or just start the installer. I elected to start the installer as I wanted to change the language/country settings before installation:
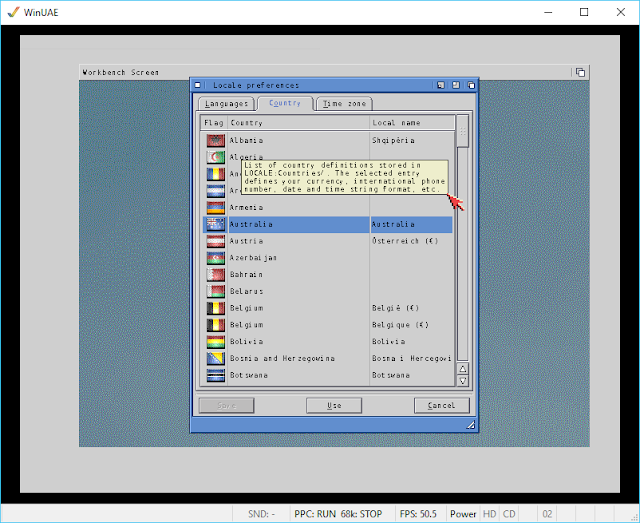
I then choose English, Australia and the Adelaide timezone settings:
That done, it asks if we want to apply the time settings now, which of course I do, so I select System:
Things then proceed to keyboard selection:
Having selected the keyboard, things move on again:
With the workbench now displayed, there is a big "Click Me" Fertilizer icon on the desktop to run the installation of AmigaOS 4.1 Final Edition. Do not run the normal installer:
With the Fertilizer icon clicked, you are given the information about clicking Next through the installer and not selecting any options as the Fertilizer script will set everything up itself afterwards:
After hitting the Enter key, The AmigaOS 4.1 Final Edition installer proceeds as expected. Just click Next on each steps without changing any options:
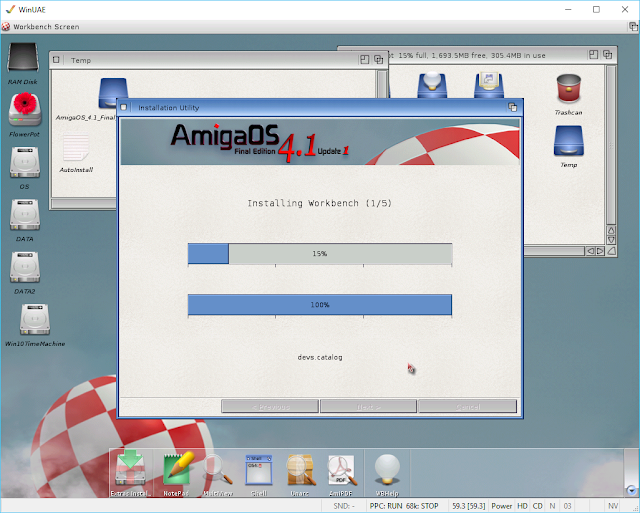
The installation then proceeds as usual:
All done:
When you click on Finish, the Fertilizer scripts appears again and does it's post install configuration work, installing UAE gfx support for higher screen modes, network driver support, AHI Sound blaster 128 support and the ram extension support (which is only effective after installing Update 1):
Now we have to quit the emulation as per the prompt - CTRL + F11 for Windows does the trick. I then launch Flower Pot again. This time I can click on Launch and soon after I have a full AmigaOS 4.1 Final Edition installation running under WinUAE, complete with the Windows hard disks mounted on the Workbench and UAE RTG mode 1024x768 set:
I then unpacked the AmigaOS 4.1 final Edition Update 1 archive so I can start that installation to enable the extended memory support. As you can see currently we only have 128MB of memory available to the Cyberstorm PPC rom being used for the emulation:
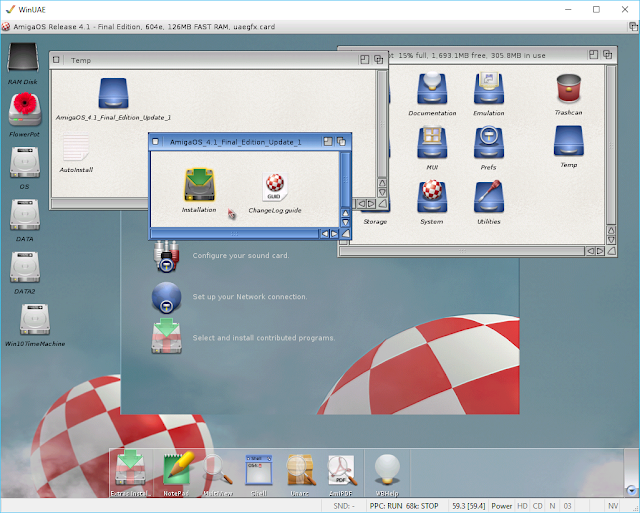
I then kicked off the Update 1 installation:
The installer pre-installs a python pre-requisite and then we can get to work with the main installation:
The installation is now done, and we have to reboot:
After the reboot, we now have the extra memory, with 646MB memory now available to us! Fantastic. The FlowerPot partition (Smart File System) is 2GB in size, which is ok for most things. You can utilise the windows partitions to store the larger files, music, photos, etc you use with your Windows system as well, which is quite convenient.
Next I pressed F12 to access the WinUAE Prefs and mount the AmigaOS 4.1 Final Edition ISO to the CD drive configuration so I can install the extras on the CD as they are not included in the normal AmigaOS 4.1 Final Edition installation:
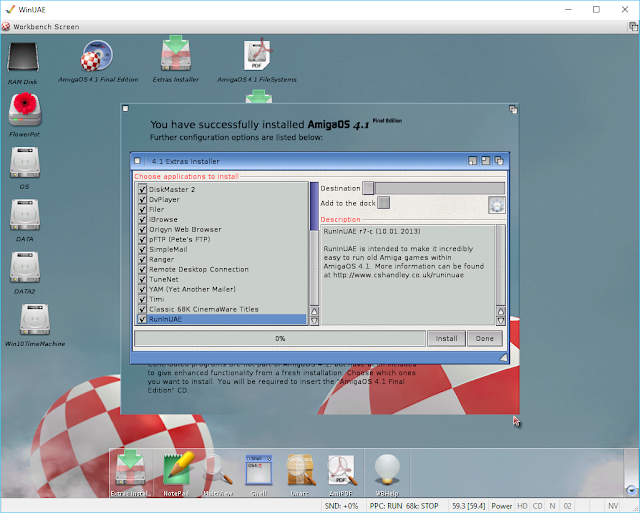
I then got to work installing the optional components:
With that done I then changed the screenmode prefs from 1024x768 to a much nicer 1920x1080x32bit screen resolution, made possible with the uae graphics driver setup by Flower Pot:
After the resolution change, AmigaOS 4.1 is so much better already!
Next I ran iBrowse to download the modern Odyssey web browser to use under AmigaOS 4.1 Final Edition. Note that the Download fonts script in the Odyssey drawer doesn't work due to a certificate issue on the internet website it gets it from. So, I copied the fonts I needed from my X1000 Fonts folder to get the files I needed:
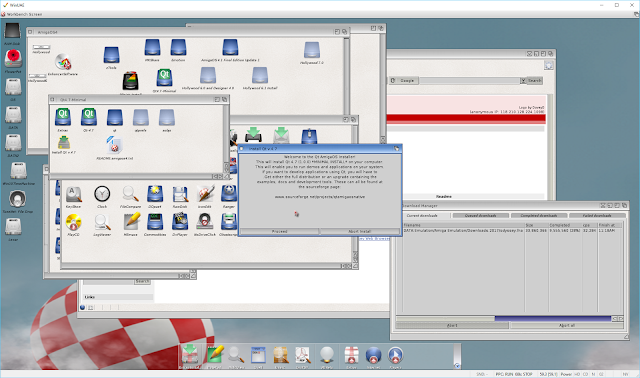
While that was happening, I also copied some installers from my AmigaOne X1000 to speed things up a bit, working on Qt 4.7 install here:
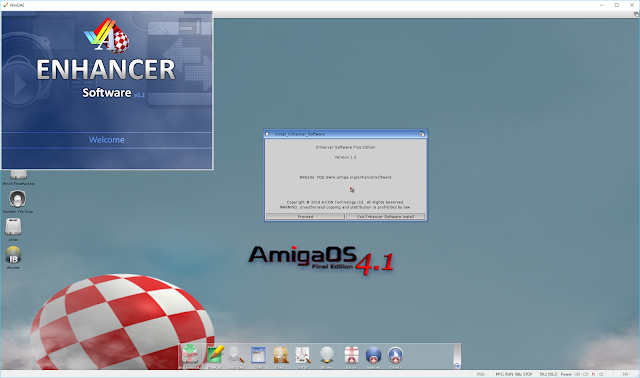
I then run the Enhancer Software installation (which you can purchase from AmiStore):
I also got AmigaAmp 3 to listen to music and things are looking better, but something is still missing I feel:
That's it, much better:
I plan to put some games on this system soon so I can see how well they perform under emulation now that the extra memory is available to AmigaOS 4.1 and because I now have a much faster system to run it on than before.
For running AmigaOS 4.1 Final Edition Classic under emulation on your Core i5 or Core i7 based PC or Macintosh, Flower Pot certainly makes things easy to get things going.
