Installing Kickstart switcher A604 and Indivision ECS
Today I started work on the upgrade of the Amiga 600 in earnest. To start with I worked on installing new Kickstart ROM switcher, A604 memory expansion, Indivision ECS, and even a new power supply!
To start with, I swapped out the original Commodore power supply for the Amiga 600 with the much more powerful power supply, needed to safely power all the additional upgrades I plan to install in this Amiga 600.
The standard Commodore Power supply was intended to power the standard Amiga 600 with the addition of a memory expansion, a PCMCIA memory card and possibly an external floppy drive. It wasn't designed to support accelerators, USB card, network cards and more!
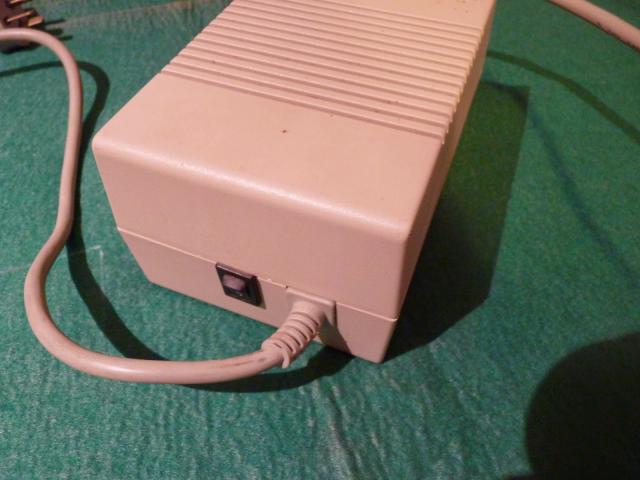
Here is the original Commodore Amiga power supply - surprisingly heavy:
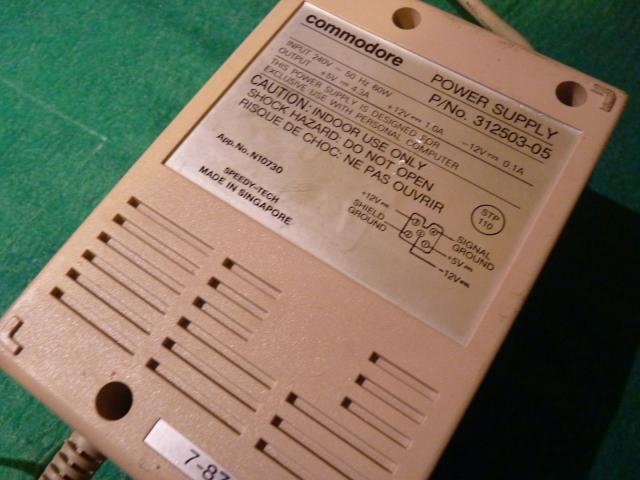
As you can see from the photo below, the standard power supply is 60W:
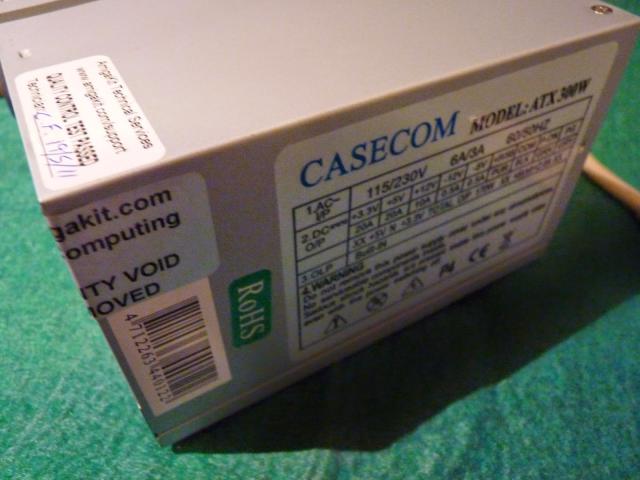
The new power supply unit I am using is sold by AmigaKit.
BTW AmigaKit is where most of the upgrades I am using came from. Their website is www.amigakit.com.
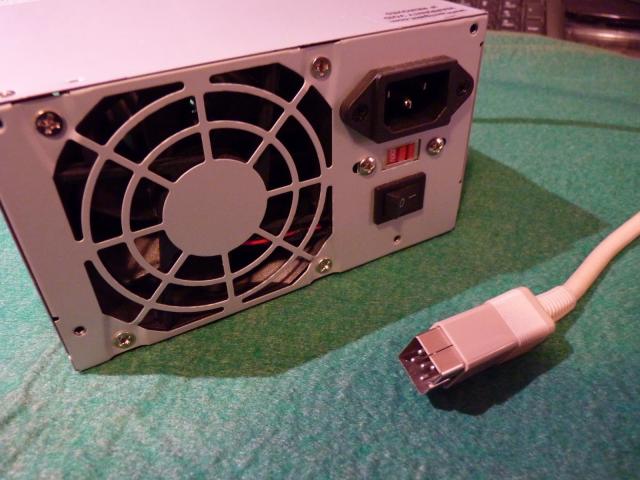
The new power supply is a much beefier 300W ATX PC power supply, with a standard Amiga 600 power connector. You can also use this power supply unit to power an Amiga 500 or Amiga 1200 too:
Although it is not as pretty as the Commodore power supply, it is much more useful!
With this now in place, it is now time to work on the installation of the Kickstart ROM switcher.
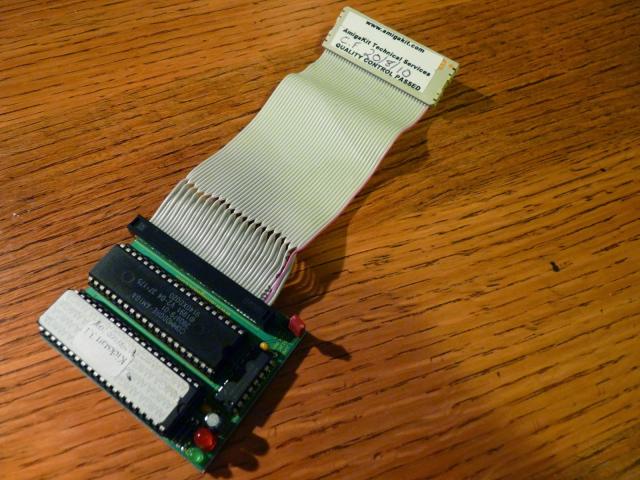
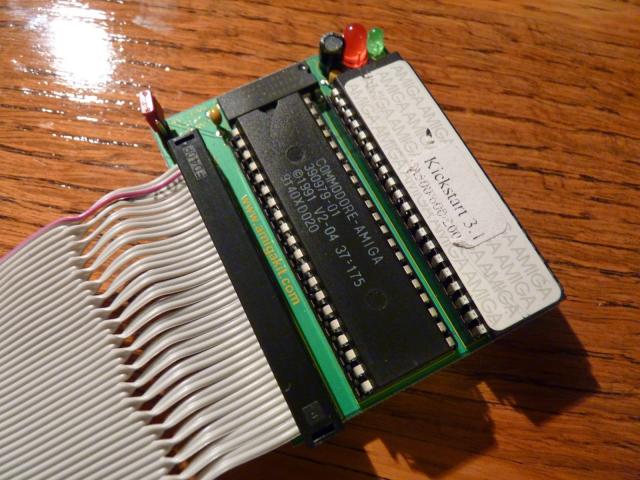
This ROM switcher also came from AmigaKit, and allows you to install two different Kickstart ROMS and switch between them by holding down CTRL-Amiga-Amiga for more than 3 seconds.
In my case I have a Kickstart 3.1 and Kickstart 2.04 ROM installed at the moment. I may end up putting the Kickstart 1.3 ROM in later on, but for now I will leave it like this.
Something to remember is that the Kickstart 1.3 ROM that was included with my Amiga 600 was never intended for the Amiga 600 - it was included in the Amiga 500.
By using an Amiga 500 1.3 ROM in the Amiga 600, you cannot use the onboard IDE connector to boot from hard disk (for example), and in addition I am not sure what it's compatibility would be to some of the upgrades I am planning to install (memory expansion, accelerator, Indivision ECS, etc).
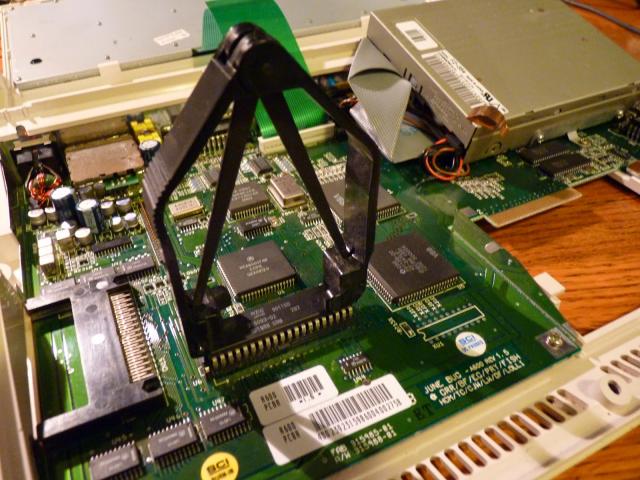
Next I opened up my Amiga 600 case, and grabbed my chip removal tool to safely remove the Kickstart 1.3 ROM from the socket. Basically just gently pull up to remove:
And here is the (slightly blurred) photo of the chip once removed:
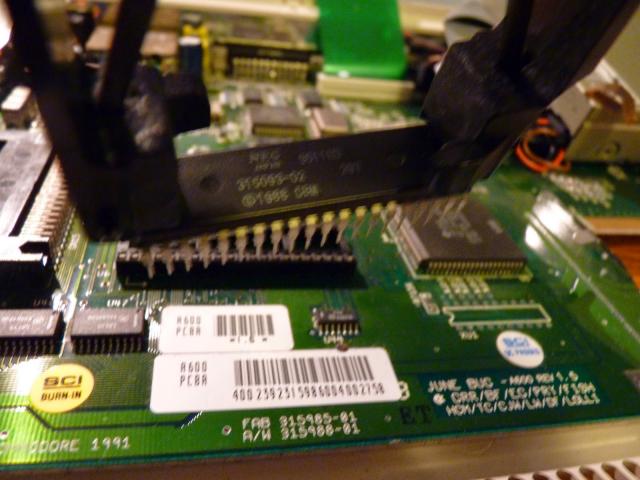
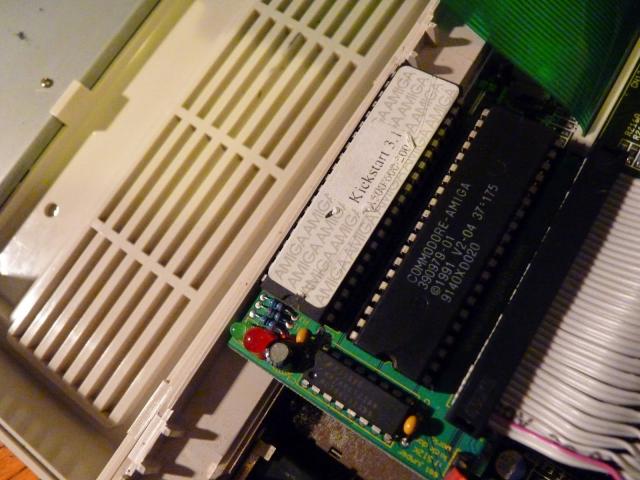
Next I positioned the Kickstart ROM switcher ready for connecting it to the Kickstart ROM socket on the Amiga 600. The length of the cable I believe has been done on purpose to ensure the ROM switcher status lights are positioned in the case so they can be seen through the vents at the top of the case (when the case is closed):
The below photo shows the ROM switcher now installed. Obviously it is important to push down carefully and evenly to avoid damaging or bending the pins.
Make sure to ensure the end pins on the right hand side of the rom switcher line up with the end of the right hand side of the socket. There will be one empty socket hole set showing on the left hand side. If you mistakenly align it to the left hand edge of the socket, the Amiga 600 won't boot up:
Next of course I need to test this worked properly. I put the top of the case back on (without connecting the power leds) so I could test.
BTW the reason for not connecting the power leds each time to test is that the design of the LED connection to the motherboard on the Amiga 600 is annoying to connect and reconnect each time. In addition, repeated disconnected eventually causes the delicate wires soldered to the LEDs to snap off (I have done this a few times in the past).
Below is the Amiga 600 now booted up using the Kickstart 2.04 ROM:
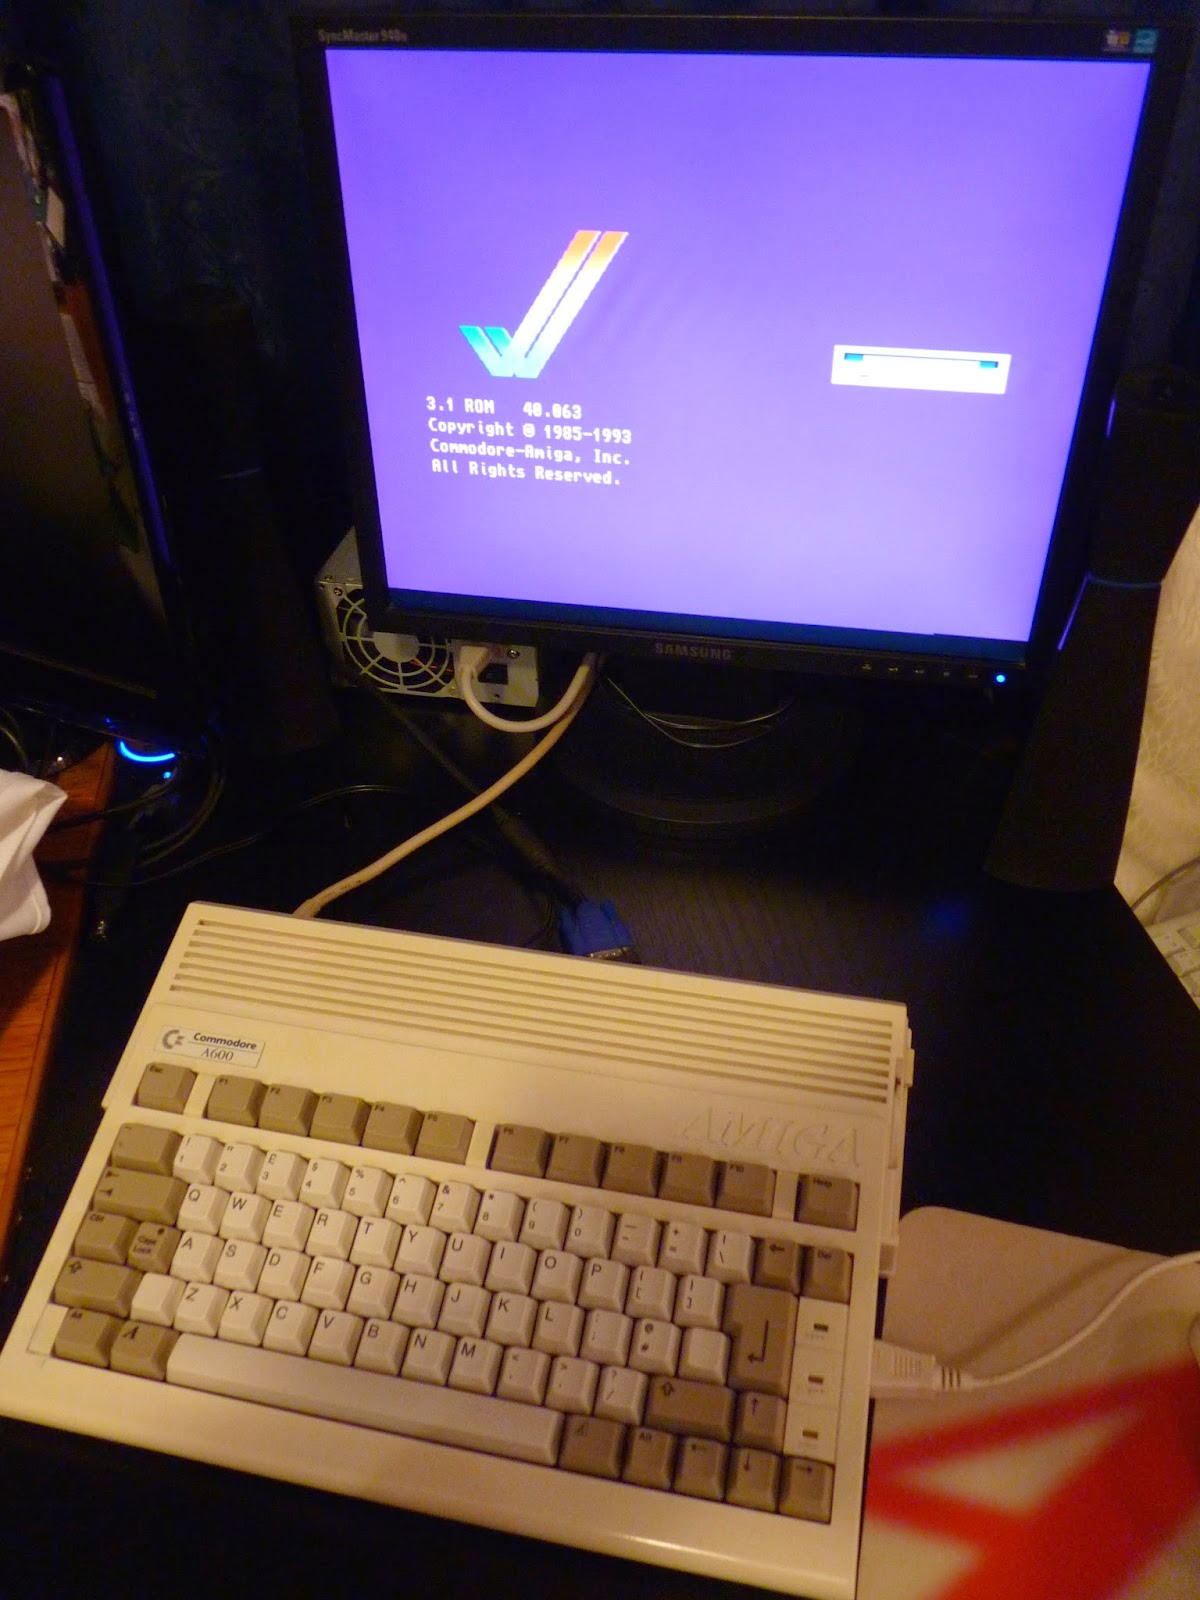
After a CTRL-Amiga-Amiga hold for over 3 seconds, and a short delay (compared to the 2.0 ROM), the 3.1 Kickstart ROM comes up successfully too:
Inspired by this working so easily, I moved on to the next step of installing the A604 memory expansion. This expansion card is made by Individual Computers and was purchased through AmigaKit too.
Since I bought this card, AmigaKit has started selling a newer version of this card called the A604n, which is similar to this earlier A604 card, excepting the real time battery clock is an optional card, rather than connected to the expansion card directly, as it is on the A604.
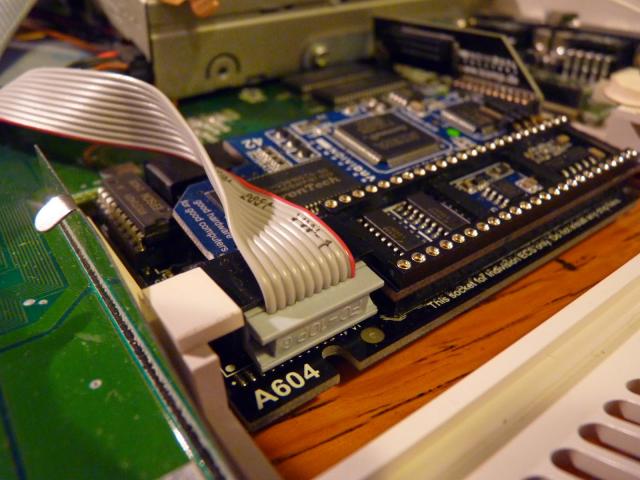
Here is a closer look at the A604 card:
This card fits a lot of features in a very small space indeed! It has 1MB Chip RAM expansion, which brings the Amiga 600 memory to 2MB CHIP RAM. It also has a real time battery backed up clock, a socket for installed the Indivision ECS card, and two clock port expansion ports, for connecting Amiga 1200 clock port expansion upgrades to an Amiga 600.
To explain, the Amiga 1200 had a unused powered clock port on the motherboard which allowed developers to make internal expansions for the Amiga 1200, but the Amiga 600 lacked this port. The A604 gives you two of them, allowing connection of a Subway USB clock port expansion, and Delfina clock port sound card for example.
But as a warning, please remember that if you connect a clock port expansion cable the wrong way around, you will destroy your clock port expansion card, smoke and all! Check the instructions carefully for any clock port expansion to ensure you connect the cable the right way the first time - there isn't a second time if you get it wrong and the connections are not consistent between expansions either!
Here is a closer look at the socket for the Indivision ECS card:
The next shot shows the A604 expansion card mounted clock port expansions, one with pins next the battery, and the other female connector mounted on a daughterboard specifically designed to fit snugly in the gap to the floppy drive in the Amiga 600.
The position of the clock port on the daughterboard allows for easy connection of the Subway USB clock port expansion (which we will do later!):
Here is the view of the back of the A604 expansion card - note the warning about clock port cable orientation which I mentioned also - please take care to read the instructions to get it right the first time:
As the Indivision ECS needs to be attached to the A604 board as part of the installation into the Amiga 600, let's take a look at this expansion next.
The Indivision ECS card allows scan doubling of the Amiga display to the frequency needed to be display on a VGA TFT monitor. Included is a cable to the VGA connector. This will need to be mounted to the case for neatness later, but for now will be loose while building the Amiga 600. Here is the Indivision ECS:
The card can be installed into an Amiga 500 or 2000 (indeed I have one installed in my Amiga 2000HD too), by removing the display chip on the motherboard and replacing it on top of the Indivision ECS in the slot provided for the purpose:
However, in the case of the Amiga 600, this chip is surface mounted and cannot be removed. Hence the need to install the Indivision ECS onto the A604 expansion card socket instead.
Here is the underside of the card, showing the pins that need to be carefully aligned with the socket on installation to prevent damage:
Here is the Indivision ECS now attached to the A604 expansion card:
With the Indivision ECS installed, accessing the primary clock port is tricky. Really you need to connect the clock port cable before connecting the Indivision ECS.
I have to say that they really did a brilliant job to fit so much stuff into such a small expansion card:
So next I installed the A604 with Indivision ECS attached into the Amiga 600. It is necessary to open the case to install this expansion into the Amiga 600. This is because of the extra daughterboard which needs to be screwed in on top of the existing floppy drive screw connection on the motherboard.
Once done, it looks like this:
Closer views of the A604 expansion installation:
Perfect fit:
So next of course I needed to put the Amiga 600 back together to test the expansion board and Indivision ECS work properly. I am pleased to report that they work - the Amiga 600 powers on normally:
Below you can see the display is now using the Indivision ECS VGA connector rather than the external DCE scan doubler that I was using before:
Eventually I plan to cut a suitable hole for the VGA connector to be nicely mounted within the Amiga 600 case, but there is a lot more work to do before I can do that!
Next I tested booting a Workbench 3.1 disk to check the memory expansion is working:
Once the Workbench 3.1 disk boots to Workbench, I can see that I now have 2MB CHIP memory:
Success - this part of the upgrade is now done!
I now have more powerful power supply, 2MB CHIP RAM via the A604 memory expansion, battery backed up clock, scan doubler (Indivision ECS), and kickstart v2.04/3.1 ROM switcher all working in the Amiga 600!
For the next blog entry I plan to install the ACA630 Accelerator and hard disk!
