Building the TerribleFire TF530 accelerator board, part 3: Parts inspection, and soldering
Let's see what we've got. And how we're gonna put it together. This one had a little surprise for me.
Disclaimer: This is not an instruction. Use at your own risk. No responsibility taken for whatever you do. Safety first. Kids, dont try this at home.
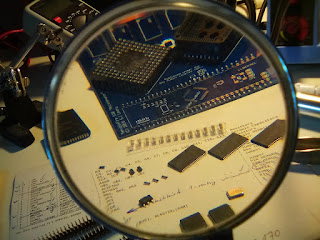 |
| Parts and BOM, and the shiny blue PCB. |
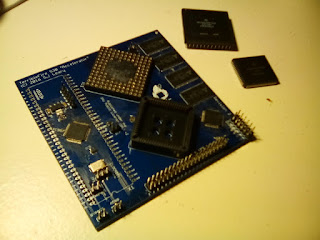
It looks like I haven't missed much so far. Everything required to populate the board is there (except for the CPU socket connector, for which some substitute will be built), and I'm still able to identify the individual components! :-)
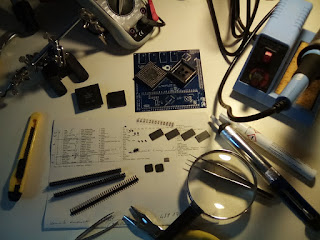 |
| Parts and tools. |
So, with Stephen Leary's instructional video (see below) on my computer's screen, I started soldering. May I note that not only does his video provide helpful and important information and hints, but also is a pleasant accompaniment when working on the TF530.
Soldering the first SMD chip on to the board quickly resulted in the chip being roasted, and the PCB damaged. Lol. Surprise. It turned out to be waaaaaay more difficult than I had expected.
Working with tiny SMD components poses some unexpected problems. For example if you're used to soldering hole-though parts you will most likely use way too much solder on your first attempts. Well, I did. Then, when you got used to using really very little solder, you find out that you cannot easily suck away the solder if you've made a mistake, because the amount of solder is too little for the desoldering pump to work on. Then you may learn the painful way that tiny PCB chip pins are reeaaally weak, you have to treat them really gently. And finally, when checking results of your soldering, you may find out that your grandma's magnifying glass does what it's supposed to do - to magnify - but it's scratched or unclear, and really creates more confusion than it does help.
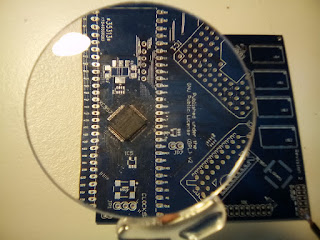 |
| First chip in place. Dirty, but undamaged! |
But after some practicing with the damaged board and chip, things looked better. I learned to use the right amount of solder, the right amount of soldering flux, and to move the soldering iron at the right speed, and started working on a new board - with far better results.
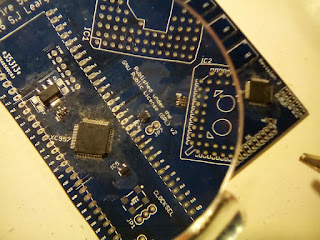 |
| More components. |
After some hours of focused soldering and (visual) checking it looks as if my first TF530 might soon be ready for testing.
 |
| TF530r2 fully populated! |
She's currently no beauty and needs some serious cleaning, but she makes her owner very proud. :-)
If you wanna try to build one, here's Stephen Leary's first "how to" video (we're still waiting for the second):
Next time we need to find out if she's alive - watch out for part 4 of our series "Building the TerribleFire TF530 accelerator board"!
Overview and back catalogue of the series:
http://amigaalive.blogspot.de/p/hardware-building-terribefire-tf530.html
