How to make an ATX Adapter for Amiga 500/600/1200 and Amiga 4000
This will be a small guide how to make an ATX Adapter for your Amiga. I will only cover the Amiga 500/600/1200 and the Amiga 4000.
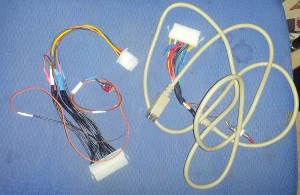
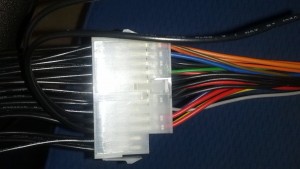
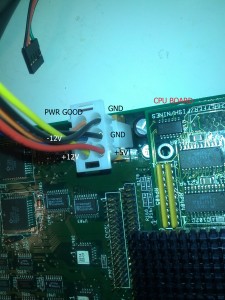
Some days ago I posted a picture similiar picture to this on facebook:
That I made an ATX->Amiga Adapter. and got some questions how to do this. and as I was about to make some more today why not make a small guide?
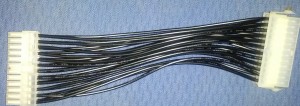
First you have to get a ATX Connector. and I choose the easy way. I just buy a short ATX Extender like:
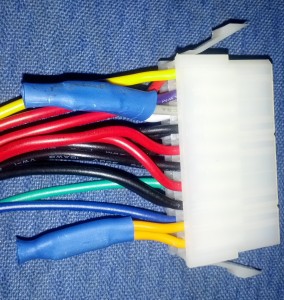
Unfortunately all wires are black on my new extenders. A old cable I had was in all colors:
And that was much more easy to work with. but hey. nothing to do.
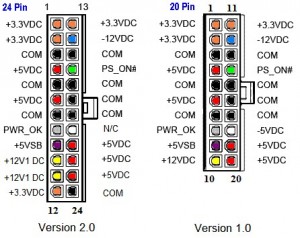
First we have to know the pinout of the ATX:
there are 2 mayor versions. the 24pin (more modern) and the 20 pin. they are similiar. (my colored adapter is 20 pin and my black is 24pin)
So now it is time to extract all cables. the easy way to do this is to connect the ATX PSU to my adapter. follow the wire to the other part of the connector and simply cut it off. (on the part of the extender that goes to the motherboard, that part is not interesting for us and can be thrown away)
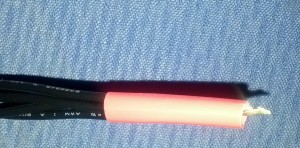
Bad picture but here can you see that I have started to put away cables for +5V.
So simply.. first I put away all +5V cables (Red!) and put them together like:
I solder them all together to one wire.
and I will also do this with the +12V (Yellow), GND (Black) and -12V (Blue)
The Amiga requires +5V (main voltage) and 12V to boot. it WILL boot without -12V but with bad sound and no serial ports)
For the Amiga 4000 you also have to exctract the grey Power Good signal. This is a +5V but should NOT be connected to the other +5V cables.
AND you also have to extract the Green PS-ON cable for the powerswitch.
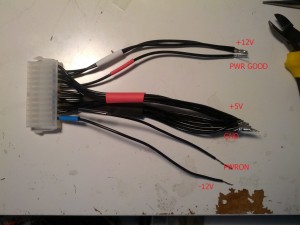
So now when you have soldered them all together you will have an end that looks something like:
I have skipped the +3.3V cables as the Amiga does not use it.
now you have to decide for what Amiga you want to make this adapter:
First the Amiga 500/600/1200:
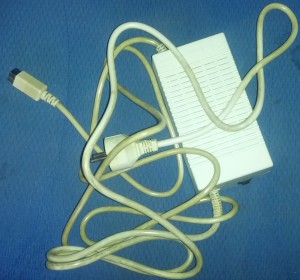
This connector is hard to get, so the best way is to use a nonworking Amiga PSU:
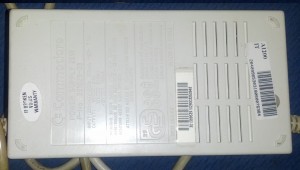
This is a dead PSU. so flip it over:
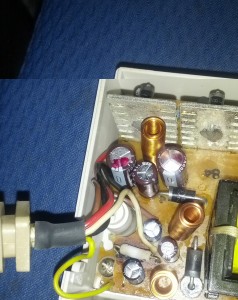
Under the barcode to the right and unser the warrantyseal you will find 2 screws. Open it up.
Here is the end that goes to the Amiga. (you can see that this PSU is. DEAD) so cut away the wires. and throw away the rest of the PSU.
Now you have to figure out what cable is connected to what pin on the connector.
So you have to use your multimeter to find the cables. on MOST machines they are:
Red = +5V
Black = GND
Brown = +12V
White = -12V
but I leave it up to you to make sure it really IS like that on your cable.
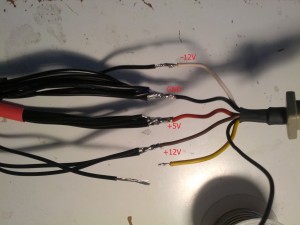
Now you just solder the cables to the correct one on the ATX Cable:
The 2 not used cables can be cut off, insulated and well.. never mind them.
To Start the PSU, you just connect the PWRON (PS-ON) to Ground and it will start. (you will have it connected to ground all the time if you disconnect from ground the psu will shut down)
I would recommend to start it up without connected to an Amiga and measure the cable first. most ATX powersupplies will die after some secounds without a load, so plug in an old harddrive or so meanwhile.
For the Amiga 4000:
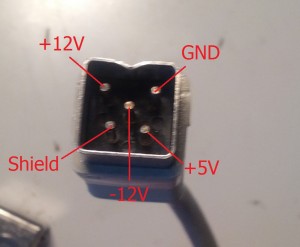
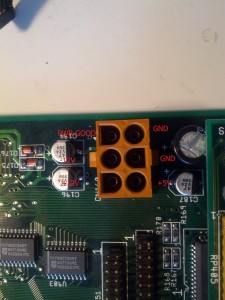
the pinout for the connector is:
Here you must connect the Power Good signal aswell. it is a separate +5V signal.
this connector is more easy to find. Search for an AMP type 1-480704:
here in Sweden I use www.elfa.se and order: artno: 44-196-69 and 6 of: 44-188-70
So all I do is to connect my cables to my ATX cable.. and poweron.. presto!
MEASURE BEFORE TESTING ON A REAL BOARD!
