Articles from Techtravels Amiga Blog

Learning the YM2612 with a Sega Genesis Model 1

I’m planning on using the Yamaha YM2612 FM synthesizer chip that has been used in both keyboard synthesizers, but also in the Sega Genesis consoles. The purpose is to add audio capability to my DIY Tablet computer. If you’ve read my other posts, you’ll know that my computer uses the Motorola 68000 processor, so I looked to other 68K machines for inspiration. What did other hardware designers in the 1980s and 1990s choose to use for adding audio to their computers?
Performance of the Hope Badge Computer

I’ve just managed to get some key components working this year, and as a result, the machine is becoming more usable.

I wanted to measure the performance of this Frankenstein machine. Ideally, I’d use standardized benchmarks but I don’t really have a compilation toolchain setup yet. I’m mostly stuck using 68K assembly.

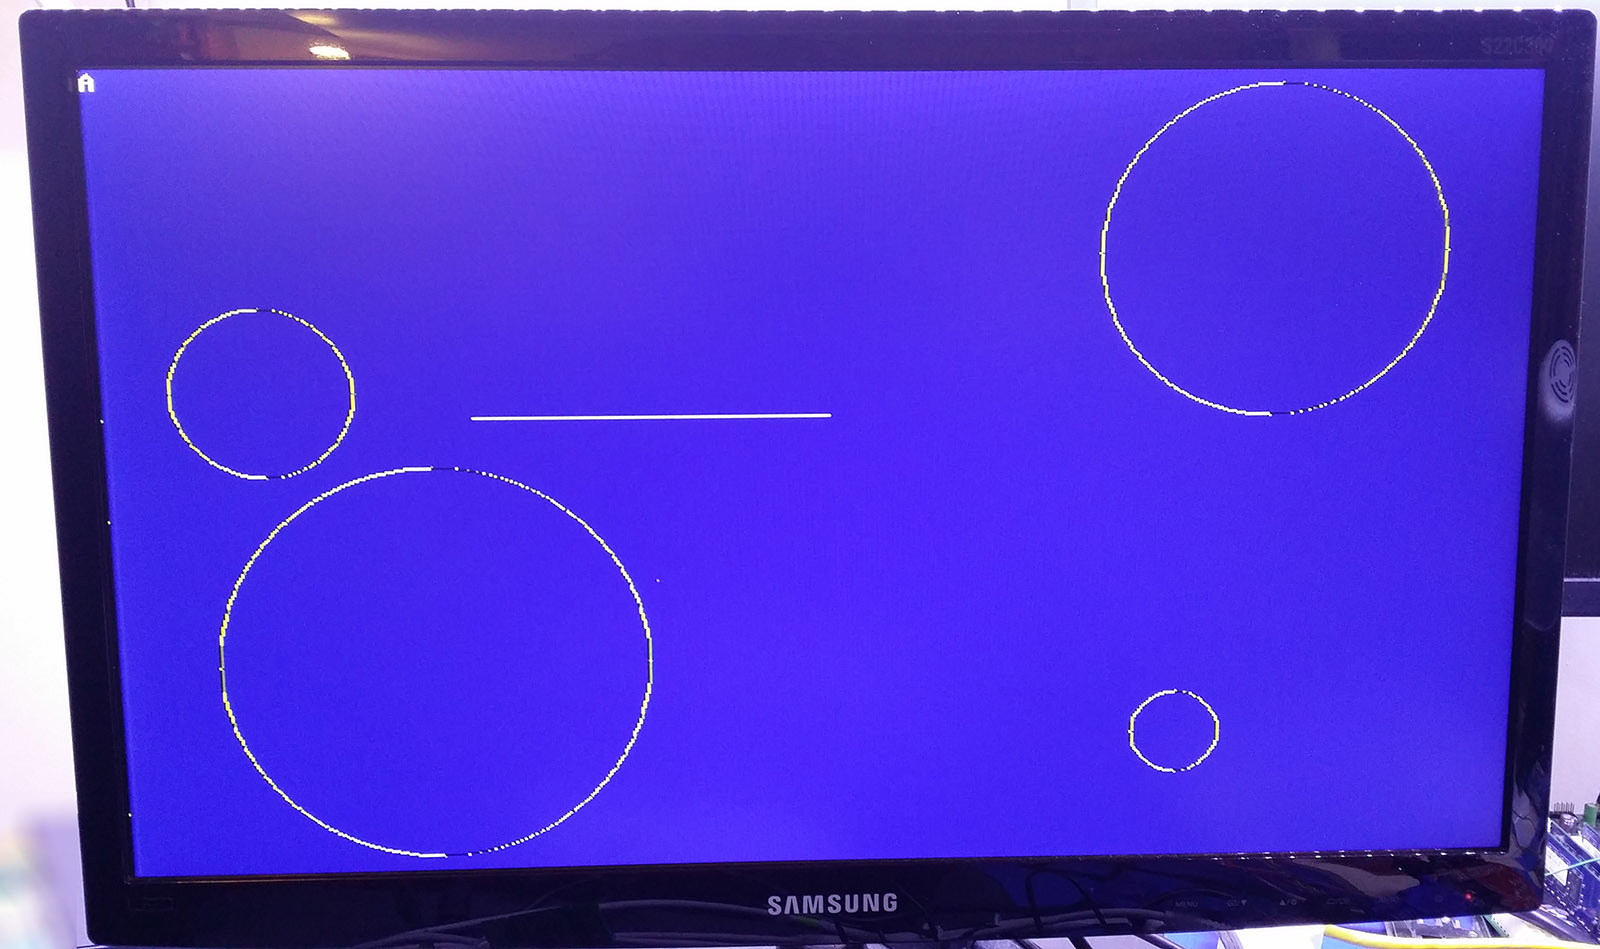
Frame Buffer and Text Generation now working…

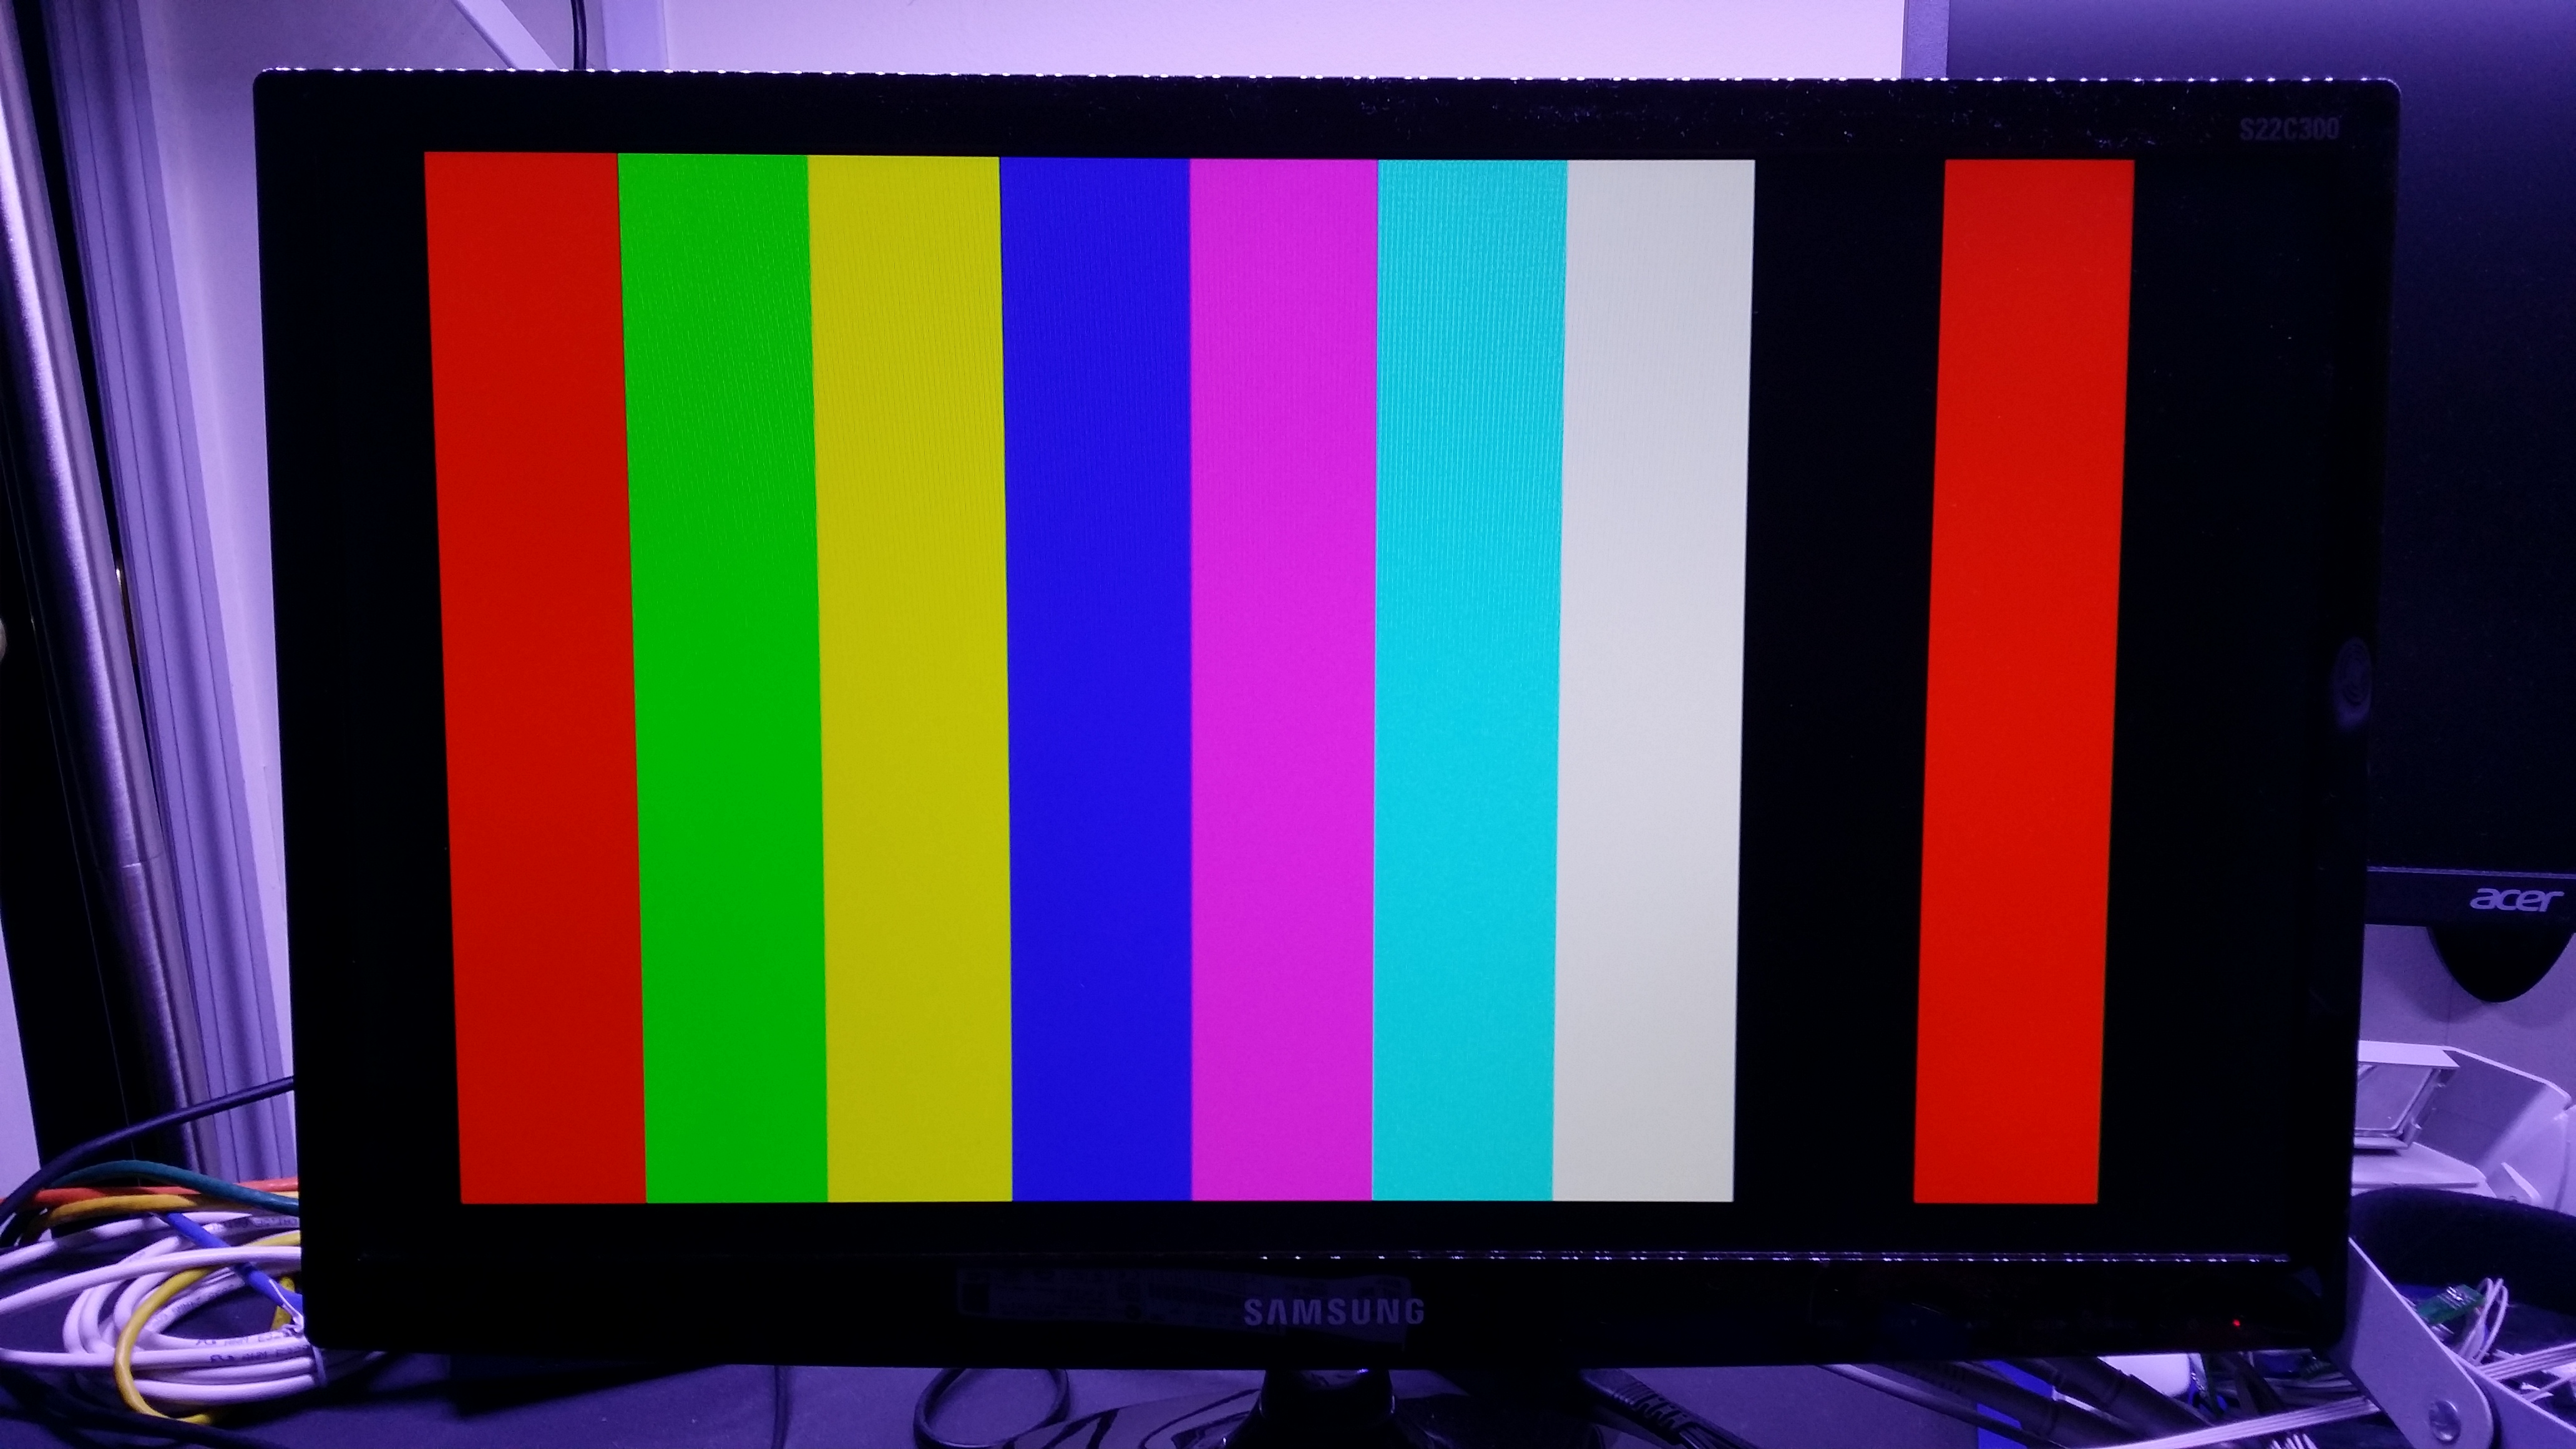
Now that I have the 4MB SRAM board installed, I now have a frame buffer that can keep up with the video bandwidth rate.

The resolution and color depth is currently 800 x 480 x 12-bit. The computing shield I’m using only supports 12-bits, but my LCD can do 24-bit.

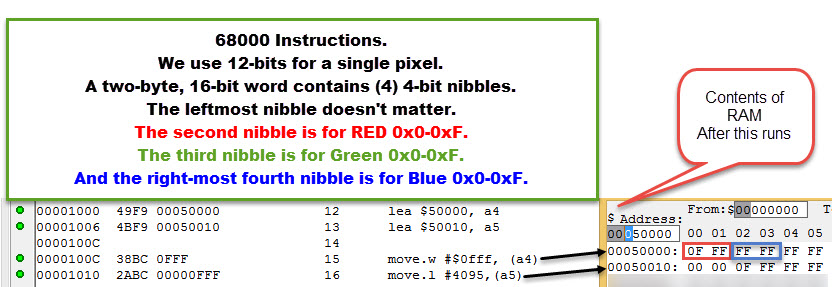
Essentially how my frame buffer works is that you write the 12-bit color value into an address in memory that corresponds to a location on the screen.

See Framebuffer at Wikipedia.

J68 can now speak with BEMICRO MAX 10 onboard SDRAM

So for the longest time, I’ve wanted to use the onboard 8MB SDRAM that is present on the BEMICRO MAX 10 fpga eval board. This is now a reality!

I’ve successfully integrated a controller with some glue logic to connect to the J68.

I’ve mapped the $20000-$81FFFE to the SDRAM. All calls to ROM (stored on-FPGA FLASH) are retrieved properly, some low level RAM calls access the on-FPGA M9K memory blocks, and the UARTs are all handled fairly seemlessly.

Here’s the very simple 68K memory check routine. Obviously this can be expanded on, but it’s passing!!

Pages